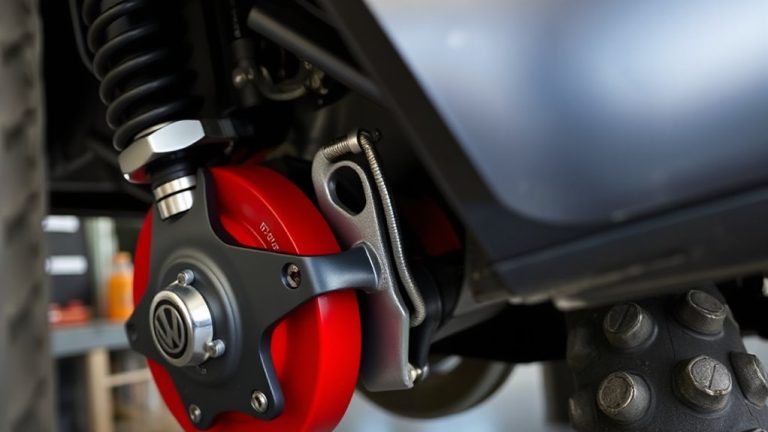
Replacing Front Struts on a 2014 Honda Civic Using Spring Compressors Safely
You’ll know it’s time to replace your 2014 Honda Civic’s front struts if you feel every bump or see cupped tire wear. Use a full socket set, torque wrench, and internal spring compressors rated for 2,000 lbs. Loosen the 14mm knuckle bolts and 12mm tower nuts to remove the assembly. Compress the spring symmetrically, keep the unit vertical, and always secure it in a vise before removing the strut nut. Torque the lower bolt to 68 ft-lbs and the top nuts to 24 ft-lbs for proper fitment-mistakes here compromise safety and performance. There’s more to get right in the full process.
Notable Insights
- Always use threaded spring compressors to safely relieve tension from coil springs before disassembling the strut assembly.
- Wear impact-resistant goggles and gloves to protect against sudden spring release during strut and spring disassembly.
- Loosen lug nuts, lift the vehicle, and support it on jack stands before removing wheels and accessing the front struts.
- Torque the strut-to-knuckle bolts to 65–70 ft-lbs and tower nuts to 21–26 ft-lbs to ensure secure and safe installation.
- Perform a professional wheel alignment after replacement to prevent uneven tire wear and restore proper handling.
How to Know If Your 2014 Civic Needs New Front Struts?
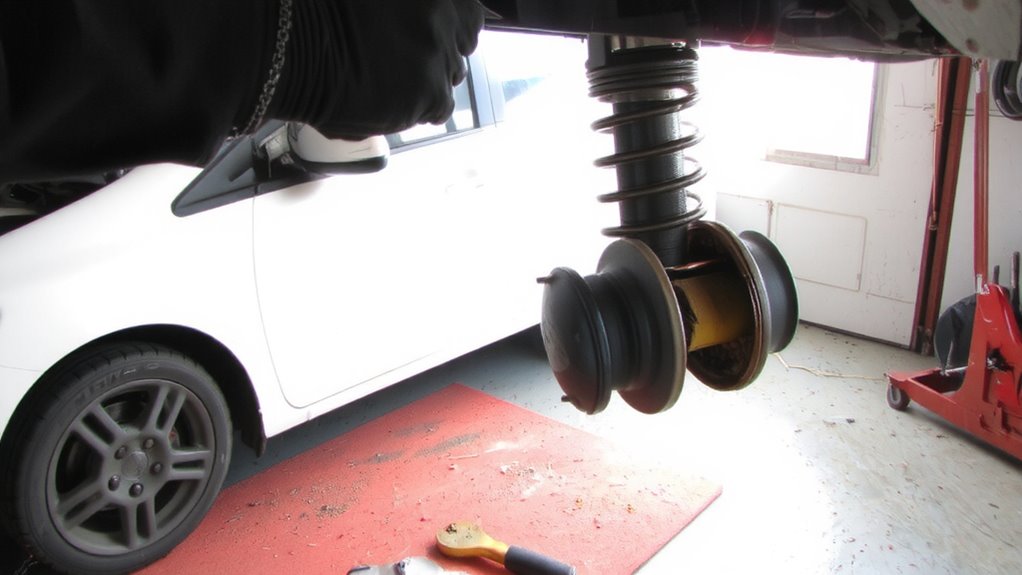
How can you tell when your 2014 Honda Civic’s front struts are failing? A noticeably bumpy ride is one of the first signs. Your Civic’s struts, designed to dampen road impacts and stabilize handling, lose effectiveness as internal components wear. You’ll feel every crack and dip in the pavement, similar to riding in a shopping cart with broken wheels. Uneven tire wear also points to strut issues-specifically cupping or scalloped wear patterns. When struts fail, the tire contact patch shifts inconsistently, accelerating tread wear. Inspect your front tires: if tread depth varies across the surface, suspect strut deterioration. Additionally, perform a bounce test: press down on the front end and release. If the car continues rocking more than once, the struts aren’t damping properly. These symptoms mean it’s time for replacement.
Must-Have Tools: Socket Set, Spring Compressors & Safety Gear
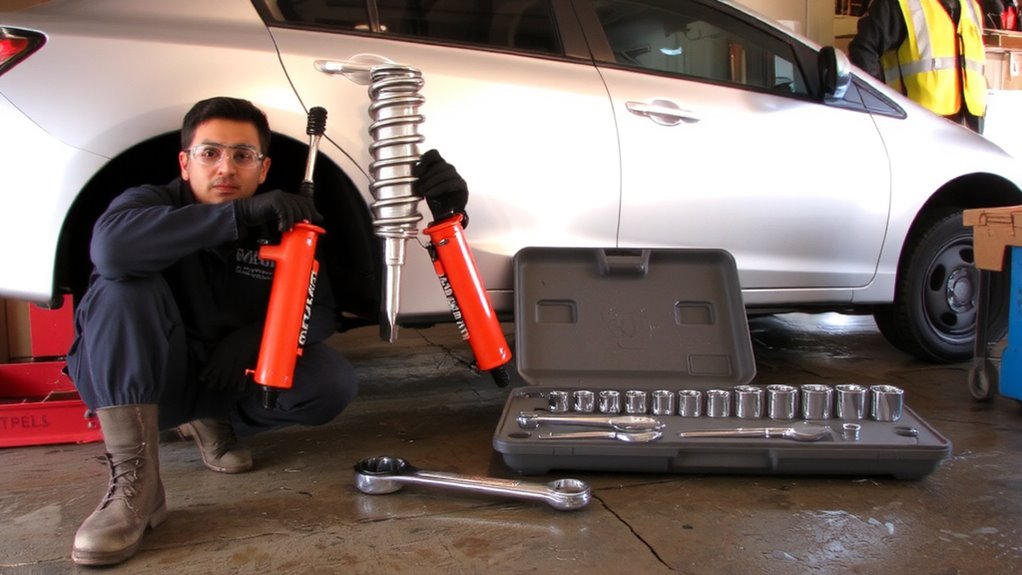
You’ll need a well-organized set of tools to safely and effectively replace the front struts on your 2014 Honda Civic. A full socket set with 8mm to 19mm sizes is essential-these fit strut mounting bolts and caliper brackets. Torque specifications matter: front strut-to-knuckle bolts require 98 ft-lbs, so use a calibrated torque wrench. Safety comes first-always wear impact-resistant goggles and gloves to guarantee tool safety. The most critical tools are spring compressors. Use only internal or double-socket compressor types designed for MacPherson struts. These prevent uncontrolled coil expansion, which can be deadly. Never rely on improvised tools. Each compressor must support at least 2,000 lbs of pressure and thread securely into the spring’s inner diameter. Inspect threads and latches before every use. Properly installed compressors evenly distribute tension across coils, mimicking factory load conditions.
Remove the Front Struts on Your 2014 Honda Civic
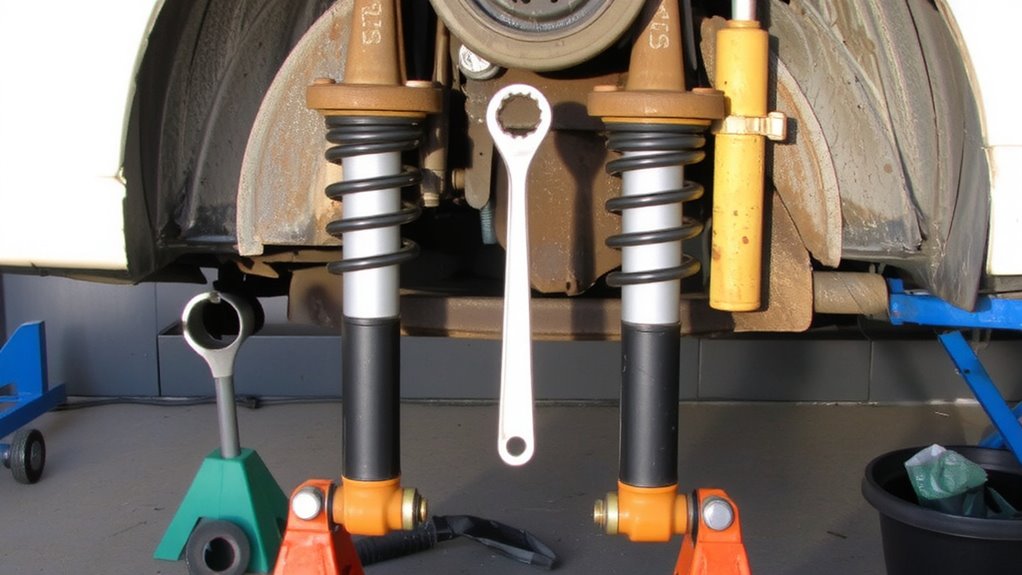
With your tools set up and safety gear secured, you’re ready to begin removing the front struts on your 2014 Honda Civic. Start by loosening the lug nuts, then lift and support the vehicle using jack stands. Remove the front wheels to access the strut assembly. Disconnect the brake line bracket and sway bar link if necessary. Use a socket wrench to remove the two 14mm strut mounting bolts connecting the strut to the steering knuckle. Support the knuckle to avoid stressing brake lines. Next, open the hood and locate the three 12mm nuts on the strut tower. Remove them to free the top of the strut. Carefully pull the strut assembly out from the wheel well. Once removed, schedule a wheel alignment check to guarantee proper steering and tire wear. Each strut weighs approximately 15 pounds and must be handled carefully to avoid damage.
Take Apart the Strut and Coil Spring Safely
Before disassembling the strut and coil spring, you need to compress the spring safely using a reliable spring compressor. Proper spring removal precautions prevent uncontrolled decompression, which can cause serious injury. Use a reputable threaded-type compressor that engages the spring’s lower coils and works symmetrically. Compress the spring slowly until there’s no load on the strut’s upper mount. At this point, you can safely remove the strut nut with a socket and impact wrench-typically a 17mm or 19mm size. Strut disassembly techniques require stability: keep the assembly vertical and secured in a bench vise with soft jaws. Never rely on the vehicle’s suspension to hold tension. Once the spring is fully compressed, carefully slide it off the strut body. Inspect both components for wear, deformation, or corrosion before proceeding. Safety during this phase is critical-treat the compressed spring like a loaded spring trap.
Install New Struts and Reassemble the Suspension
Once the old strut and coil spring are removed and inspected, it’s time to install the new strut assembly with care and precision. Position the new strut into the knuckle and secure it using the mounting bolts. Tighten all hardware to the manufacturer’s torque specifications-typically 65–70 ft-lbs for the lower mounting bolt and 21–26 ft-lbs for the strut-to-tower nuts. Reinstall the sway bar link and any ABS wiring bracket, guaranteeing they’re firmly seated. Reattach the brake hose bracket to avoid line stress. Double-check that the coil spring sits properly in the upper and lower seats. After mounting both sides, lower the vehicle and allow the suspension to settle. Perform a thorough alignment check before driving. Misaligned wheels accelerate tire wear and degrade handling. Proper torque and alignment guarantee safety, ride quality, and longevity.
Avoid Spring Compressor Mistakes on Your Civic
If you’re tackling strut replacement on your 2014 Honda Civic, using a spring compressor wrong can lead to serious injury or damage. Spring tension must be evenly distributed across the coil to prevent sudden release. Always clamp compressors on opposite sides of the strut and tighten gradually. Never rely on the strut mount to hold tension-this risks catastrophic failure. Choosing high-quality best strut brands ensures longer performance and safer handling during and after installation.
| Mistake | Prevention |
|---|---|
| Uneven spring compression | Use dual compressors, tighten evenly |
| Ignoring bolt alignment | Match factory punch marks on strut and knuckle |
| Over-compressing springs | Compress only enough to remove tension |
| Using damaged tools | Inspect threads and clamps before use |
Bolt alignment guarantees proper suspension geometry and even tire wear. Misalignment causes premature wear on control arm bushings and uneven handling. Always double-check torque specs: 65 lb-ft on strut-to-knuckle bolts, 22 lb-ft on mount nuts.
On a final note
You’ve successfully replaced your 2014 Civic’s front struts using proper spring compressors. Always torque strut-to-knuckle bolts to 65 ft-lbs and mount nuts to 22 ft-lbs. Misaligned tools risk coil spring failure under 2,000 psi pressure. Recheck alignment within 50 miles. New struts improve ride control by restoring rebound damping force to OEM specs of 1.2–1.8 m/sec². Safety glasses and jack stands are non-negotiable. Done correctly, this repair extends suspension life markedly.