Step-by-Step Tutorial: Replacing a Leaking Input Shaft Seal in a Rear-Wheel Drive Manual Box
You’ll need to remove the transmission to access the input shaft seal at the front of the bellhousing. Disconnect the battery, drain the fluid, and support the engine with a strut bar. Use a transmission jack to lower the unit safely. Pull the old seal with a curved-jaw tool, inspect the bore for damage, and press in the new nitrile or Viton seal flush to 0.5 mm tolerance. Torque bolts to 25–32 ft-lbs. There’s more to get right.
Notable Insights
- Disconnect the battery and drain transmission fluid before beginning seal replacement to ensure safety and prevent spills.
- Remove the transmission using a transmission jack after disconnecting driveshaft, shift linkage, and bellhousing bolts.
- Extract the old input shaft seal with a curved-jaw puller to avoid damaging the transmission bore.
- Install the new seal squarely using a proper tool and lubricate the lip with transmission fluid.
- Reinstall the transmission, torque bellhousing bolts to spec, refill fluid, and check for leaks after test run.
What Is an Input Shaft Seal and Why It Matters
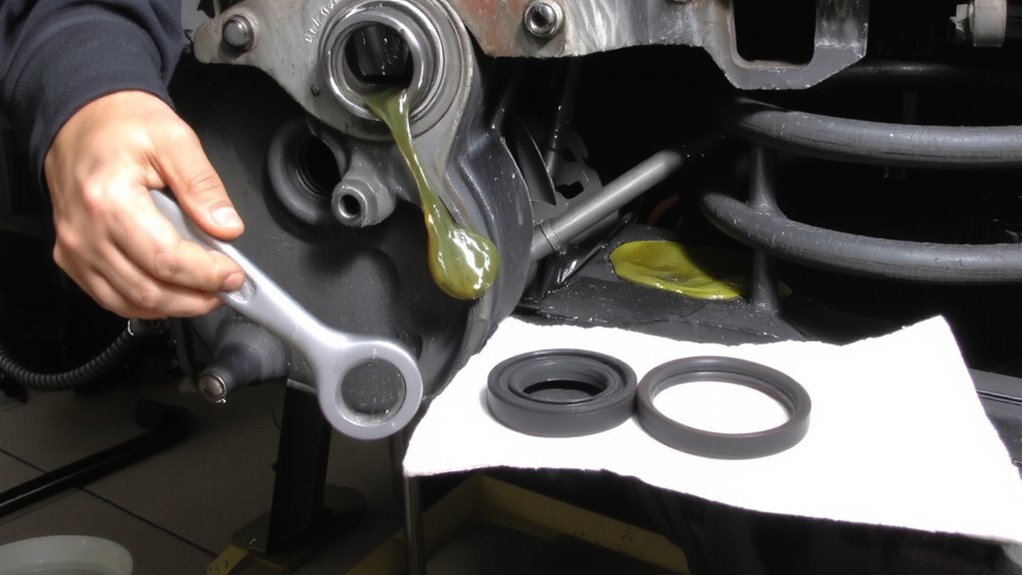
A leak in your transmission might trace back to a small but critical part-the input shaft seal. This rubber or silicone gasket sits where the clutch input shaft enters the transmission bellhousing. Its seal function is to block fluid escape while allowing the shaft to spin freely. Most seals measure 1.5 to 2.5 inches in diameter and are designed to withstand 250–300°F temperatures and rotational speeds up to 6,000 RPM. A compromised seal disrupts transmission integrity, risking low fluid levels and premature wear. Modern seals use nitrile or Viton materials for improved oil resistance and longevity. Proper installation requires exact alignment and a smooth, burr-free shaft surface. Even minor damage during assembly can impair performance. You depend on this seal to maintain internal pressure and lubrication. Over time, heat cycles and friction degrade elasticity, increasing leak risk. Preserving seal function is essential to protecting transmission integrity and ensuring reliable power transfer.
How to Tell Your Input Shaft Seal Is Leaking?
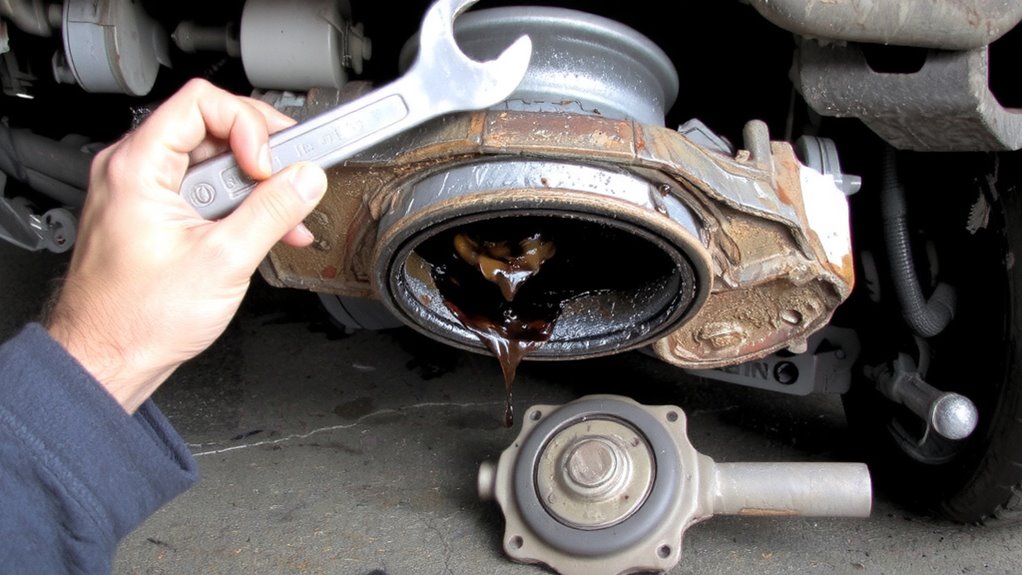
You can spot a failing input shaft seal by checking for fluid seepage near the front of the transmission bellhousing. Look for fresh or dried transmission fluid on the bottom of the bellhousing-often red or dark brown. Even a small drip indicates a problem. Over time, leaking fluid coats internal components, contaminating the clutch disc. That contamination leads to clutch slippage, especially under acceleration. You’ll notice engine RPM rising without corresponding speed increases. Another clue is gear grinding during shifts, caused by incomplete clutch disengagement due to a glazed or oily friction surface. These symptoms worsen as fluid loss progresses. While minor seepage might not cause immediate failure, consistent leaks demand attention before secondary damage occurs. Ignoring the leak risks destroying the clutch assembly and pilot bearing. Diagnose early by inspecting the area after a drive when the system is pressurized and warm.
What Tools and Parts You Need for the Repair
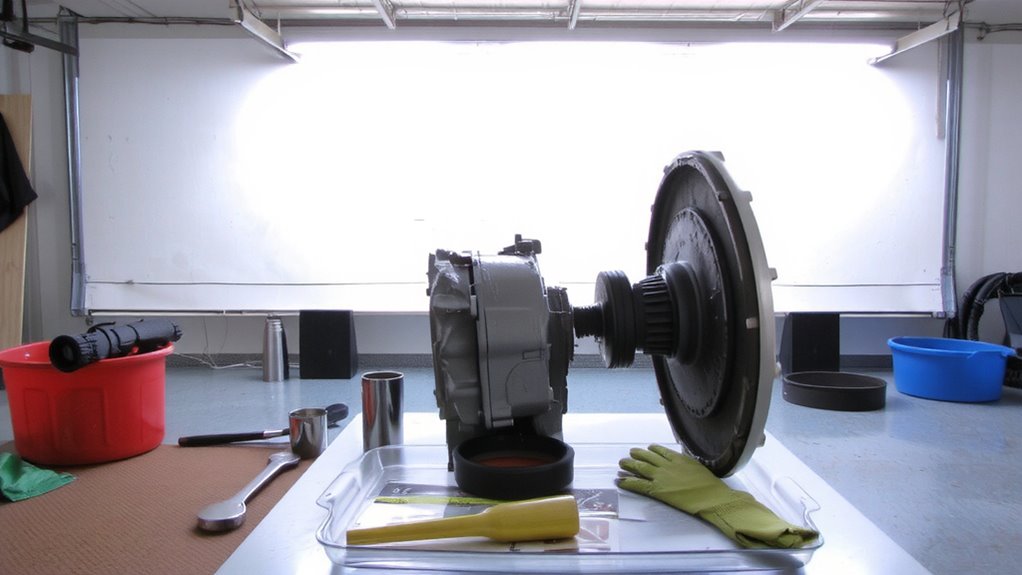
When replacing a leaking input shaft seal, having the right tools and parts on hand prevents delays and guarantees precision. You’ll need a new input shaft seal matched to your transmission’s OEM specifications-typically a lip-type seal with a silicone or nitrile rubber compound rated for temperatures up to 300°F. Use a seal installer tool to avoid damaging edges during fitting. Always apply seal lubrication-preferably molybdenum-disulfide-based grease-to the seal’s lip and inner bore before installation; this reduces friction and prevents premature wear. A dial indicator and magnetic base are essential for post-installation alignment check, ensuring runout doesn’t exceed 0.005 inches. Include a torque wrench (1/2-inch drive, 50–200 ft-lbs range), jack stands, and gear puller. Precision-machined brass drifts protect housing surfaces during disassembly. Keep clean rags and brake cleaner on hand to remove oil residue before seal seating. For optimal engine performance before beginning the repair, consider using a high-quality fuel injector cleaner to clear any carbon deposits that may affect idle stability.
Remove the Transmission Safely (Step 1)
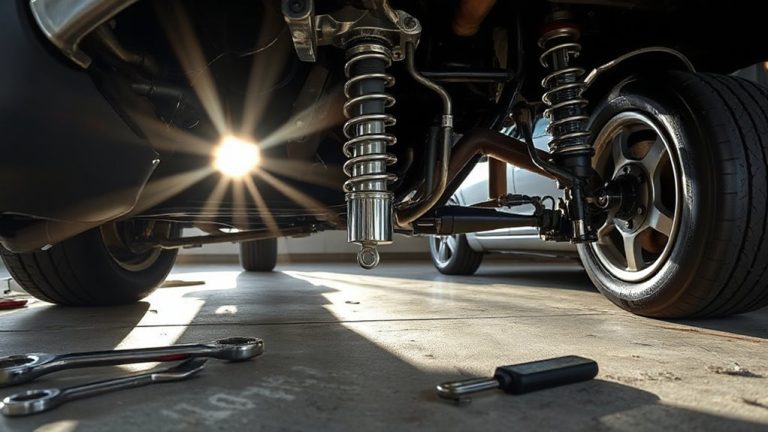
Start by disconnecting the battery’s negative terminal to eliminate electrical hazards during the procedure-this simple step prevents accidental short circuits when working near wiring harnesses or sensors. Next, secure the vehicle on jack stands and apply wheel chocks for safety. You’ll need engine support to stabilize the powertrain before removing transmission mounts. Without proper engine support, the engine could shift or damage components. Use a transmission jack for precise transmission jacking-this guarantees controlled lowering and prevents damage to the bell housing. Always confirm the jack’s load capacity matches your transmission’s weight (typically 75–120 lbs). Avoid lifting by the oil pan or clutch housing. For detailed maintenance and cleaning before reassembly, consider using high-quality car cleaning products to ensure components are free from grime and debris.
| Component | Purpose | Recommended Tool |
|---|---|---|
| Engine support bar | Stabilizes engine | OEM or adjustable bar |
| Transmission jack | Supports transmission weight | 500-lb capacity minimum |
| Jack stands | Holds vehicle securely | 3-ton rating |
| Wheel chocks | Prevents rolling | Rubber or polyurethane |
| Socket set | Removes bolts and fasteners | 1/2-inch drive, metric |
Remove the Old Input Shaft Seal Safely (Step 2)
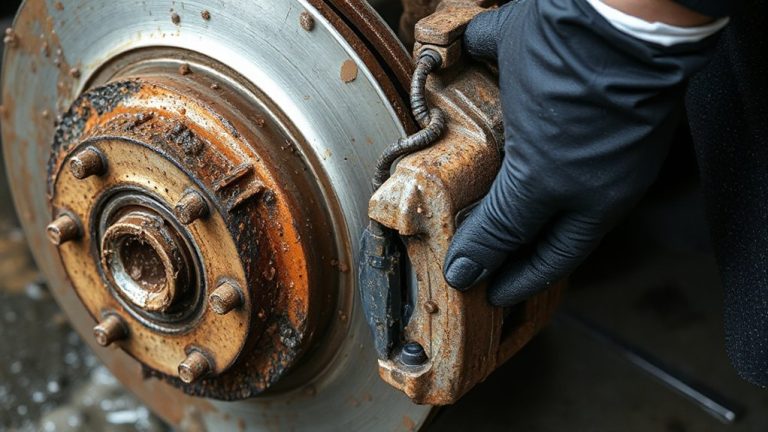
With the transmission safely lowered and supported, focus shifts to extracting the old input shaft seal without damaging the bore or surrounding components. Use proper seal removal techniques: a seal puller with curved jaws engages the seal’s inner edge evenly, preventing bore scratches. Apply steady, controlled pressure to pull the seal straight out. Avoid screwdrivers or sharp tools-they risk gouging the aluminum housing. Once removed, inspect the seal bore for nicks or corrosion; even minor damage can compromise the new seal’s fit. Now’s the time for basic bearing inspection tips: check the input shaft for play or roughness by rotating it gently. Excessive movement or grinding hints at bearing wear, possibly requiring deeper service. Measure the bore diameter-typically 32–34 mm, depending on model-to confirm replacement seal compatibility. Clean the area thoroughly with brake cleaner. Any debris left behind can lead to premature failure.
Install the New Seal and Reconnect the Drivetrain (Step 3)
After verifying the bore is clean and undamaged, press in the new input shaft seal squarely to guarantee a proper fit. Use a seal installer tool to apply even pressure around the edge, avoiding tilt or binding. The seal must sit flush with the transmission front face-typically within 0.5 mm tolerance-to prevent leaks. Once seated, reattach the transmission to the engine. Align dowel pins carefully to secure accurate drivetrain alignment. Misalignment stresses components and can cause premature wear. Secure the bellhousing bolts gradually in a crisscross pattern. Tighten to the manufacturer’s torque specifications-usually 25–32 ft-lbs for most manual RWD units-using a calibrated torque wrench. Proper torque prevents warping and maintains clutch performance. Reconnect the driveshaft, securing U-joints are lubricated and yokes aligned. Double-check all connections before proceeding. Final adjustments come later, but correct assembly now secures smooth operation.
Avoid Input Shaft Seal Failure: Pro Tips
You just finished installing the new input shaft seal and reconnecting the drivetrain, but preventing a repeat failure means paying attention to more than just correct assembly. To prevent failure, guarantee the seal bore is smooth and free of debris-any scoring deeper than 0.002 inches can compromise the seal. Use a seal installer tool to avoid misalignment during mounting. Lubricate the seal lip with transmission oil before engagement. Misaligned input shafts or worn pilot bearings create excess shaft runout-keep runout under 0.003 inches to extend lifespan. Check bellhousing alignment; parallelism must be within 0.006 inches. Operate within the seal’s rated temperature range (–40°F to +250°F). High-viscosity oils increase pressure at the seal interface-stick to manufacturer-specified fluid grades. Replace the seal whenever the clutch is removed. These steps markedly reduce leakage risk and extend lifespan.
On a final note
You’ve sealed the leak at the source. The input shaft seal, typically a 25–35 mm diameter rubber lip seal, now prevents gearbox oil loss. Proper installation guarantees no misalignment or lip damage. Torque bell housing bolts to spec-usually 25–35 Nm. Recheck fluid levels. A sealed transmission runs cooler and lasts longer. Prevent future leaks with regular drivetrain inspections.