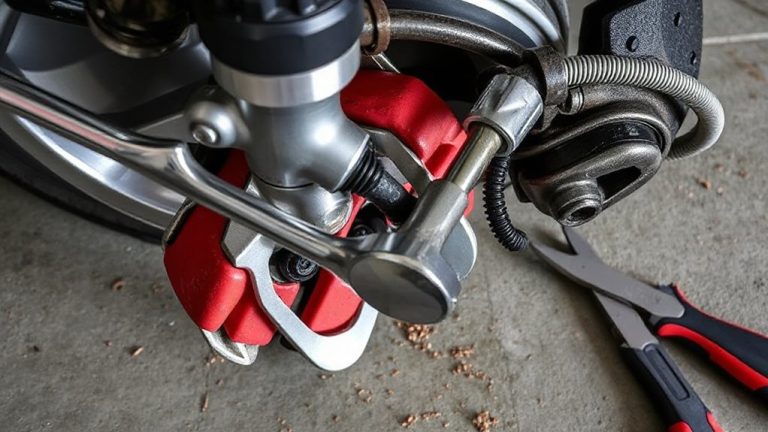
Replacing Rear Brake Pads on a 2014 Kia Optima With Caliper Guide Pin Service
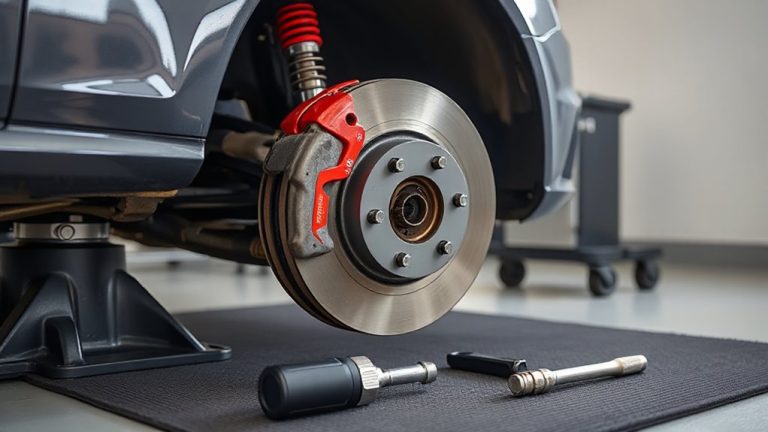
You’ll need a torque wrench, 14mm socket, C-clamp, and combination wrenches to replace the rear brake pads on your 2014 Kia Optima. Use OEM-spec ceramic pads at least 4mm thick and install new anti-rattle clips. Remove the wheel after lifting and securing the vehicle, then unbolt the caliper with a 3/8″ ratchet. Remove the old pads and inspect for wear below 3mm. Compress the caliper piston with a C-clamp slowly to avoid fluid overflow. Service the guide pins by cleaning with brake cleaner, replacing damaged boots, and applying high-temperature synthetic brake grease. Verify pins move freely before reassembly. Check the rotor for warping, scoring, or thickness below 20.0 mm. Clean the hub surface and remount the rotor. Reinstall the caliper and torque guide pins to 27 lb-ft. Torque lug nuts to 74–100 ft-lbs. Confirm brake fluid is at the MAX line using DOT 3 or DOT 4 fluid, and bleed if needed. Perform a low-speed road test to verify firm pedal feel, proper engagement, and absence of vibrations or noise. Further details cover precision steps for each phase.
Notable Insights
- Use a 14mm socket and torque wrench to remove lug nuts and tighten to 74–100 ft-lbs after service.
- Remove two 12mm caliper bolts with a 3/8″ ratchet to access rear brake pads.
- Install OEM-spec ceramic pads with at least 4mm thickness for optimal performance.
- Clean or replace caliper guide pins, applying DOT-compliant high-temperature grease for free movement.
- Inspect rotors for warping and ensure thickness is above 20.0 mm minimum before reassembly.
Tools and Parts for 2014 Kia Optima Brakes
You’ll need specific tools and replacement parts to properly replace the rear brake pads on your 2014 Kia Optima. A torque wrench, C-clamp, 14mm socket, and combination wrenches are essential for precise fastening and piston retraction. Use OEM-spec brake pads with a minimum thickness of 4mm for peak performance. You’ll also need new anti-rattle clips to guarantee stability and reduce noise. Check the brake fluid level before starting-overfilling can cause leaks when compressing the caliper piston. After pad replacement, verify the parking brake adjustment to maintain correct pad clearance and prevent drag. A poorly adjusted parking brake leads to premature wear and reduced effectiveness. Use DOT 3 or DOT 4 fluid as specified by Kia, and inspect the master cylinder reservoir for contamination. These steps guarantee safe, reliable operation. Proper tools and attention to detail make the job efficient and long-lasting.
Remove Wheel and Unbolt Rear Caliper
Begin by lifting the rear of the 2014 Kia Optima with a floor jack and securing it on jack stands rated for at least 3 tons per corner. Confirm tire pressure is within the factory specification-32 psi cold-before removing the wheel to guarantee stability. Use a breaker bar to loosen the lug nuts before lifting; then fully remove them once the car is supported. The correct lug nut torque is 74–100 ft-lbs; record this value for reassembly. After removing the wheel, inspect the caliper mounting bolts-two 12mm hex-head bolts located at the rear of the caliper. Use a 3/8-inch drive ratchet with a 6-inch extension to remove them. Support the caliper with wire or a hanger after unbolted; don’t let it hang by the brake hose. This prevents damage to the hydraulic line.
Replace Rear Brake Pads
With the rear caliper safely unbolted and supported, the brake pads can now be accessed and replaced. Remove the old brake pads from the caliper bracket, noting their orientation and wear pattern. Inspect the brake pad material for cracks, uneven wear, or contamination-typical thickness should be above 3mm. Install new pads matching the original equipment specifications: ceramic material is standard for the 2014 Kia Optima, offering low dust and quiet operation. Before reinstallation, perform caliper piston compression using a C-clamp or dedicated tool. Twist the piston in slowly to avoid damaging the rubber boot-this is necessary because rear caliper pistons recess and must be turned as they retract. Make sure the new pads seat fully against the rotor and backing plates align correctly. Double-check that no foreign material interferes with pad fitment.
Inspect and Service Caliper Guide Pins
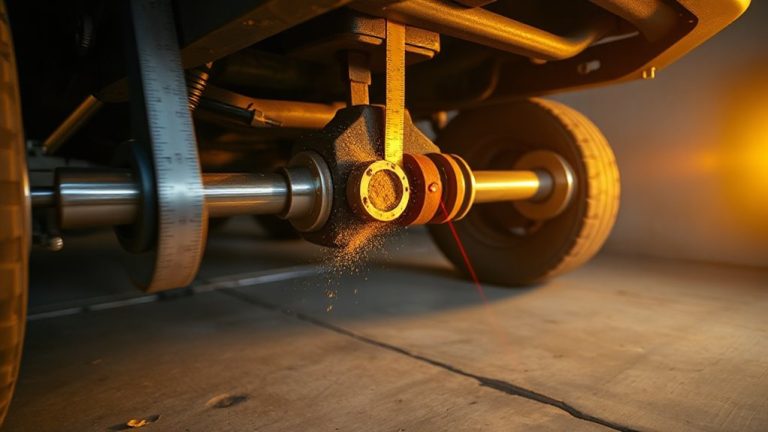
While the caliper remains detached from the bracket, take the opportunity to closely examine the caliper guide pins, as their condition directly affects brake performance and pad wear. Rust, pitting, or binding means uneven pad movement and premature wear. Clean each pin thoroughly using brake cleaner and a wire brush. Check for rubber boot integrity-damaged boots invite brake fluid contamination and impair caliper slide lubrication. Always apply high-temperature synthetic grease designed for caliper slides. Choosing the right product is essential, and the best caliper pin grease options provide long-lasting protection under extreme heat and moisture conditions, making high-temperature synthetic grease critical for reliable brake function.
| Component | Condition | Action |
|---|---|---|
| Guide Pin | Smooth, shiny metal | Re-lubricate |
| Guide Pin Boot | Torn or missing | Replace |
| Slide Motion | Stiff or gritty | Clean or replace pin |
Proper caliper slide lubrication prevents drag, noise, and guarantees even braking. Never use standard grease-use only DOT-compliant, heat-resistant brake grease. Reassemble only when pins move freely within their bores.
Check Rotor, Reassemble, and Test Brakes
After servicing the caliper components, you’ll want to inspect the rotor before reassembly to guarantee safe and effective braking performance. Check for scoring, warping, or thickness below the minimum spec of 20.0 mm. If the rotor is damaged or too thin, replace it. Clean the hub surface thoroughly to assure proper alignment. Reinstall the brake pads and secure the caliper with the guide pins torqued to 27 lb-ft. Connect the brake hose and bleed the system if needed. Verify the brake fluid level is at the MAX line in the reservoir. Test the pedal feel; it should be firm. Perform a parking brake adjustment to assure even rear brake engagement-aim for 6 to 8 clicks when applying. Finally, road test at low speed, then gradually increase to confirm consistent stopping and no vibrations.
On a final note
You’ve successfully replaced the rear brake pads and serviced the caliper guide pins. Proper torque on the guide pin bolts is 27 ft-lbs-critical for preventing seizure. Always inspect rotor thickness; minimum spec is 20.4 mm. Reassembled components guarantee even pad wear and maximum braking. Test the system at low speed first. A firm pedal and quiet operation confirm correct installation. Brake performance directly depends on precise service execution.