How to Upgrade Factory Speaker Locations Without Drilling New Holes
You can upgrade factory speakers without drilling by choosing direct-fit replacements in common sizes like 5.25” or 6×9”. Match the original mounting depth and impedance-usually 4 ohms-for seamless compatibility. Use a plug-and-play harness to connect new speakers without cutting wires. Seal the back with butyl tape or foam to prevent leaks. High-sensitivity models (87dB+) perform well with stock head units. Properly secured, dash-mounted tweeters improve clarity. More details follow.
Notable Insights
- Use plug-and-play replacement speakers that match factory size and mounting dimensions for a direct fit.
- Retain OEM wiring with harness adapters to connect new speakers without cutting or splicing wires.
- Install foam or rubber gaskets to seal the speaker mounting surface and prevent air leaks.
- Choose high-sensitivity speakers to maximize performance with the factory head unit’s power output.
- Add tweeters with surface-mount brackets or dash placements to enhance highs without drilling.
Find Your Factory Speaker Size Fast
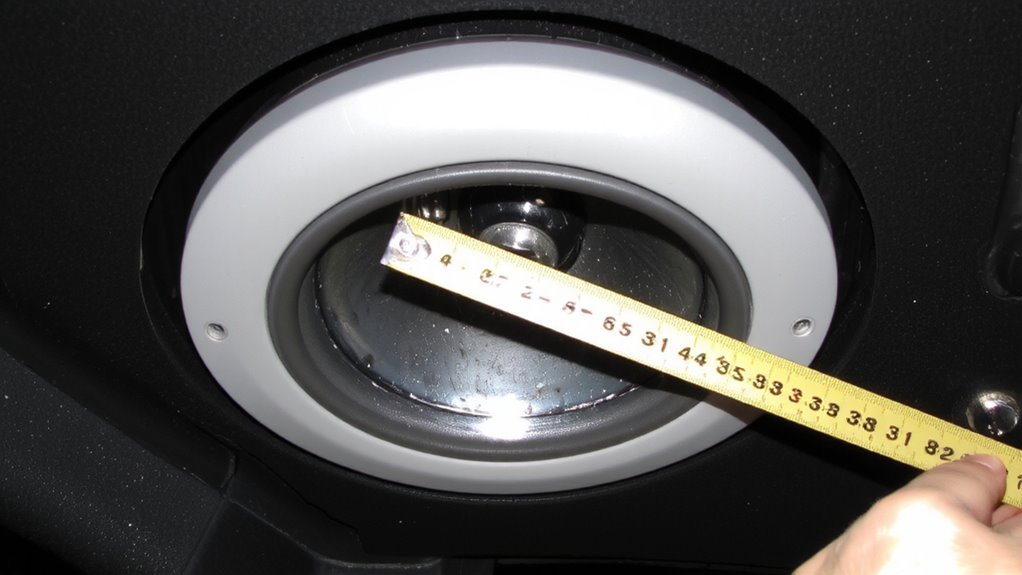
How do you know which speaker size fits your factory locations without tearing apart your doors or dash? You start with precise measurement and model-specific research. Factory speaker sizes typically range from 3.5 to 6.75 inches in diameter, with 5.25 and 6×9 being most common. Check your vehicle’s manual or consult OEM specifications online to confirm exact dimensions. Use a ruler or tape measure to verify depth and mounting diameter. Speaker replacement isn’t just about fit-it directly impacts audio quality. Even high-sensitivity speakers (90 dB and above) underperform if mismatched. Guarantee new speakers match your factory impedance, usually 4 ohms. A proper-sized speaker maximizes cone movement and voice coil efficiency. Think of it like shoes: wrong size means poor performance. Accurate sizing ensures clean highs, defined mids, and tighter bass-no drilling required.
Choose Plug-and-Play Upgrades That Fit Perfectly
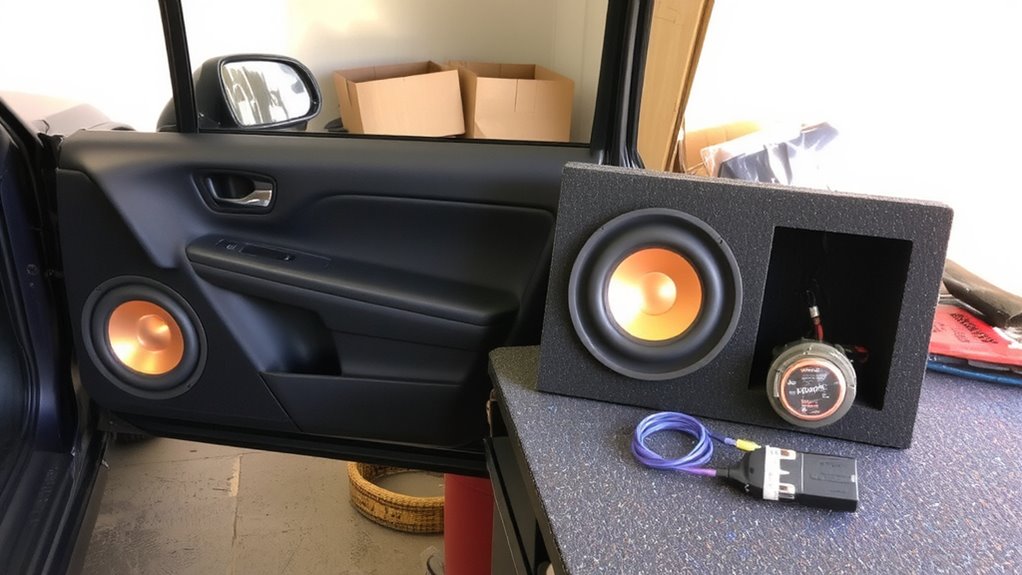
Once you’ve confirmed your factory speaker size, the next step is selecting replacements that install seamlessly without modification. You need plug-and-play upgrades with exact speaker compatibility-measured in diameter, depth, and mounting pattern-to avoid alterations. Most factory openings support common sizes like 6.5” or 6×9”, so matching these specs guarantees a flush fit. Wiring adaptability is critical; choose speakers with OEM harness compatibility so you can connect directly without splicing wires. Look for models labeled “direct fit” or “factory replacement,” as they’re engineered for your vehicle’s stock location. These upgrades typically feature integrated mounting tabs and aligned screw holes. High-sensitivity speakers (87dB and above) perform efficiently with factory head units. Guaranteeing both speaker compatibility and wiring adaptability means you get better sound without extra tools or modifications-like swapping batteries in a flashlight, it should just work.
Seal and Mount Speakers Without Drilling
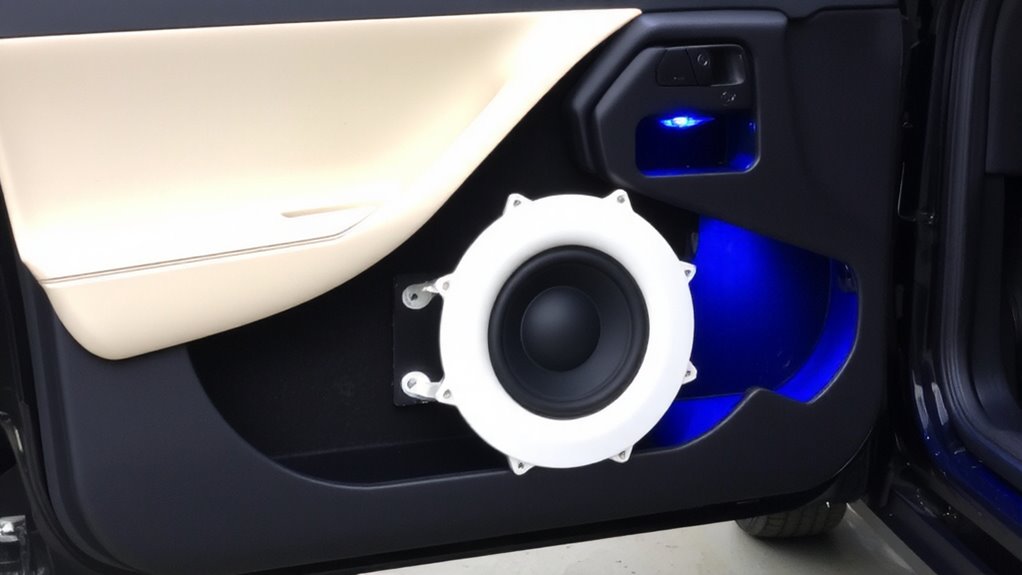
A tight seal and secure mount are essential for best speaker performance-especially when you’re avoiding permanent modifications. Use foam or rubber gaskets to create a weatherproof seal between the speaker and mounting surface. This prevents air leaks that degrade bass response and cause distortion. Apply butyl rubber tape or closed-cell foam pads around the speaker’s perimeter to fill gaps without drilling. These materials compress evenly, maintaining structural integrity. For a secure mount, rely on adhesive-backed brackets or tension-based enclosures compatible with factory speaker dimensions. These supports handle vibration and thermal expansion, essential for long-term durability. Test fitment before final installation-ensure the speaker sits flush and doesn’t wobble. A properly sealed and mounted speaker improves efficiency by up to 3 dB, matching factory acoustics without modification. The weatherproof seal also protects internal components from moisture and dust.
Connect New Speakers With No Wire Cutting
You’ve secured the speakers in place with an airtight seal and reliable mounting-now it’s time to power them without altering a single factory wire. Use adapters that tap into factory harnesses via plug-and-play connections. These preserve your vehicle’s electronics and enable quick installation. Magnetic mounting simplifies positioning for testing before final setup. It’s ideal for door panels or rear decks where access is tight. Wireless connectivity modules transmit audio signals from the head unit to amplifiers or active speakers. They support Bluetooth 5.0 or aptX for low-latency, high-fidelity sound.
| Feature | Benefit |
|---|---|
| Plug-and-play harness | No cutting; retains OEM wiring |
| Bluetooth 5.0 | Stable wireless connectivity up to 33 ft |
| aptX HD support | 24-bit audio streaming quality |
| Magnetic mounting base | Quick repositioning and alignment |
| 2.4 GHz digital transmission | Minimal interference, high reliability |
Add Tweeters to Dash or Pillars for Clearer Sound
How do you achieve crisp, detailed highs without rewiring or drilling? Add tweeters to your dash or A-pillars. Proper tweeter placement dramatically improves sound staging, creating a lifelike audio image that seems to float between you and the windshield. Mount tweeters on the dash for easier access, but expect limited vertical dispersion. A-pillar mounting raises the listening axis, aligning tweeters closer to ear level for a more immersive experience. Most 1-inch dome tweeters operate efficiently between 3,000 Hz and 20,000 Hz, requiring a crossover set around 3,500 Hz to block damaging lows. Surface-mount brackets allow fine directional aiming without permanent modifications. Angling tweeters toward the ears enhances detail and timing. This setup improves transient response and spatial accuracy. You’ll hear subtle instrument separation and better front-to-back depth. Sound staging becomes tighter, more focused-like moving from standard definition to HD audio. No drilling required.
On a final note
You’ve upgraded your factory speakers without drilling. Match replacement speakers to your OEM size-commonly 5.25″, 6.5″, or 6×9″-for exact fitment. Use foam gaskets to seal speaker baskets, preventing sound leakage. Speaker harness adapters enable plug-and-play wiring. Add 1″ dome tweeters to dash or A-pillars for improved high-frequency response. This approach maximizes audio clarity, efficiency, and system output while preserving factory trim and integrity.