Working Around Integrated Side Airbags During Inner Door Skin Treatment
You must disable the airbag system before starting work. Disconnect the negative battery terminal and wait at least 15 minutes to dissipate stored energy. Verify deactivation using a diagnostic scan tool via the OBD-II port. Remove door panels with plastic tools to avoid triggering sensors. Shield the airbag housing with a 0.060-inch aluminum barrier during sanding. Keep sanding discs at least 2 inches away and use tools under 3,000 RPM near the housing. When refinishing, apply coatings no thicker than 3–4 mil per pass and cure below 185°F. Reconnect wiring exactly as routed and confirm system integrity with a full diagnostic scan. Further details reveal critical steps most overlook.
Notable Insights
- Disable the airbag system and disconnect the battery, waiting 15 minutes to ensure capacitor discharge before starting work.
- Verify system deactivation using a diagnostic scan tool to confirm no power in the side airbag circuit.
- Use plastic trim tools to safely remove door panels, avoiding damage to airbag wiring and connectors.
- Shield the airbag housing with a rigid heat-resistant barrier during sanding, maintaining a 2-inch clearance.
- Reassemble components precisely, route harnesses correctly, and use a scan tool to confirm no SRS fault codes.
Disable the Airbag System Before Door Work
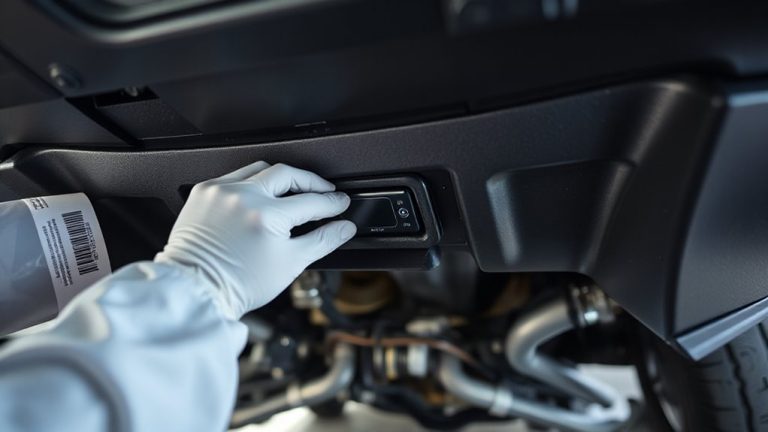
Safety is non-negotiable when working near airbag systems. You must disable the airbag system before any door work to prevent accidental deployment. Begin by disconnecting the negative battery terminal-wait at least 15 minutes to guarantee system capacitance dissipates. This step is critical for electrical safety, as residual voltage can trigger the Supplemental Restraint System (SRS). Never bypass this delay; airbag modules store energy even with the key off. After disconnecting, verify system deactivation using diagnostic scanning. Plug a qualified scan tool into the OBD-II port and confirm no SRS faults or live power to the side airbag circuit. Most modern vehicles require this verification to guarantee full disablement. Diagnostic scanning also identifies hidden module communications, which visual inspection alone can’t detect. Follow OEM procedures precisely-airbags deploy at 200 mph, making proper disarming essential. Your safety depends on strict adherence to protocol.
Remove Door Panels Without Triggering Sensors
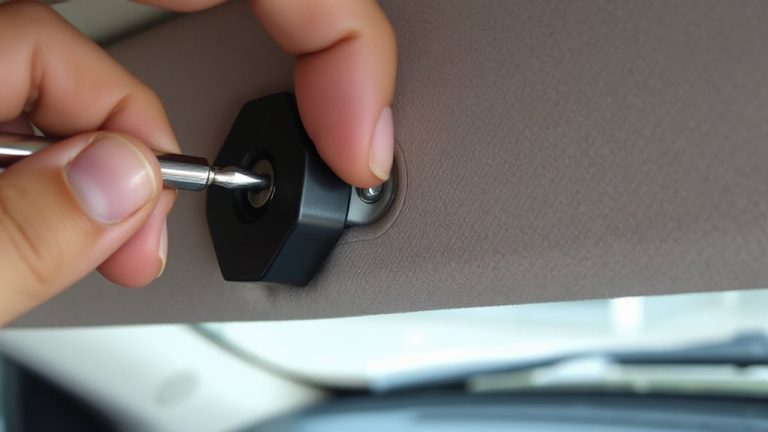
While the airbag system remains disabled, you can safely begin removing the door panel without risking sensor activation. Proper sensor isolation is critical-verify the vehicle’s diagnostic system reports the airbag circuit as open before proceeding. Start by disconnecting the battery and waiting at least 15 minutes to guarantee residual power is depleted. Use a plastic trim tool to gently release retaining clips, avoiding metal tools that could damage door wiring or create shorts. Most modern panels secure with 6–10 clips spaced evenly along the border, plus 2–3 screws typically located near the armrest and lower forward edge. Disconnect electrical connectors carefully, supporting the harness to prevent strain. Maintain clean access to the inner door frame by routing door wiring away from sharp edges or moving components. Confirm no stress is placed on sensor wiring, which often runs along the door’s cavity toward the impact detection zone.
Shield the Airbag Housing During Sanding
Protect the airbag housing before starting any sanding operation near the door’s inner structure. Cover the housing with a rigid heat-shielded barrier, such as 0.060-inch aluminum sheeting, to prevent debris and heat from compromising airbag containment. Sanding too close without protection risks igniting residual propellants or weakening the housing’s structural integrity. Maintain at least a 2-inch clearance between the sanding disc and the housing’s edge. Use low-speed rotary tools (under 3,000 RPM) near the zone to minimize vibration transfer. Secure shielding with high-temperature tape rated to 300°F to prevent movement. Never sand directly over mounting brackets or seams on the housing. Damage to internal components can disable deployment. Treat the area as a critical safety zone-any compromise may result in failure during impact. Preserve the housing’s shape and fit. Your shielding method must allow full access to adjacent areas while maintaining complete coverage.
Refinishing Door Skins Around Airbag Housings
Since the airbag housing must remain intact and functional after refinishing, treat the surrounding door skin with precision. Mask the housing thoroughly using heat-resistant tape and high-quality shields to prevent overspray intrusion. Maintain strict ventilation requirements during spraying-use downdraft tables or exhaust systems moving at minimum 100 feet per minute to reduce particulate accumulation near sensors. Apply primer and topcoat with even 3-4 mil wet film thickness per pass to avoid runs near seams. Guarantee all products demonstrate proven adhesive compatibility with OEM plastic substrates, especially around impact detection zones. Test adhesion using cross-hatch ASTM D3359 methods after cure. Avoid flexible sealers unless verified by manufacturer specifications. Cure coatings at recommended temperatures-never exceed 185°F (85°C), as excessive heat compromises internal airbag components. Always verify manufacturer clearances before resuming assembly.
Use Safe Paint Methods Near Airbags
A proper paint application near airbags starts with selecting low-VOC, isocyanate-free coatings to minimize chemical exposure to sensitive components. You must guarantee chemical compatibility between the paint and airbag materials, as aggressive solvents can degrade nylon and silicone seals. Use waterborne basecoats with less than 2.1 lbs/gallon VOC content to reduce risk. Avoid paints containing strong ketones or chlorinated solvents-they compromise airbag fabric integrity. Apply coatings in thin, even layers no thicker than 1.5 mils per pass to prevent trapping heat. Airbag modules exhibit heat sensitivity; cure temperatures must not exceed 65°C (149°F) during drying. Forced-air convection at 60°C for 15 minutes is acceptable, but infrared heating could create hotspots. Maintain a minimum 50 mm clearance between the nozzle and airbag housing during spraying. Always follow OEM-specified materials and procedures to protect system reliability and guarantee occupant safety.
Avoid Reassembly Errors That Disable Airbags
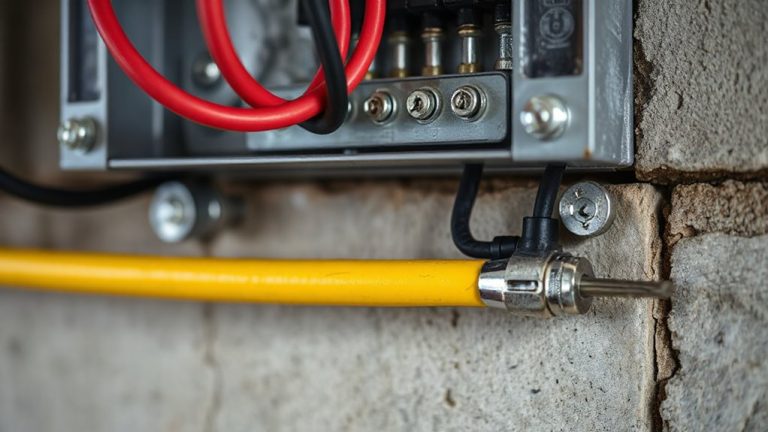
When putting components back together after door service, you can’t afford to overlook the correct positioning and routing of airbag wiring harnesses. Misrouted wires can kink or compress, interrupting signal transmission. Make sure connectors click securely and insulation remains intact-damage as small as 1.5 mm can disrupt circuit continuity. Improper sensor alignment skews impact detection, delaying or preventing deployment. Side-impact sensors rely on precise mounting angles; even 3° off can degrade response accuracy. Always verify the harness follows factory routing paths-deviations greater than 10 mm from OEM specs risk interference with door mechanisms. Never pinch wires under trim panels; use designated clips to maintain separation. Incorrect assembly may corrupt airbag calibration data, requiring diagnostic tools to reset SRS modules. A single loose ground strap can nullify system integrity. Post-reassembly, confirm no fault codes appear-this makes sure the airbag system remains active and calibrated. You’re not just reassembling-you’re restoring life-saving functionality.
Know When to Call a Professional
How confident are you that every connection in the airbag system is secure and within OEM tolerances? Airbag circuits demand precise torque specifications-typically 6–9 Nm for connector fasteners-and any deviation risks system failure. You might not have the diagnostic software to reset fault codes or verify SRS calibration post-repair. Without it, hidden airbag malfunction risks remain undetected. Improper tool usage, like substituting a standard wrench for a torque-sensitive one, can crack connectors or strip threads, especially on sensitive pretensioner wiring. These systems operate at 12 volts but trigger based on millisecond-level signal accuracy. A single pinched wire or poorly seated harness can disable deployment. OEMs require multimeter testing and scan tool validation after service. If you’re unsure about continuity readings or resistance values (usually 2.0–4.0 ohms for side bags), call a certified technician. They’ve got OEM tools and calibration protocols. Safety isn’t worth the gamble.
On a final note
You must disable the airbag system by disconnecting the battery for at least 15 minutes before starting work. Always verify power is off using a multimeter at the airbag connector. Remove door panels carefully to avoid stressing wiring harnesses. Protect the airbag module with heat-resistant shielding during sanding. Use low-VOC, airbag-safe paints with no solvent vapors. Reconnect only after full cure. Misalignment or paint in the deployment path risks failure. When in doubt, consult a certified technician.