Surface Preparation Requirements Explained: A Guide to Perfect Paint Protection
You need flawless surface prep for long-lasting paint protection. Start with a pH-balanced wash and deionized water to remove dirt and prevent mineral deposits. Use a synthetic clay bar to eliminate bonded contaminants. Inspect with 10x magnification and repair defects deeper than 0.05mm. Sand refinished areas at 400–600 grit to guarantee micro-roughness. Wipe with 70% IPA and a 300 g/m² lint-free towel. Surface energy must reach 38 dynes/cm for maximum bonding. There’s more to mastering the process.
Notable Insights
- Proper surface cleaning removes contaminants that compromise paint protection adhesion and prevent early film lifting.
- Clay barring with lubricant eliminates bonded pollutants, ensuring a smooth, contaminant-free surface for optimal bonding.
- Surface energy must reach at least 38 dynes/cm to ensure strong adhesion of paint protection films.
- Sand refinished areas with 400–600 grit paper to create micro-roughness without damaging the substrate.
- Perform a final wipe with 70% IPA using lint-free towels within three minutes before film application.
Why Surface Prep Matters for Long-Lasting Paint Protection
Though it might seem like a small step, proper surface preparation directly impacts how well paint protection lasts over time. You need proper cleaning to remove microscopic contaminants that compromise adhesion. Residual oils, waxes, or silicones create weak points where lifting can begin within weeks. Early inspection helps identify defects like swirls, scratches, or corrosion that must be corrected before film application. These flaws trap air and moisture, reducing bonding strength. Surface energy levels should measure at least 38 dynes/cm for peak adhesion. Without this, film edges may delaminate under thermal cycling. Deionized water rinsing guarantees no mineral deposits interfere. Use IPA at a 50/50 dilution to finalize prep. Skipping early inspection risks sealing in damage, reducing clarity and protection. Proper cleaning and early inspection aren’t optional-they’re essential for durability exceeding five years.
How to Remove Dirt and Contaminants Before Application
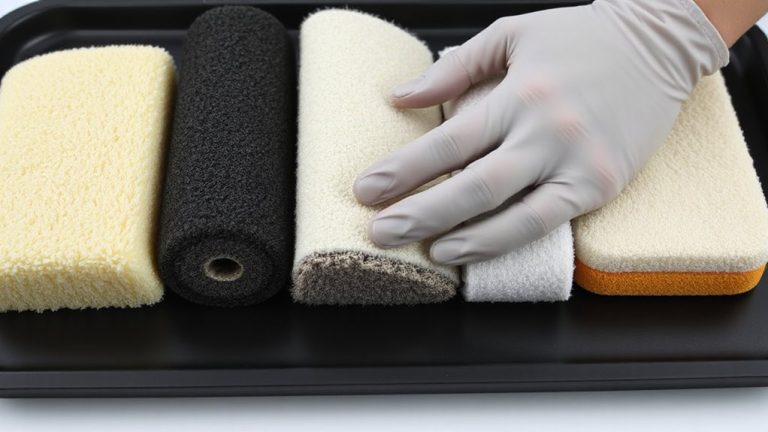
Cleanliness is non-negotiable when prepping a surface for paint protection film. You must achieve a contaminant-free surface to guarantee proper adhesion. Start with a thorough wash using pH-balanced car shampoo and deionized water to eliminate surface dirt. Rinse thoroughly to prevent water spots. Dry with a clean, microfiber towel to avoid reintroducing particles. Then perform clay barring using a synthetic clay bar and lubricant. Glide the clay over the panel in straight lines; it grabs bonded contaminants like industrial fallout, tree sap, and brake dust. You’ll feel the surface smooth out as contamination removal occurs. Perform a swipe test with your hand-if it glides without grittiness, you’re ready. Never skip this step, as unseen pollutants compromise film bonding. Confirm surface readiness by visual inspection and touch. Proper decontamination guarantees long-term protection and flawless installation. Using the right detailing brushes can significantly improve the effectiveness of your cleaning process, especially in hard-to-reach areas.
Assess and Repair Surface Damage Early
You’ve already removed surface contaminants, but micro-imperfections may still compromise film adhesion and visual clarity. Early assessment prevents costly failures. Use 10x magnification for crack detection-surface fissures deeper than 0.05mm must be repaired before film application. Employ dye penetrant tests to reveal subsurface flaws invisible to the naked eye. Corrosion mapping with electronic conductivity scanners identifies moisture retention zones and early oxidation beneath clear coats. Target areas with readings above 15% moisture content; these compromise both paint and film longevity. Repair damage using epoxy-based fillers rated for automotive substrates, guaranteeing cured hardness matches OEM specs. Always follow OEM repair protocols. Ignoring small cracks or hidden corrosion leads to delamination and fisheyes. Addressing defects now guarantees 7–10-year film performance. Think of it like sealing a roof: a single unnoticed leak ruins the entire structure. Early care equals lasting protection. For optimal surface decontamination before inspection, use a car clay bar to remove embedded contaminants that washing alone cannot eliminate.
Sanding Secrets for Better Paint Protection Adhesion
When preparing bare or refinished surfaces for paint protection film (PPF), proper sanding isn’t just about smoothing-it’s about creating a micro-roughness that maximizes adhesive bond strength. Your grit selection directly affects this. Start with 400–600 wet-grit sandpaper for refinished areas to scuff the surface without gouging. Never use anything finer than 800, or you’ll reduce adhesion. Your sanding technique matters just as much. Sand in straight lines rather than circles to avoid uneven texture. Apply light, consistent pressure-excess force creates heat and warps substrates. Always feather edges into surrounding paint, reducing ridges. Wash away residue after sanding. This micro-roughened surface gives the PPF adhesive mechanical anchoring points. Think of it like textured grip tape-smooth won’t hold, but properly abraded surfaces lock the film in place. Using a dual-action sander for car paint ensures consistent, swirl-free abrasion that enhances adhesion while protecting the underlying surface.
Degrease Like a Pro for Stronger Bonding
A perfectly sanded surface means nothing if contaminants compromise adhesion. You need to degrease like a pro for stronger bonding. Use a dedicated detailing wipe or prep solution designed for paint protection film (PPF) or ceramic coatings. These cleaners offer precise solvent strength to dissolve oils, silicones, and road residues without damaging the substrate. Always verify chemical compatibility with your surface-especially over freshly applied primers or clears. Isopropyl alcohol (IPA) mixtures above 70% work well but may dry too fast in hot conditions. Slower-evaporating solvents like xylene provide longer dwell time but require proper ventilation. Apply with a lint-free cloth using firm pressure in straight motions to avoid spreading grime. Residue-free drying is critical-any leftover cleaner creates a weak boundary layer. Proper degreasing guarantees the protection bonds directly to the surface, not to grease.
Final Wipe: The Last Step for a Perfect Seal
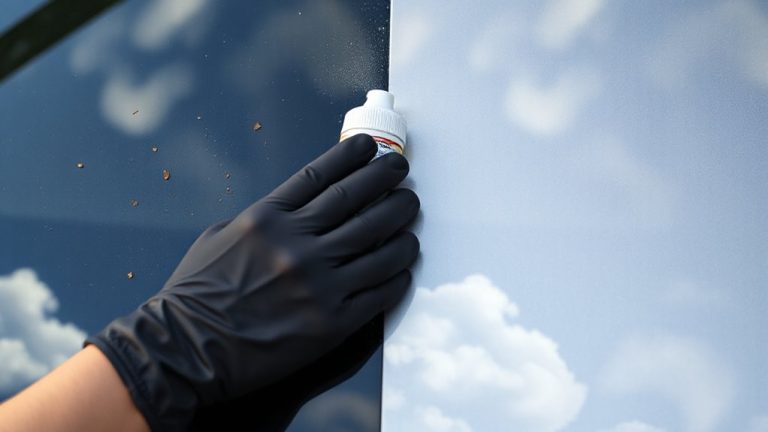
The final wipe isn’t just a cleanup-it’s the critical barrier between contamination and a flawless bond. You’re removing the last traces of chemical residue that even degreasers can leave behind. Use an isopropyl alcohol (IPA) solution at 70% concentration-it’s proven to evaporate cleanly without introducing new contaminants. Apply the solution with lint free towels to prevent fibers from sticking to the surface. Microfiber lint free towels are ideal, with a weave density of at least 300 grams per square meter, ensuring no particles are left behind. Wipe in a single direction using moderate pressure-about 2 to 3 pounds per square inch-to avoid redistributing debris. Do this immediately before film application, within a 3-minute window, to minimize airborne dust settling. This step guarantees the adhesive meets only bare paint, not residue, ensuring maximum adhesion and long-term protection.
On a final note
You’ve prepped correctly when contaminants are gone and the surface is sound. Remove dirt with pH-neutral cleaners; test with a water break test-beading indicates residue. Sand imperfections to 320–600 grit for uniform texture. Use isopropyl alcohol (70% minimum) for final wipe. Apply paint protection film (TPF) within two hours. Proper prep guarantees 7–10 year durability, 98% clarity retention, and zero edge-lifting. It’s not optional-it’s essential.