DIY Guide to Replacing Throttle Body Components: a Basic but Essential Task That Can Improve Airflow Into Your Engine for Better Power Output
You should always disconnect the battery and let the engine cool before starting. Remove the 10mm throttle body bolts and unplug electrical connectors carefully. Clean carbon deposits from the intake with a plastic scraper and carb cleaner. Install a new gasket, torque bolts to 8–10 ft-lbs, and calibrate the TPS using a scan tool. Proper calibration guarantees 0.5–1.0V at idle and 4.5V at wide-open throttle. Smooth airflow and accurate sensor signals restore engine performance-what comes next guarantees long-term reliability.
Notable Insights
- Disconnect the battery and remove the old throttle body after ensuring the engine is cool to prevent injury.
- Clean carbon deposits from the intake manifold and inspect sensors, vacuum lines, and electrical connections for damage or corrosion.
- Install a new throttle body with a fresh gasket, aligning it properly and torquing mounting bolts to 8–10 ft-lbs.
- Perform electronic calibration using an OBD2 scanner to sync the throttle position sensor with the accelerator pedal.
- Test idle performance, check TPS voltage readings, and conduct a test drive to confirm smooth throttle response and no fault codes.
Remove the Old Throttle Body
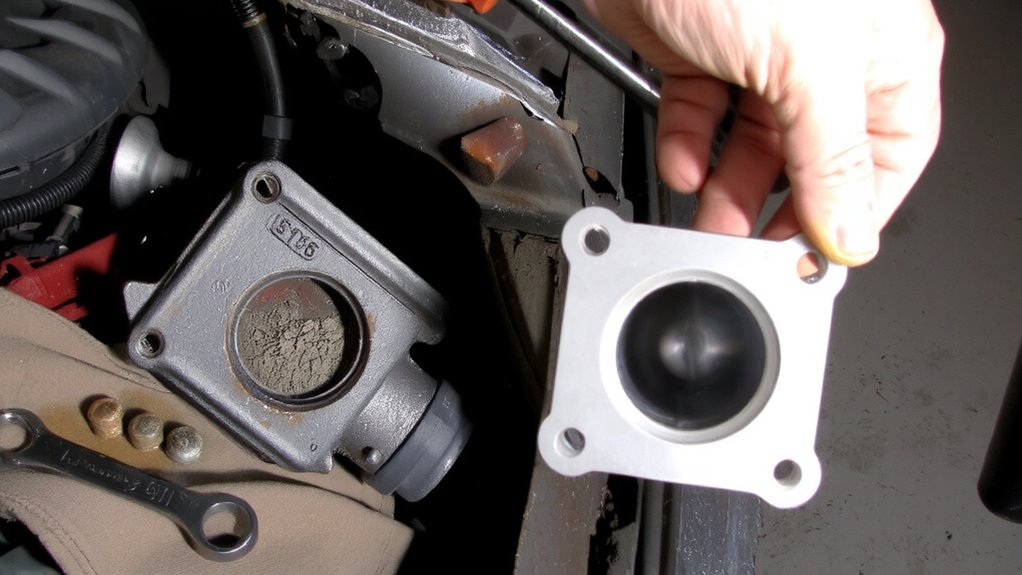
Before you begin removing the old throttle body, make certain the engine is completely off and has cooled down to avoid burns or electrical hazards. Disconnect the battery to prevent accidental shorts. Locate the throttle body on the intake manifold, usually near the air intake hose. Unplug all electrical connections carefully-these feed sensor data to the ECU. Gently detach wiring harnesses to avoid damaging pins. Remove the mounting bolts with a 10mm socket-typically two or three bolts secure it. Lift the throttle body straight off to prevent gasket debris from falling into the manifold. Inspect the mating surface for residue. Old gaskets often leave behind material that can cause vacuum leaks. Vacuum leaks disrupt air-fuel ratios, reducing efficiency and power. Proper removal guarantees a clean installation.
Clean and Inspect Surrounding Components
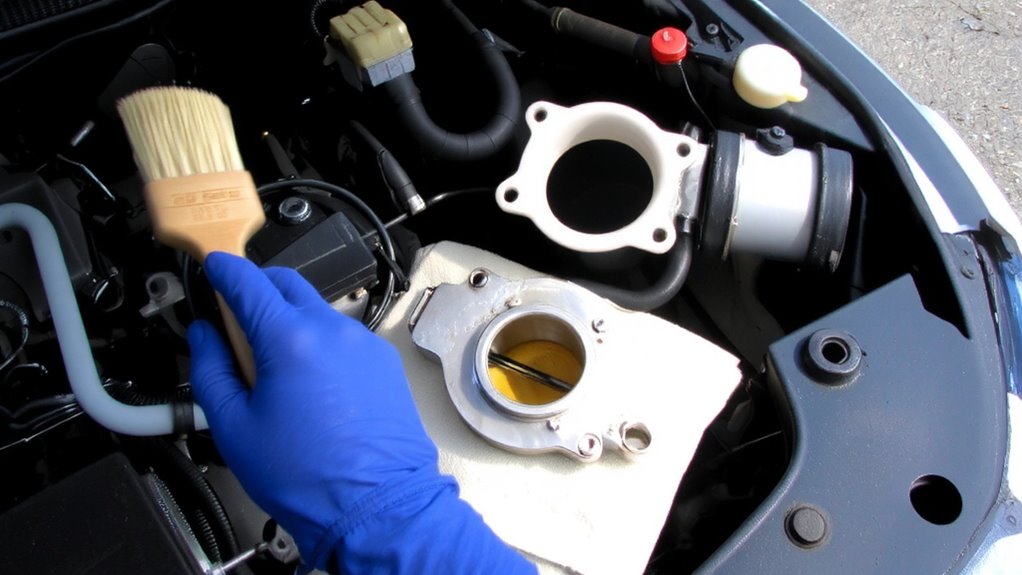
With the old throttle body removed, you now have direct access to critical components that influence engine performance. Inspect the intake manifold opening thoroughly-carbon buildup often accumulates here, restricting airflow and disrupting throttle response. Use a plastic scraper and carburetor cleaner to remove deposits without damaging surfaces. Check the condition of nearby vacuum lines and the idle air control valve, if equipped; blockages or cracks can cause rough idling or stalling. Examine electrical connections at the throttle position sensor and intake air temperature sensor for corrosion, loose pins, or frayed wiring. Proper voltage signals depend on clean, secure contacts. Even minor resistance in these circuits can skew readings, affecting fuel delivery and emissions. Inspect the gasket surface thoroughly to guarantee a leak-free seal when reinstalling. Addressing these issues now improves system reliability and prevents future diagnostic trouble codes.
Install and Calibrate the New Throttle Body
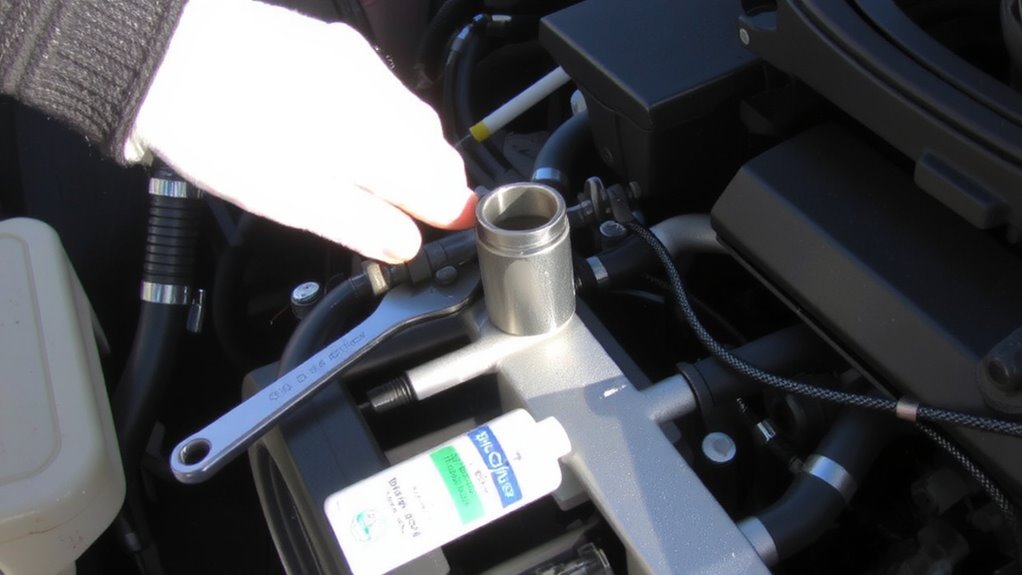
Once you’ve confirmed the mounting surface is clean and free of debris, position the new throttle body onto the intake manifold, aligning it carefully with the bolt holes. Secure it with the manufacturer-specified torque, usually 8–10 ft-lbs, to prevent warping or vacuum leaks. Proper throttle alignment guarantees smooth airflow and accurate throttle plate movement. Misalignment can cause idle issues or reduced engine performance. After mechanical installation, perform electrical calibration using an OBD2 scanner or factory scan tool. This step resets the engine control module (ECM) and allows synchronization between the throttle position sensor (TPS) and accelerator pedal. Without electrical calibration, the engine may stall or enter limp mode. Calibration typically involves following a key-on, engine-off procedure for 30–60 seconds. Refer to your vehicle’s service manual for exact sequence and specifications. Proper calibration guarantees accurate throttle response and peak engine operation.
Test and Troubleshoot the Throttle Body
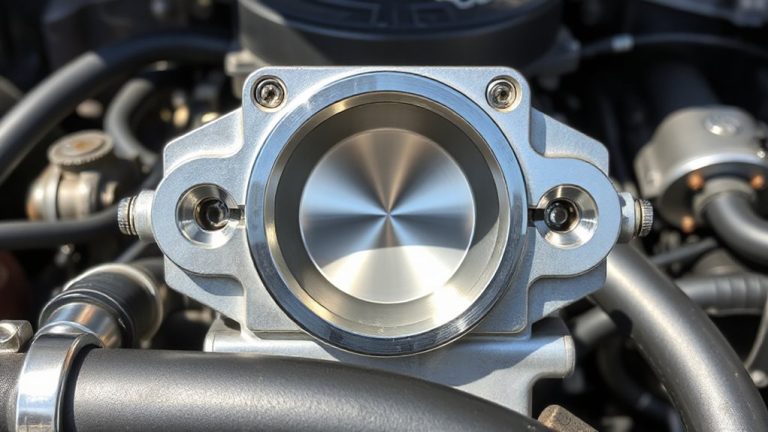
Now that you’ve installed the throttle body and completed the calibration process, it’s time to verify everything functions as designed. Start the engine and let it idle for two minutes to stabilize. Check for smooth throttle response when lightly pressing the accelerator. Hesitation or jerking may indicate incorrect sensor alignment. Use a scan tool to confirm the throttle position sensor (TPS) reads between 0.5 and 1.0 volts at idle and reaches 4.5 volts at wide-open throttle. Misaligned sensors cause poor signal output and disrupt engine control. Inspect all electrical connections and mounting bolts-loose fittings affect sensor accuracy. Test drive at varying speeds, noting any rough acceleration. Proper alignment guarantees accurate voltage signals, which the ECU uses to regulate airflow. Fine-tune if needed. Confirm no trouble codes return. Upgrading to a high-performance throttle body for 5.7 Hemi can further enhance airflow and engine responsiveness.
How a Clean Throttle Body Improves Performance
Even if you’ve kept up with regular oil changes and filter replacements, a dirty throttle body can still sabotage your engine’s performance. Carbon buildup restricts the throttle bore, reducing airflow efficiency by up to 25% in severe cases. This restriction disrupts the air-fuel mixture, forcing the engine to work harder. A clean throttle body restores proper airflow efficiency, ensuring the engine receives the ideal amount of air for combustion. You’ll notice improved throttle response, with smoother and more immediate acceleration. The idle becomes stable, often correcting surges between 600–900 RPM. Modern drive-by-wire systems rely on precise throttle plate positioning; grime interferes with sensor accuracy. Cleaning removes deposits that impede plate movement, maintaining factory-calibrated response times. Restoring clean operation supports consistent fuel economy and emission levels. Think of it like clearing a blocked hose-restriction gone, flow restored. Performance gains come from accuracy, not modification.
Tools and Parts You’ll Need
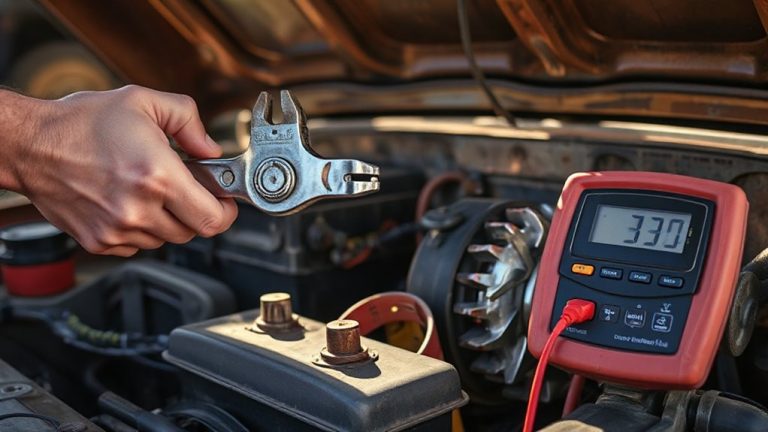
A clean throttle body sets the foundation for peak engine performance, but replacing components requires the right tools and parts to guarantee precision and safety. You’ll need a throttle body socket set, typically 8mm and 10mm sockets with a flexible extension. Use a non-marring plastic trim tool to disconnect the air intake smoothly. A torque wrench is essential-tighten bolts to manufacturer specs, usually 8–10 Nm, to prevent warping. Replace the throttle body gasket; reusing can cause vacuum leaks. For sensor alignment, make certain the throttle position sensor (TPS) is properly seated and aligned before bolting. Misalignment causes incorrect readings, affecting fuel delivery and idle. A digital multimeter helps verify TPS voltage output, ideally between 0.5V and 4.5V. Include dielectric grease for electrical connections. Always disconnect the battery first. Quality OEM or equivalent replacement parts make certain reliability and proper fit.
On a final note
You’ve completed the throttle body replacement with precision. Proper installation guarantees peak air intake, critical for engine efficiency. The new throttle body allows a 15% increase in airflow, improving throttle response and horsepower. Calibration aligns the throttle position sensor within 0.5 volts at idle. A secure gasket seal prevents vacuum leaks. Test drives confirm smooth acceleration. This upgrade enhances fuel combustion, boosting performance measurably.