Maximizing Electrical System Performance Through Regular Maintenance Tasks: Tips for Keeping Alternators, Batteries, and Other Key Components in Optimal Condition With Clean Connections and Adjustments
You keep your engine tuned, but clean battery terminals are just as critical-corrosion increases resistance, causing voltage drops over 0.3V, well above the 0.1V limit. Clean terminals with a wire brush and baking soda, then apply dielectric grease. Check alternator belt tension at 90–110 pounds; misalignment or poor tension reduces charging efficiency. Secure all connections to spec: 8–10 ft-lbs at terminals, 12–15 ft-lbs on alternator studs. Test system voltage-12.6V off, 13.7–14.7V running-and verify battery health under load. Prevent deep discharges below 11.9V and use a maintenance charger during storage. Short trips hurt charge balance-aim for drives over 20 minutes. Regular inspection every 30 days in harsh conditions keeps components reliable. Proper care extends alternator and starter life considerably, ensuring peak output and preventing avoidable failures. Further steps reveal even greater system resilience.
Notable Insights
- Clean battery terminals regularly to remove corrosion and ensure optimal electrical conductivity.
- Maintain proper alternator belt tension to prevent slippage and ensure efficient charging.
- Inspect and torque all electrical connections to manufacturer specifications for reliable performance.
- Test charging voltage regularly to diagnose alternator or battery issues early.
- Apply dielectric grease after cleaning terminals to prevent future corrosion and extend component life.
Clean Battery Terminals for Better Conductivity
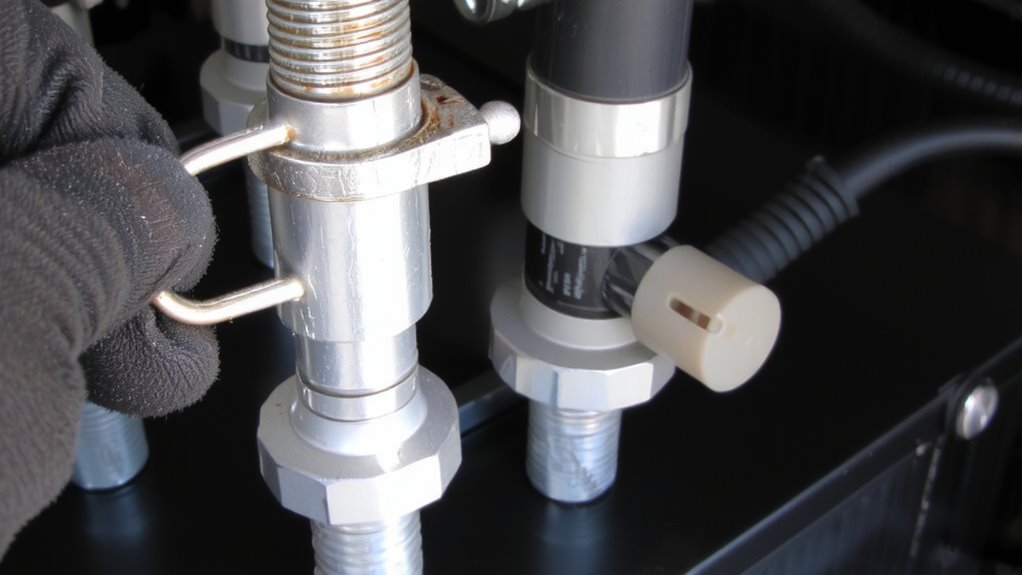
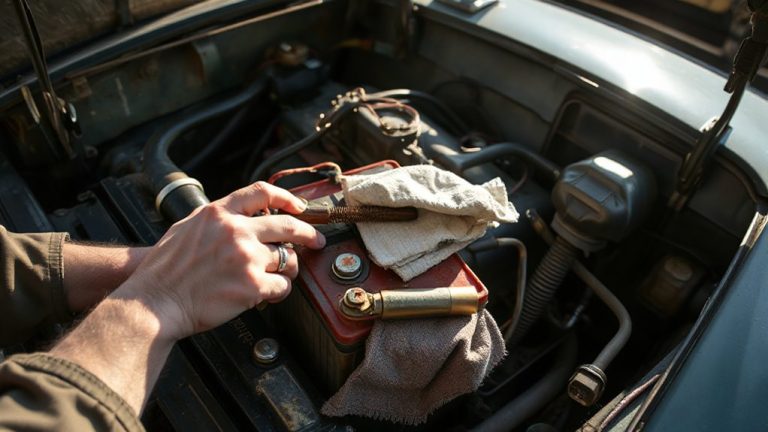
Corrosion is the silent killer of electrical connections. You must address battery corrosion to maintain system efficiency. Terminal oxidation forms as a resistive layer, impeding current flow between the battery and vehicle systems. Typical corrosion appears as white, green, or blue crusty deposits on lead terminals. This buildup increases electrical resistance-measurements show voltage drops of 0.3V or more across corroded connections, well above the acceptable 0.1V limit. You’ll need a wire brush or a dedicated terminal cleaner to remove these deposits. After cleaning, apply a thin coat of dielectric grease or petroleum jelly to prevent future oxidation. Use only corrosion-resistant terminal hardware-stainless steel or tin-coated connectors. Maintaining clean terminals guarantees maximum conductivity, preserving starting power and system stability. Neglect accelerates wear and risks failure. Preventative cleaning every six months is recommended. Clean connections support reliable performance.
Check and Adjust Alternator Belt Tension
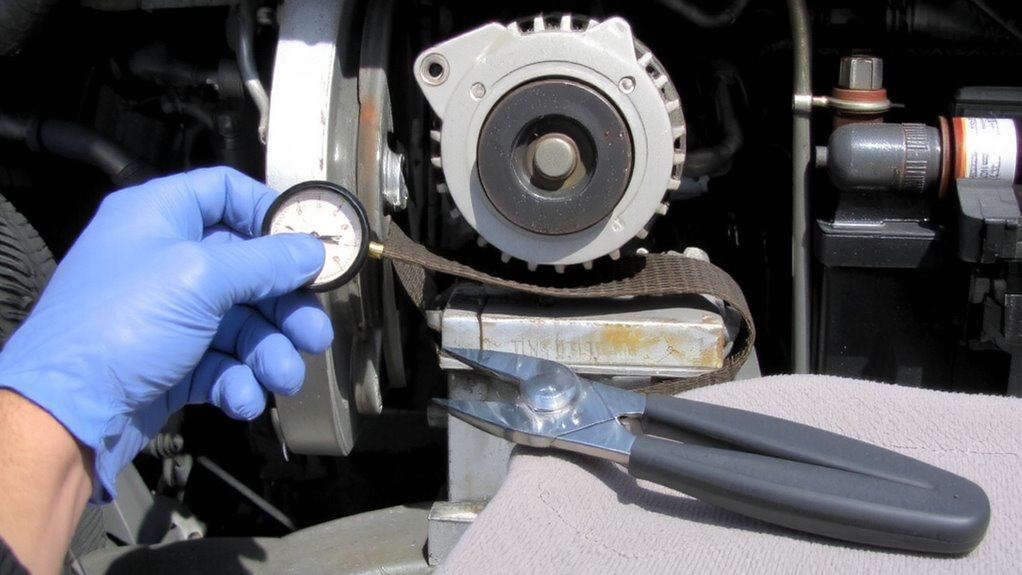
If the alternator belt is too loose or too tight, your vehicle’s charging system won’t function properly. Correct belt tension guarantees efficient power transfer and prevents premature wear. Use a belt tension gauge for accurate tension measurement-most serpentine belts require 90 to 110 pounds of force for proper operation. Refer to your service manual for manufacturer-specific specs. A loose belt slips, causing voltage drops; an over-tightened one stresses the alternator bearings and can lead to failure. Check belt alignment visually-pulleys must be in perfect lateral alignment to prevent fraying and uneven wear. Misaligned belts mimic low tension symptoms, including noise and reduced charging output. Adjust the alternator position using mounting bolts and a pry bar until tension and alignment meet specs. Recheck after running the engine. Proper maintenance here extends alternator life and guarantees consistent electrical performance.
Inspect & Secure Key Electrical Connections
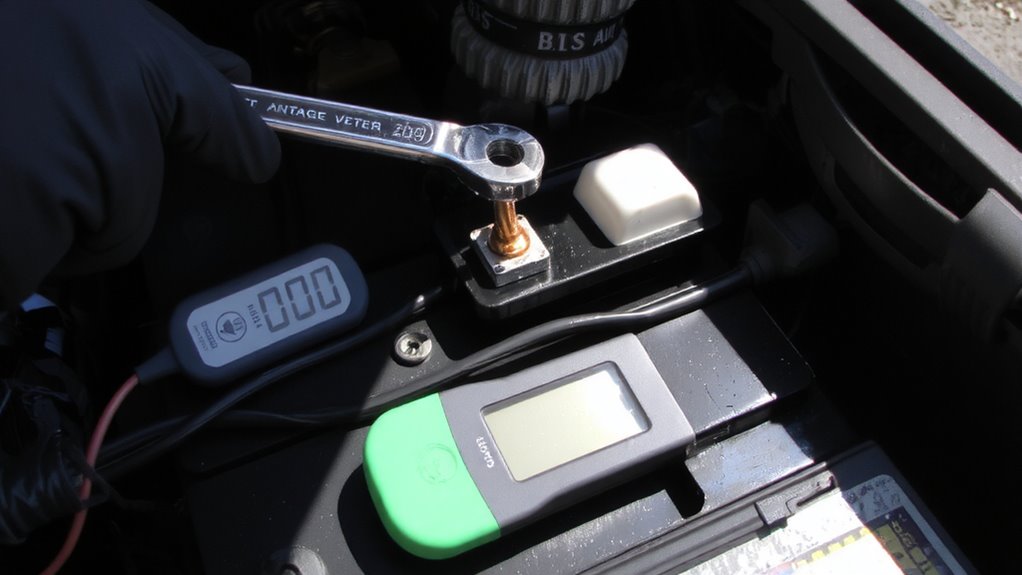
You’ve confirmed the alternator belt is properly tensioned and aligned, so now it’s time to guarantee the electrical system can deliver that power where it needs to go. Start by inspecting all key electrical connections at the alternator output, battery terminals, and ground points. Clean any corrosion using a wire brush and baking soda solution. Poor electrical wiring integrity leads to voltage drops, heat buildup, and component failure. Tighten every connection to the manufacturer’s connection torque specifications-typically 8–10 ft-lbs for battery terminals and 12–15 ft-lbs for alternator output studs. Use a torque wrench for accuracy. Loose connections increase resistance, reducing efficiency and increasing fire risk. Make sure wiring insulation is intact and free from cracks or chafing. Secure loose wires with clips to prevent vibration damage. Properly torqued, clean connections maintain system reliability and maximum power transfer.
Diagnose Poor Battery Charging (And Fix It)
Why is your battery not holding a charge? Poor charging usually stems from alternator issues, voltage regulator failure, or wiring problems. Start with voltage testing: a fully charged battery should read 12.6 volts; running, the system should produce 13.7 to 14.7 volts. If it doesn’t, your alternator may not be supplying sufficient current. Check the drive belt tension-loose belts reduce alternator efficiency. Use a multimeter to verify output at the alternator terminal. Next, perform load testing to assess battery health under stress. A weak battery might pass voltage testing but fail under load. Load testing mimics starting demand, exposing internal faults. Replace components if voltage drops below 9.6 volts during load testing. Diagnose thoroughly-don’t assume the battery is at fault. Systematic testing guarantees accurate, lasting repairs.
Prevent Corrosion for Reliable Starting
A clean and corrosion-free battery terminal is essential for reliable starting and peak electrical performance. Corrosion causes terminal oxidation, which increases resistance and creates a harmful voltage drop across connections. Even a 0.5-volt drop at the starter circuit can delay cranking or prevent ignition, especially in cold weather. Oxidation builds up from electrolyte leakage and environmental exposure, forming a resistive barrier between the cable and terminal. You should inspect terminals every 30 days in harsh conditions. Use a wire brush to remove white, green, or blue deposits, then clean with a baking soda solution. Apply a thin layer of dielectric grease or petroleum jelly to inhibit future oxidation. These steps maintain low-resistance paths and guarantee full voltage reaches the starter. Preventing corrosion isn’t optional-it’s a baseline requirement for dependable engine starts and consistent electrical flow. Including a car emergency kit ensures immediate access to tools like wire brushes and cleaning supplies during roadside maintenance.
Extend Alternator and Starter Life With Simple Habits
While built to withstand heavy electrical loads, alternators and starters rely on smart usage habits to reach their full service life. Short trips prevent the alternator from fully recharging the battery, increasing strain on both components. Aim for drives longer than 20 minutes to maintain charge equilibrium. You should avoid deep discharges-letting battery voltage drop below 11.9V stresses the starter and reduces alternator efficiency. Each deep cycle accelerates wear on internal windings and brushes. Use a maintenance charger during inactivity to preserve ideal voltage between 12.6V and 12.8V. Proper storage habits, like disconnecting the battery in long-term parking, prevent parasitic drain. Maintain belt tension within manufacturer specs-usually 1/4 to 1/2 inch deflection. Clean, tight electrical connections minimize resistance, improving current flow. These habits extend service life beyond 100,000 miles.
On a final note
You keep your system running efficiently by maintaining clean, tight connections. Corrosion increases resistance; remove it with a wire brush and baking soda solution. Check alternator belt tension: 1/4- to 1/2-inch deflection at 10 pounds force guarantees proper drive. Test charging output: 13.8–14.7 volts at 2,000 RPM confirms regulator function. Secure ground straps with 6-gauge copper. Prevent voltage drops, extend component life, and guarantee reliable starts with consistent, precise maintenance.