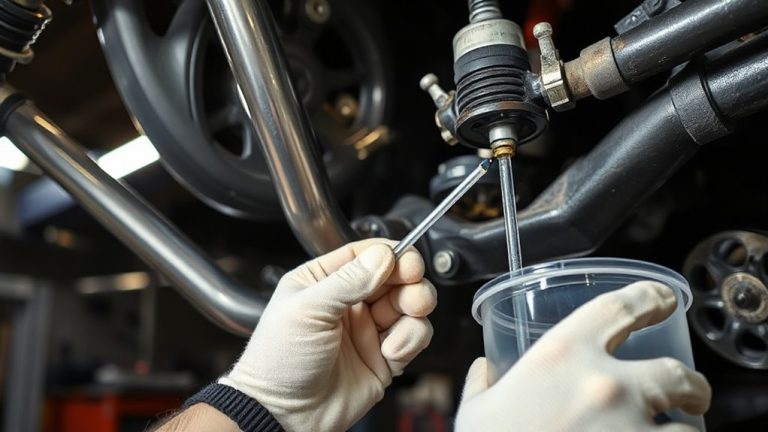
DIY Guide to Replacing Valve Covers: A Basic but Important Task That Can Prevent Oil Leaks and Extend the Lifespan of Your Vehicle’s Engine
You should replace a leaking valve cover gasket to prevent oil damage and engine wear. The cover seals the cylinder head, using a rubber or cork gasket compressed by 6–12 bolts torqued to 8–12 ft-lbs. Signs like oil seepage, misfires, or burning smells mean it’s failing. Use a torque wrench, OEM gasket, and 3mm RTV sealant at corners. Follow factory bolt patterns to avoid warping. Proper installation guarantees long-term engine protection and leak-free performance. You’ll find exact specs and step-by-step details next.
Notable Insights
- Replace worn valve cover gaskets to prevent oil leaks that can damage engine components and reduce performance.
- Use a torque wrench to tighten bolts evenly in a crisscross pattern, avoiding warping and ensuring a proper seal.
- Inspect the valve cover and cylinder head surfaces for flatness, ensuring no debris or old gasket material remains.
- Apply OEM-specified RTV silicone only at designated corners to seal areas not protected by the gasket.
- Reassemble ignition components properly and check for leaks after startup to confirm a successful repair.
What Is a Valve Cover and Why It Matters
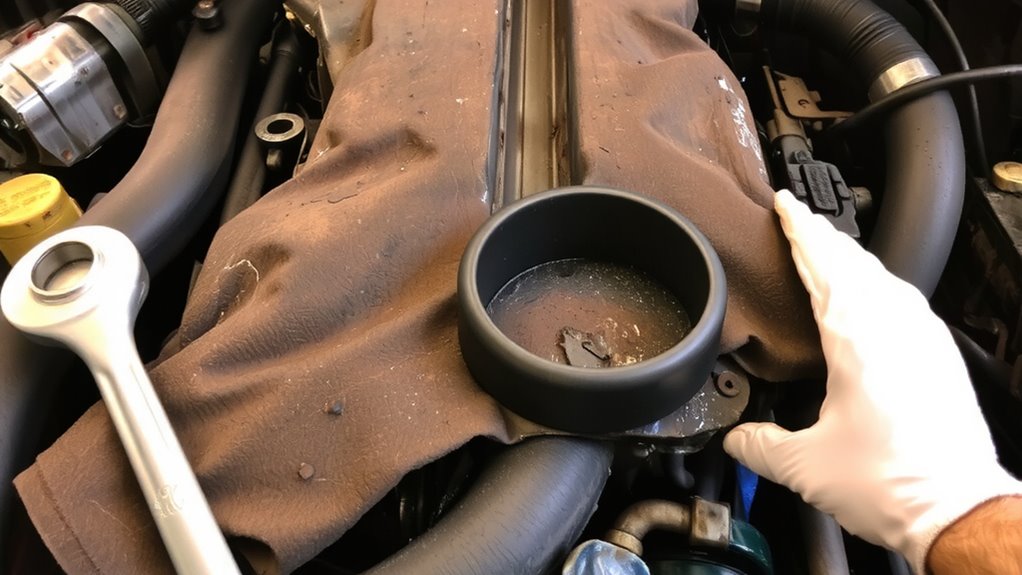
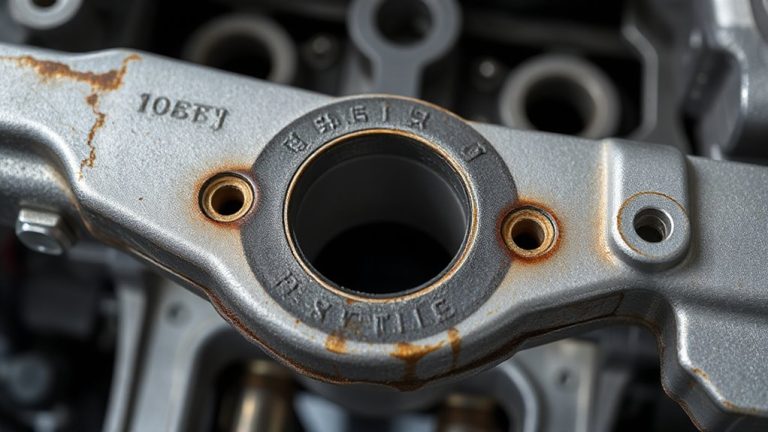
A valve cover might seem like a simple piece of metal or plastic sitting on top of your engine, but it plays a critical role in engine health. Its primary valve cover function is to seal the cylinder head, keeping contaminants out while retaining engine oil. Most covers are made from aluminum, steel, or reinforced plastic, designed to withstand temperatures up to 300°F. Properly sealed, it guarantees consistent oil pressure and prevents leaks into the engine bay. Without effective engine protection, debris and moisture can enter, accelerating wear. Covers typically attach with 6–12 bolts torqued to 8–12 ft-lbs, depending on manufacturer specs. A rubber or cork gasket provides the seal underneath. Even minor warping-just 0.002 inches-can compromise the seal. Maintaining an intact valve cover is essential for long-term reliability and peak engine performance, especially in high-mileage or high-performance vehicles.
Signs You Need a New Valve Cover Gasket?
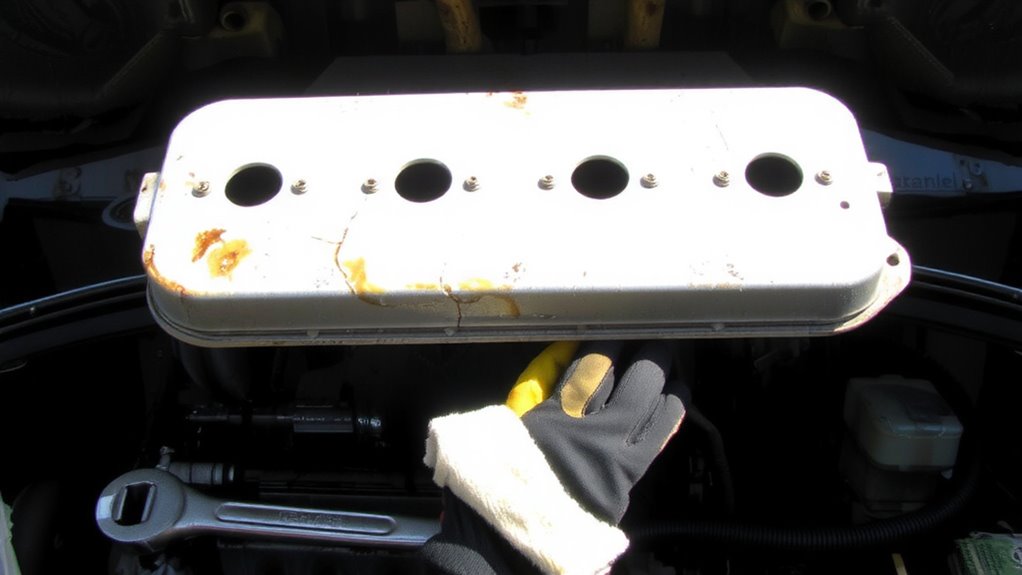
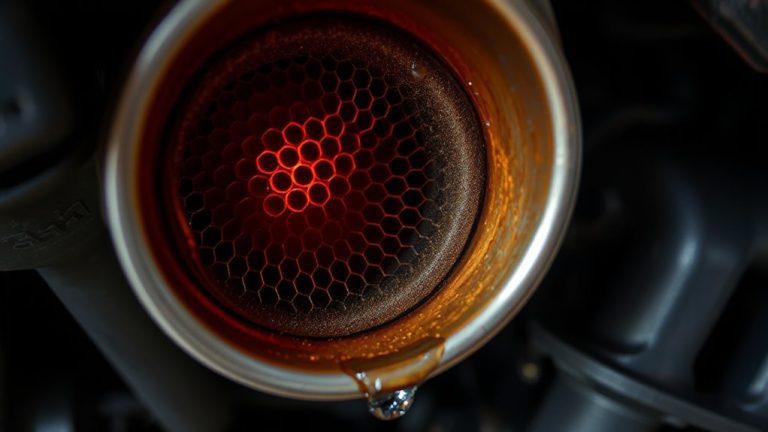
You’ll want to pay attention when oil starts showing up where it shouldn’t-like on your engine block or under the hood-because that’s often the first hint your valve cover gasket is failing. Oil seepage along the engine’s top surfaces, especially near the cylinder head, signals gasket wear. Over time, heat cycles degrade rubber gaskets, causing them to harden and crack. Even minor leaks can worsen, leading to oil dripping onto hot exhaust manifolds. This creates smoke and a burning smell. If oil reaches spark plug wells, it can trigger engine misfires due to shorted ignition coils. Misfires may prompt illuminated check engine lights, often with codes like P0300 (random misfire). Persistent leaks reduce oil levels, risking engine damage. Gasket failure is common on high-mileage engines or vehicles with over 75,000 miles. Early diagnosis prevents costly repairs. Address leaks promptly to maintain engine efficiency and prevent contamination.
Tools and Supplies You’ll Need
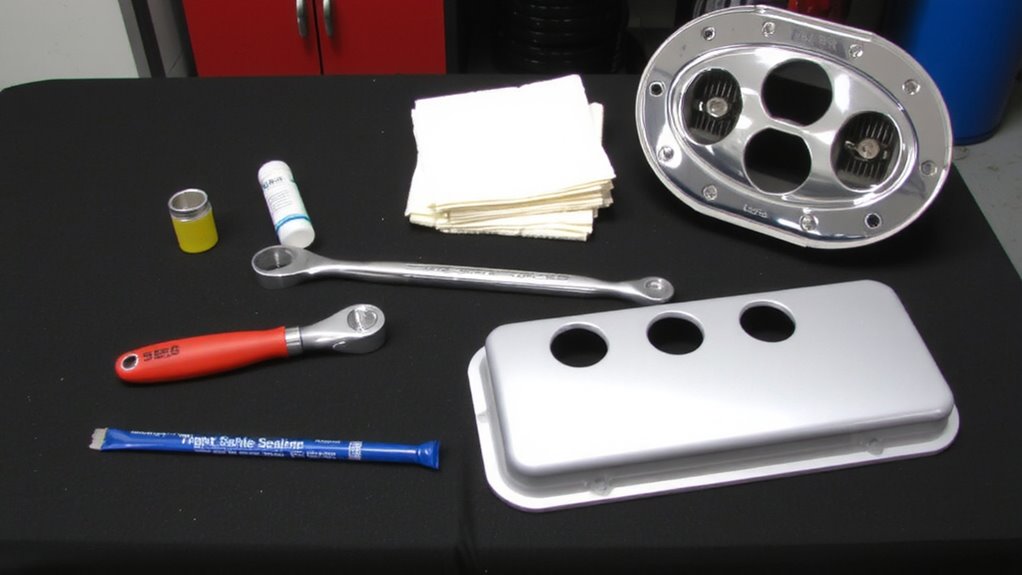
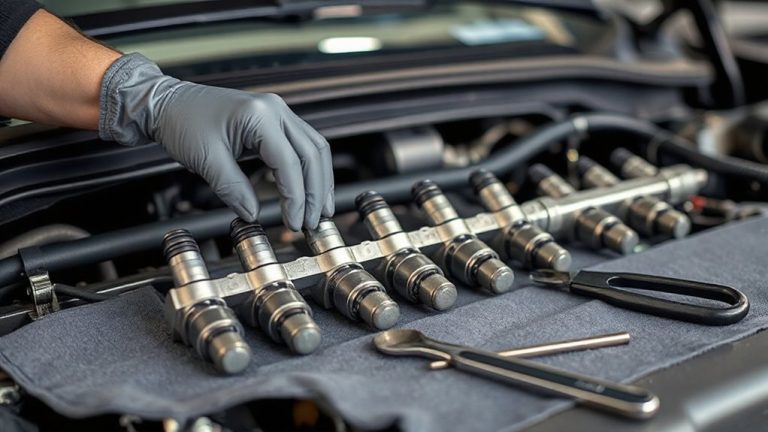
Success starts with the right gear. Having the correct tools guarantees precision and prevents damage during valve cover replacement. Always wear safety gear-gloves and eye protection-to guard against sharp edges and debris. You’ll need basic hand tools, a torque wrench for accurate bolt tightening, and specialty items depending on your engine layout. The torque wrench is critical; overtightening valve cover bolts can warp the cover or damage the head, leading to leaks. Use it to follow manufacturer torque specs, typically 7–11 ft-lbs. Investing in high-quality car maintenance tools can significantly improve efficiency and safety during engine repairs.
| Tool/Supply | Purpose | Specs/Notes |
|---|---|---|
| Socket wrench set | Remove bolts | 1/4″–3/8″ drive, standard SAE |
| Torque wrench | Final bolt tightening | 25–250 in-lb range |
| Gasket scraper | Clean mating surfaces | Rigid plastic or metal edge |
| RTV silicone | Sealant for corners | OEM-spec, oil-resistant |
| Safety gear | Protect eyes and hands | ANSI-approved goggles, nitrile gloves |
Remove the Valve Cover and Old Gasket
Begin by disconnecting the negative battery terminal to prevent electrical shorts during disassembly. Remove engine accessories obstructing the valve cover, such as ignition coils or wiring harnesses, using the correct socket or wrench. Carefully loosen the bolts in a crisscross pattern to avoid warping the aluminum cover. Gently pry the cover upward, using a plastic trim tool to prevent damage. The old gasket often sticks due to hardened gasket sealing material. Scrape off residue with a plastic scraper-never metal-to avoid scratching the mating surface. Inspect the cylinder head for debris and guarantee precise valve alignment before proceeding. Any misalignment can disrupt camshaft timing and cause severe engine damage. Verify the deck surface is flat within 0.002 inches using a straight edge. Correct surface warping is essential for effective gasket sealing. Dispose of the old gasket; reusing it compromises seal integrity.
Install the New Valve Cover Gasket
Once the mounting surface is clean and thoroughly inspected, it’s time to position the new valve cover gasket. Proper gasket alignment is critical-misalignment can lead to leaks or gasket damage during installation. Align the gasket precisely with the cylinder head’s bolt holes and the oil drain-back passages. Most modern gaskets use silicone or rubber materials with pre-installed alignment tabs or adhesive backing to maintain position. Apply OEM-recommended RTV sealant only where specified, typically at the corners or rear main seal area, using a 3mm bead for ideal bonding without squeeze-out. This sealing technique guarantees a leak-free interface without compromising the gasket’s integrity. Avoid stretching or twisting the gasket during placement. Verify full contact across the entire mating surface. Check the manufacturer’s torque specs now, as incorrect fastening can distort the gasket. Proper initial placement directly affects long-term performance and engine cleanliness.
Reinstall the Valve Cover the Right Way
Now that the new gasket is properly seated and aligned, it’s time to put the valve cover back in place. Proper alignment guarantees a consistent seal and prevents leaks. Carefully lower the cover straight down to avoid shifting the gasket. Use clean, undamaged bolts to prevent thread damage during secure tightening. Torque specifications vary by engine; always follow manufacturer guidelines to avoid warping the cover.
| Bolt Pattern | Torque (ft-lbs) | Sequence Order |
|---|---|---|
| Front-left | 8 | 1 |
| Front-right | 8 | 2 |
| Center | 8 | 3 |
| Rear-left | 8 | 4 |
| Rear-right | 8 | 5 |
Use a crisscross pattern when fastening. This promotes even pressure distribution across the gasket. Over-tightening can crack plastic covers or distort metal ones. Secure tightening maintains structural integrity and sealing performance. Always double-check alignment before torquing.
Check for Leaks and Prevent Future Issues
How can you be sure the job’s done right? Start by running the engine and inspecting the valve cover seams for fresh oil seepage. Even minor drips indicate failed seals. Oil contamination occurs when debris mixes with motor oil, often due to improper gasket seating or leftover old adhesive. Inspect the PCV valve and breather tubes-clogs increase internal pressure, accelerating gasket degradation. Torque the cover bolts to factory specs, typically 7–10 ft-lbs in a crisscross pattern, to prevent warping. Use a rubber mallet to seat the cover evenly before tightening. A UV dye test under black light can reveal invisible seepage. Prevent future leaks by replacing rubber gaskets every 80,000 miles-they harden over time. Silicone gaskets last longer but still degrade under extreme heat cycles. Regular inspections extend engine life and prevent costly internal damage.
On a final note
You’ve successfully replaced your valve cover gasket. This simple fix prevents oil leaks and protects engine integrity. Use a torque wrench to tighten bolts to manufacturer specs-typically 7–10 ft-lbs-to avoid warping. A proper seal stops contaminants entering. Check for leaks after 100 miles. Factory-recommended gasket material, like molded rubber or silicone, guarantees long-term durability. Preventive maintenance now saves costly repairs later-like internal sludge buildup or spark plug fouling.