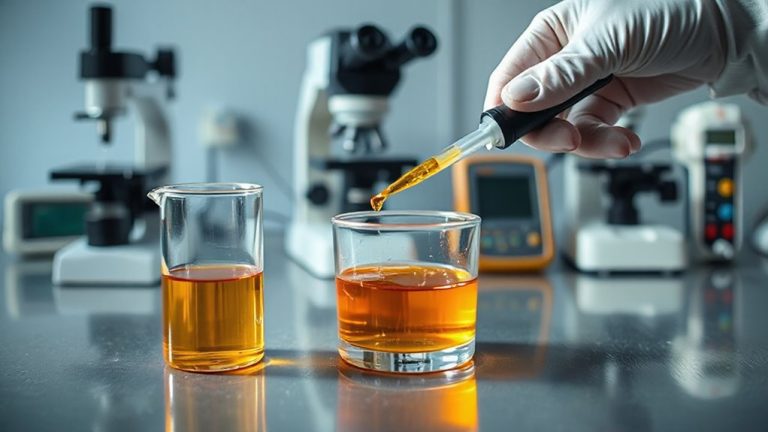
Understanding the Importance of Proper Surface Preparation in Achieving Professional Detailing Standards
You can’t achieve lasting shine without proper prep. Skipping decontamination leaves iron particles and bonded contaminants that block adhesion. The pro 3-step process-pH-balanced iron spray, clay bar treatment, and deionized final rinse-reduces surface roughness to under 30 microns. Wet sanding with 1500–2000 grit removes orange peel and fine scratches. pH-neutral cleaners preserve clear coats. Pre-wax cleaning guarantees bond strength, extending protection up to six months. Details on optimizing each phase follow.
Notable Insights
- Skipping surface prep leads to poor wax adhesion and rapid fading of the finish.
- Decontamination removes embedded contaminants that compromise paint correction and protection.
- Iron fallout and environmental residues must be eliminated before polishing for uniform results.
- Wet sanding after decontamination corrects texture issues like orange peel and fine scratches.
- Using surface-specific cleaners ensures material integrity and maximizes coating durability.
Skip This Step, Ruin Your Shine
If you rush into polishing or waxing without proper prep, you’re setting yourself up for a finish that looks good today and fades fast. Surface corrosion eats into metal layers, weakening structural integrity and inviting further deterioration. Left unchecked, it spreads beneath paint, causing bubbling and flaking. Paint oxidation occurs when UV exposure breaks down clear coat polymers, resulting in hazy, dull surfaces with micro-cracks. This degraded layer won’t polish evenly-compound skips, leaving swirls and uneven gloss. You need to remove oxidation before correction; otherwise, you’re polishing nothing but compromised material. A 1,500 to 3,000 RPM speed is typical for pad machines, but improper surface prep makes even precise settings ineffective. Contaminants bind to oxidized surfaces, blocking protection products from adhering. Wax or ceramic coatings last half as long on poorly prepared paint. Skip prep, lose shine-and protection-within weeks. Using a car clay bar kit effectively removes embedded contaminants that washing alone can’t eliminate.
The Pro’s 3-Step Decontamination
Though most overlook it, decontamination isn’t just cleaning-it’s the critical foundation of any pro-level detail. Step one: iron removal. Use a pH-balanced iron spray to dissolve embedded ferrous particles; it turns purple as it reacts with metal, showing contamination. Let it dwell for 3–5 minutes, then rinse. This step prevents scratching during later stages. Step two: clay bar treatment. Lubricate the surface with a quick-detailing spray and glide a fine-grade clay bar using straight-line motions. You’ll feel the surface smooth out as the clay lifts bonded contaminants like tree sap and industrial fallout. A 60–80 micron surface roughness drops to under 30 microns post-clay. Step three: final wash with deionized water to prevent mineral deposits. Each step guarantees contaminants are fully removed, creating a chemically clean surface. This prep guarantees adhesion for coatings and waxes, maximizing longevity and finish quality.
Wet Sanding for a Flawless Finish
When surface defects like orange peel, minor scratches, or paint drips remain after decontamination, wet sanding becomes essential to achieve a perfectly flat finish. You use it to correct surface texture and prep for polishing. Soak 1000–2000-grit sandpaper in water for 15 minutes before starting. Higher grits like 1500 are ideal for clear coats; 2000 works for fine scratch removal. Always sand with light pressure using a soft block to maintain even contact. This prevents gouging and guarantees uniform material removal. Water acts as a lubricant, reducing heat and flushing away particles that could cause marring. You’ll notice the surface feels uniformly smooth when done correctly. Work in straight, overlapping passes, not circles, to track progress. Every stroke should refine the surface texture further. Wet sanding bridges deep defect correction and final clarity. It’s not just scratch removal-it’s about creating a canvas ready for perfection. Precision here defines the end result.
Pick the Right Cleaner for Each Surface
Cleanliness is chemistry in action. Choosing the right cleaner for each surface guarantees best results without damage. Not all materials react the same-chemical compatibility is critical. Using an improper cleaner can degrade rubber, dull clear coats, or etch glass. You must perform surface testing before full application. Apply a small amount of product to a discreet area and wait 60 seconds. Check for discoloration, softening, or residue. For painted surfaces, use pH-neutral cleaners (pH 7–8) to preserve wax and clear coat integrity. On glass, ammonia-free formulas prevent hazing. Vinyl and leather require non-abrasive, solvent-free solutions to avoid cracking. Always verify the product’s technical data sheet for active ingredients-alcohol concentrations above 15% can dry rubber seals. Matching cleaner chemistry to surface type protects finishes and maintains professional standards. Precision prevents costly mistakes. Top upholstery cleaners for cars are specifically formulated to balance effectiveness and material safety, making top upholstery cleaners a reliable choice for interior detailing.
Make Your Wax Last: Prep Matters
Since wax adhesion depends on surface energy, contaminants that reduce it must be removed before application. You need a clean, contaminant-free surface for lasting protection. Iron fallout, environmental residue, and oils block wax bonding. Use a pH-neutral prep solution and microfiber towel to wipe down the surface. Your polish selection directly impacts wax performance. Choose a compound or polish based on clear coat type and defect level-aggressive polishes remove oxidation but increase surface roughness. Finish with a fine polish to smooth the paint. Surface energy increases when properly polished, enhancing wax application. Apply wax in thin, even layers-typically 0.5 to 1 mil thickness-for maximum durability. A well-prepped surface lets wax last up to six months. Skip prep, and your wax may fail in two. For stubborn oxidation on plastic lenses, consider using a headlight restoration kit to fully restore surface clarity before waxing.
On a final note
You skip prep, you sacrifice shine. Surface preparation removes bonded contaminants like iron particles and road film that washing can’t eliminate. Decontaminate with clay bars (rated 0.6–1.0 mm thickness) and pH-neutral solutions. Wet sand scratched clear coats using 1500–2000 grit wet/dry paper. Match cleaners to surfaces: isopropyl alcohol (70%) for glass, citrus-based solvents for trim. Proper prep guarantees wax adhesion, doubling durability from 3 to 6 months.