How to Upgrade Factory Rear Speakers for Seamless Sound Field
You should upgrade your factory rear speakers because they’re built with low-grade materials and limited to 10–15 watts, producing muddy sound. Replace them with 4-ohm coaxial speakers matching your front pair’s sensitivity (85–90 dB) and frequency range (50 Hz–20 kHz). Use a trim tool and socket wrench to remove grilles and mounting hardware safely. Keep factory wiring intact with crimp connectors and gold-plated adapters. Set rear levels 6–10 dB lower than fronts and apply time alignment up to 0.8 ms for a cohesive soundstage. Details on avoiding common pitfalls follow.
Notable Insights
- Replace factory rear speakers with high-quality coaxial models matching the front pair’s impedance, sensitivity, and frequency response.
- Use a trim tool and screwdriver to safely remove factory grilles and speakers without damaging panels or wiring.
- Ensure clean, secure connections with crimp connectors or soldering, and use gold-plated adapters for optimal signal transfer.
- Set rear speaker volume 6–10 dB lower than fronts via fader control to maintain front-dominated audio staging.
- Apply time alignment and crossover settings to delay rear output and roll off highs above 3 kHz for cohesive sound imaging.
Why Factory Rear Speakers Sound Weak
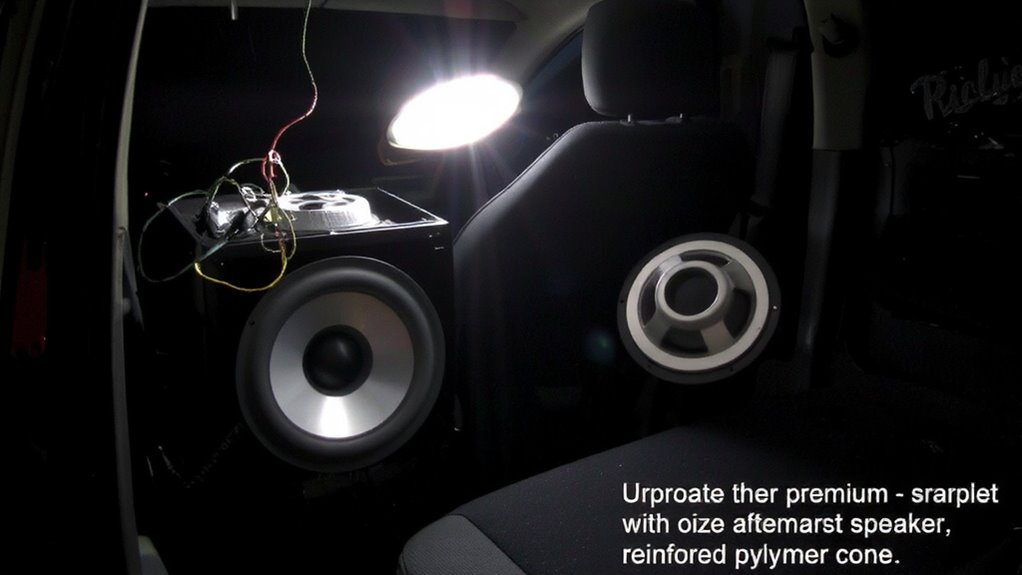
Factory rear speakers often underperform because automakers prioritize cost-cutting over audio quality. Poor material quality means speaker cones degrade quickly, losing structural integrity over time. Manufacturers often use cheap paper or plastic composites prone to warping under heat and humidity. These materials can’t handle sustained volume or dynamic shifts, distorting midrange and high frequencies. Outdated audio design further limits performance; most factory systems use passive crossovers with narrow frequency response, typically 80 Hz to 15 kHz. This results in weak, tinny sound lacking depth. Rear speakers receive less amplifier power-often just 10–15 watts RMS-leading to low output and poor sonic balance. You’ll notice muddied vocals and minimal bass. Unlike home audio systems with matched components, car audio chains sacrifice rear fidelity. Upgrading addresses these flaws directly. A key improvement is using high-quality speaker wire to ensure optimal signal transmission and maximize sound clarity.
Choose Rear Speakers That Match Your Front Pair
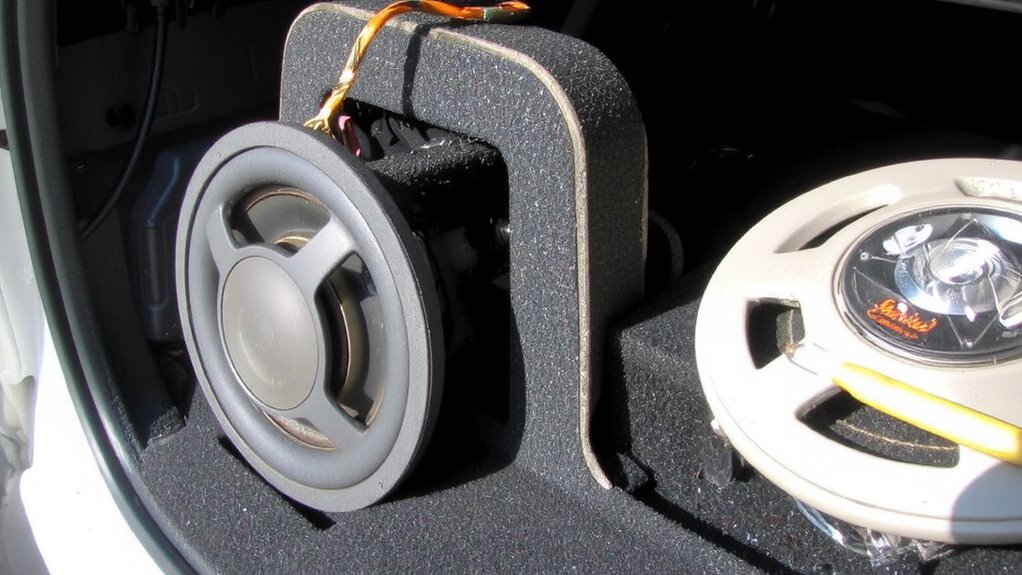
While upgrading your rear speakers can improve overall sound, they should complement-not compete with-your front drivers. Match your front and rear speaker impedance to guarantee balanced power distribution-most car audio systems expect 4-ohm speakers. Mismatched impedance risks amplifier strain or inconsistent volume levels. Equally important is frequency response; rear speakers should reproduce a similar range as the fronts, typically 50Hz–20kHz, to maintain tonal consistency. You don’t need identical models, but close specs prevent auditory gaps or hotspots. Think of it like a stereo pair: mismatched output creates an uneven soundstage. Select rear speakers with comparable sensitivity (measured in dB) to avoid volume imbalances. High-quality coaxial speakers often work well. Prioritize technical compatibility over brand. This match guarantees smooth audio shifts and a convincing, immersive listening environment from all seats.
Tools Needed to Remove and Install Rear Speakers
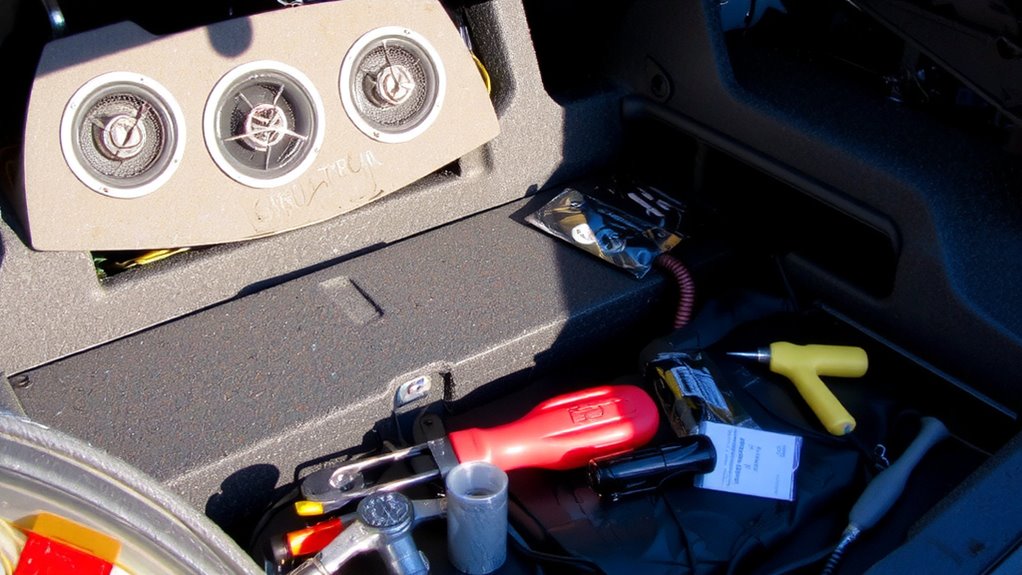
If you’re preparing to swap out your rear speakers, having the right tools on hand will make the job quicker and prevent damage to your vehicle’s interior. You’ll need a trim removal tool to safely pry out speaker grilles and panels without scratching surfaces. A screwdriver set, typically Phillips #2, handles most mounting screws. A 1/4-inch socket wrench or ratchet may be needed for recessed bolts. Use wire strippers to expose speaker wire ends cleanly. Match the new speaker’s wire gauge to your factory wiring-usually 16–18 gauge-to guarantee efficient power transfer. Crimp connectors or solder joints provide secure links. A multimeter helps verify speaker polarity, ensuring positive and negative leads align correctly. Reversed polarity degrades sound by causing phase cancellation. Keep a label maker or colored tape to mark wires during removal. A panel bridge tool maintains door panel alignment during reinstallation.
Remove Factory Rear Speakers Safely
Now that you’ve gathered the necessary tools, it’s time to get the old speakers out without causing harm to your vehicle’s interior or the components themselves. Begin by disconnecting the car battery to prevent electrical shorts. Carefully pry off the speaker grilles using a plastic trim tool-avoid metal tools to maintain audio isolation and prevent scratches. Unscrew the mounting bolts, then gently disconnect the wiring harness. Incorrect speaker placement during removal can lead to misaligned future installation. Factory adhesives or mounting brackets may secure the unit; handle them delicately to preserve factory seals that contribute to cabin audio isolation. Keep screws and brackets organized. Most factory rear speakers measure 5.25 or 6.5 inches; verify before disposal. Removing them cleanly ensures a flush fit for new components, reducing vibration and sound distortion. Proper extraction supports best placement for balanced sound distribution later.
Connect Rear Speakers Without Cutting Wires
Since preserving your factory wiring guarantees cleaner installations and easier reversals, using wire connectors instead of cutting is a smart move. Crimp connectors or solder joints create strong, low-resistance bonds without altering original harnesses. Plug adapters match OEM speaker outputs, enabling direct connections to new 4-ohm or 6.5-inch rear speakers with 100-watt peak power handling. These adapters retain factory harness integrity, minimizing error codes and simplifying future restores. For modern integration, consider wireless connectivity via Bluetooth audio receivers powered by 5V USB, drawing under 1A. They link to amplifiers or powered speakers with RCA or 3.5mm inputs, offering latency under 32ms for synchronized rear fills. Avoid signal degradation by choosing adapters with gold-plated terminals and oxygen-free copper wire. Maintain impedance matching to prevent amp overloads. Wireless options reduce cable clutter but rely on stable 2.4 GHz bands. Use shielded connectors to block EMI from alternators or ignition systems. A high-quality car stereo amplifier ensures optimal power delivery and sound clarity for upgraded rear speakers.
Balance Front and Rear Sound Correctly
How do you guarantee your rear speakers complement rather than overpower the front? Proper balance secures accurate sound staging and seamless frequency blending. Set rear speaker levels 6–10 dB lower than front channels to maintain front-focused imaging. Use your head unit’s fader control for precise adjustment. Match crossover points: rear speakers should roll off below 3 kHz to avoid midrange clashes. Time alignment, if available, delays rear output slightly, placing sound toward the front. Here’s how to optimize:
| Setting | Front Speakers | Rear Speakers |
|---|---|---|
| Level (dB) | 0 (reference) | -6 to -10 |
| Crossover (Hz) | 80–3,000 | ≤3,000 |
| Fader Position | +6 to +10 | 0 to -4 |
| Time Alignment (ms) | 0 | +0.2 to +0.8 |
| Primary Role | Sound staging | Ambient fill |
This setup secures cohesive imaging and natural frequency blending.
Avoid These Common Rear Speaker Mistakes
While optimizing rear speaker performance, skipping proper polarity alignment can severely degrade sound quality. Reversing speaker polarity disrupts phase alignment, causing sound waves to cancel rather than reinforce. You’ll lose bass response and stereo imaging clarity, especially between front and rear channels. Always verify that positive amplifier terminals connect to positive speaker leads. An impedance mismatch is another critical error-installing 4-ohm speakers on an amp designed for 8 ohms strains amplifier circuitry, increasing distortion and risking overheating. Most factory head units work best with 6-ohm to 8-ohm loads. Use a multimeter to confirm speaker impedance before installation. Improper mounting depth or loose enclosures also create distortion. Secure speakers with non-resonant hardware and sealed backings to prevent sound leaks. Avoid overspending on high-wattage models; match power handling to your amplifier’s RMS output. These steps guarantee accurate phase alignment and prevent system-wide impedance mismatch.
On a final note
You’ve upgraded your rear speakers for a balanced soundstage. Match sensitivity ratings-ideally 85–90 dB-to your front drivers for seamless audio. Use 16-gauge OFC cabling to maintain signal integrity. Set crossover frequencies at 3.5 kHz to reduce mids overlap. Phase alignment guarantees wave coherence. Proper impedance-4 ohms-prevents amp strain. Calibrate level offsets to +4 dB rears. You now achieve stereo cohesion, like instruments positioned accurately in a live mix-spatially precise, dynamically consistent.