How to Upgrade Factory Speaker Locations With Adapters
You need the right adapter to upgrade factory speaker locations. Match your speaker size-like 6.5” or 5.25”-to a molded ABS adapter that fits OEM mounting depth, typically 1.25” to 1.75”. Adapters align aftermarket speakers securely, preventing vibration and distortion. Use 4–6 mm screws with threadlocker and crimp connectors for solid electrical connections. Proper fitment maintains acoustic staging and factory trim. Next, learn how to install them correctly for ideal sound.
Notable Insights
- Match adapter dimensions to factory speaker size and mounting depth for a secure fit.
- Select adapters made of durable ABS plastic to ensure long-term stability and vibration resistance.
- Verify cutout diameter and bolt pattern compatibility with both factory openings and new speakers.
- Use crimp connectors and heat-shrink tubing to secure wiring and prevent electrical shorts.
- Install with proper screws and threadlocker to maintain alignment and avoid component damage.
Find the Right Speaker Adapter for Your Vehicle
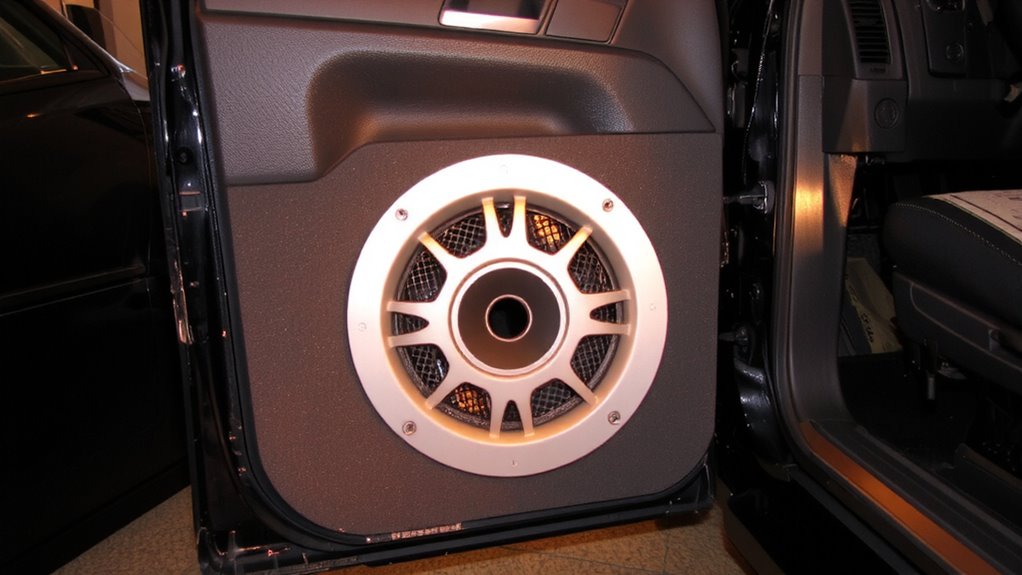
How do you guarantee a factory speaker upgrade fits seamlessly? You start by selecting the correct speaker adapter for your specific vehicle. Speaker compatibility depends on matching the adapter’s dimensions to your factory mounting depth, hole diameter, and speaker游戏副本 size-common measurements include 5-1/4″ or 6-1/2″. Adapters bridge the gap between aftermarket speakers and OEM locations, ensuring secure placement without modification. They’re typically molded from ABS plastic or composite materials for durability. Using an improper adapter risks poor alignment, vibration, or damage. For ideal vehicle customization, choose adapters designed per make, model, and year-verified via fitment databases. These retain factory grilles and speaker angles, preserving acoustic directionality. Precision-machined adapters support flush mounting and maintain factory aesthetics. Always confirm adapter thickness and screw-hole positioning before purchase. With the right fit, you achieve reliable installation, maximize sound output, and avoid panel deformation.
Pick Speakers That Fit Your Factory Locations
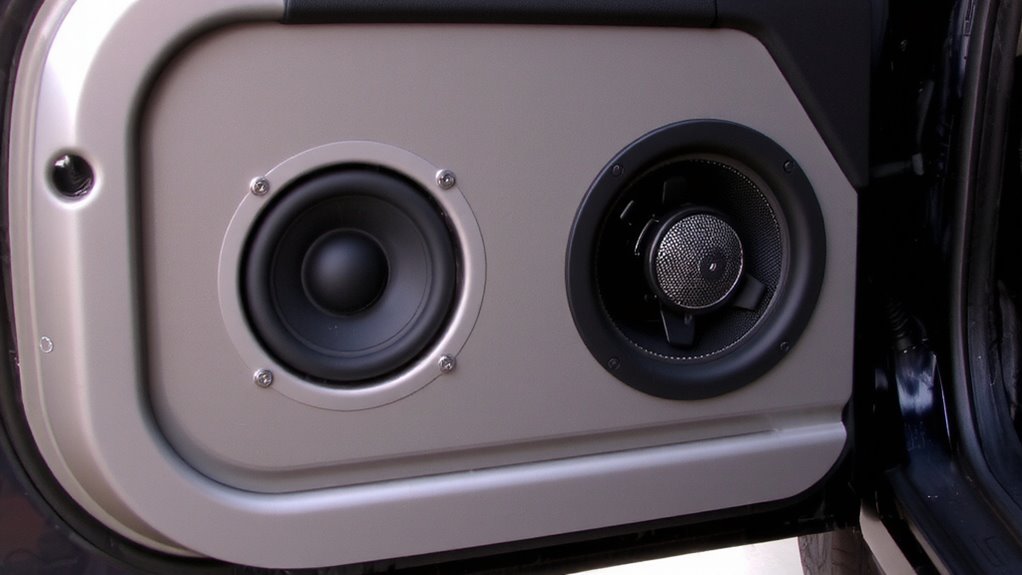
Speaker fitment isn’t guesswork-it’s geometry. You must match speaker size to your factory openings or risk poor installation and diminished sound quality. Most factory locations use standard sizes like 6.5”, 6×9”, or 5.25”, but measure yours to confirm. Adapters help, but selecting the right speaker first guarantees peak performance.
| Speaker Size | Cutout Diameter (in) | RMS Power Handling |
|---|---|---|
| 5.25” | 4.5 | 50–75 watts |
| 6.5” | 5.75 | 60–100 watts |
| 6×9” | 8.5 x 5.7 | 70–120 watts |
| 4” | 3.25 | 30–50 watts |
| 8” | 7.25 | 100–150 watts |
Choose speakers with high sensitivity (88 dB or above) for better sound quality at lower power. Guarantee mounting depth fits behind the factory panel.
Install Speakers With Adapter Tools in 5 Steps
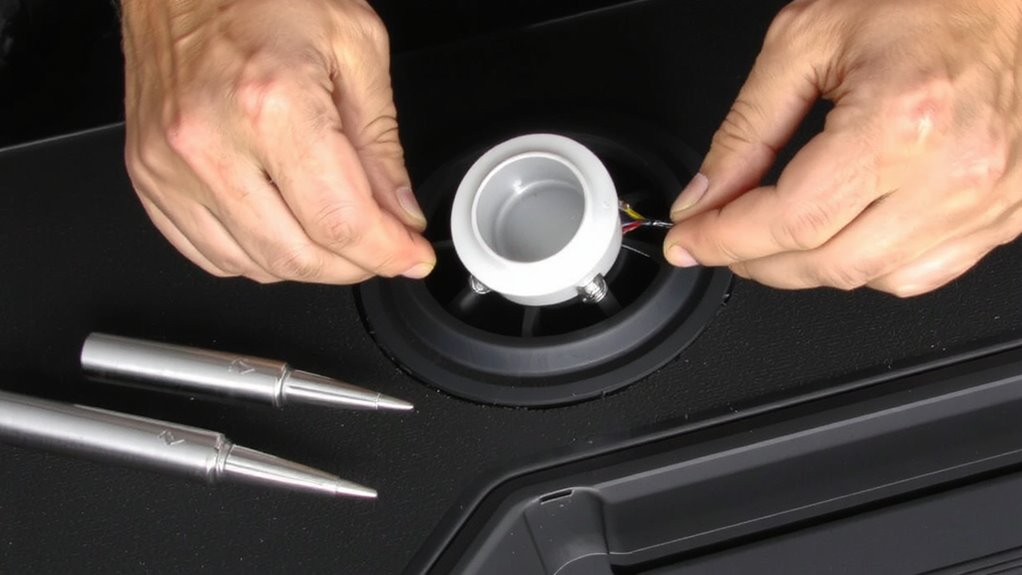
Now that you’ve selected the right speaker size for your factory openings, it’s time to secure them properly using adapter tools. Begin by aligning the adapter ring with the factory mounting points-most use 4–6 mm screws at 0.8–1.25 mm thread pitch. Adapters bridge size gaps, guaranteeing a flush fit between 4″, 5.25″, or 6.5″ speakers and irregular factory housings. Use precise wiring techniques: strip 3/8″ of insulation, tin leads with solder, and connect via crimp connectors or terminal blocks rated for 16–18 AWG. Secure connections with heat-shrink tubing for durability. Follow mounting tips like applying threadlocker to screws and checking cone alignment. Ensure the speaker sits level to prevent distortion. Verify wiring polarity-red to positive, black to negative-to maintain phase coherence. Double-check fitment before final tightening. For optimal signal transfer and minimal resistance, consider using high-conductivity oxygen-free copper wire.
Avoid These Common Adapter Installation Mistakes
While adapting aftermarket speakers to factory locations can streamline installation, skipping critical steps often leads to poor performance or component damage. Improper alignment occurs when adapters aren’t securely fastened, causing speakers to vibrate or shift. This misalignment distorts sound and risks physical contact with the door panel. Always verify the adapter’s depth and bolt pattern matches your speaker’s 4-inch or 6.5-inch frame. Electrical shorts happen if wires aren’t properly insulated or if terminal connections touch metal chassis points. Use crimp connectors and heat-shrink tubing to maintain secure, moisture-resistant joints. Confirm polarity consistency-positive to positive, negative to negative-to prevent phase interference. Test fit before final mounting. Never force mismatched components; factory mounting depths average 2.1 inches, exceeding this may bind moving parts. Precision guarantees durability and acoustic accuracy.
Why Speaker Adapters Make Car Upgrades Easier
Adapters bridge the gap between aftermarket speakers and factory mounting locations, simplifying what could otherwise become a complex retrofit. They provide precise alignment, ensuring secure fitment without modifying your car’s existing structure. Most adapters are molded from impact-resistant ABS plastic, matching factory speaker depths and cone clearances exactly-typically between 1.25″ and 1.75″ mounting depth. This exact fit prevents vibration and maintains structural integrity. Adapters improve signal clarity by stabilizing speaker positioning, reducing sound distortion caused by loose mounting. They also enhance sound staging by aligning the speaker’s acoustic axis toward the listener, mimicking OEM engineering standards. Without adapters, misaligned speakers scatter audio, degrading imaging and phase accuracy. Using adapters preserves factory grilles and trim, minimizing installation time. Most kits support common sizes like 6.5″ and 6×9″, with impedance ratings from 2 to 8 ohms.
On a final note
You’ve now upgraded your factory speaker locations efficiently. Adapter plates bridge mismatches between new speakers and factory openings. Most adapters support 6.5-inch speakers in OEM 5.25-inch holes. Install with basic hand tools-no permanent modifications required. Correct fit guarantees secure mounting and maximum acoustic coupling. Always verify adapter depth clearance and terminal orientation. Well-fitted adapters maintain factory panel integrity while enabling 30% greater sound output. Your system gains performance without structural compromise.