Step-By-Step Guide to Installing Speakers in a Convertible With Retractable Roof
Install IPX5-rated marine-grade speakers with UV-resistant materials and rustproof grills to endure weather exposure from your convertible’s retractable roof. Mount front speakers 12–18 inches from ear level, angled toward you, using aluminum hardware. Use butyl-rubber pads to dampen vibrations. Route wires through grommets, shield them with loom tubing, and secure with UV-resistant ties. Test stereo imaging with the top up and down-you’ll fine-tune performance in varying acoustic environments next.
Notable Insights
- Choose weather-resistant speakers with UV protection and an IPX5 or higher rating for durability in convertibles.
- Position front speakers in doors or lower dash, angled toward the driver for optimal sound staging.
- Install rear speakers on the rear deck or bulkhead, ensuring 24–30 inches of separation for balanced audio.
- Use plastic trim tools and disconnect the battery before removing interior panels to prevent damage.
- Protect wiring with loom tubing and grommets, securing lines every 6–8 inches with UV-resistant ties.
Choose Weather-Resistant Speakers for Your Convertible
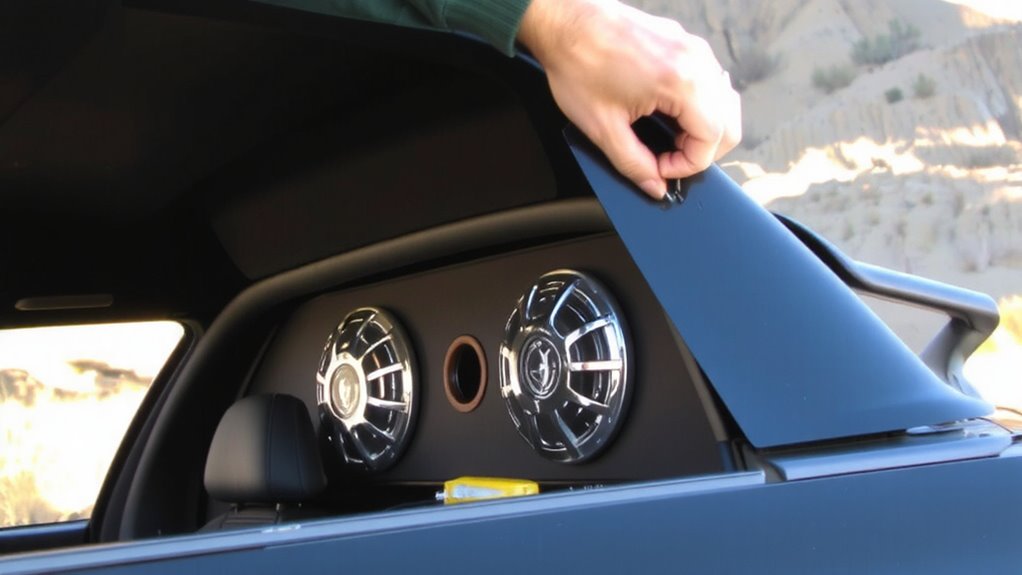
While some might assume standard car speakers work fine in a convertible, exposure to sun, moisture, and temperature swings demands rugged components built to last. You need speakers with UV protection to prevent plastic housings and cones from cracking under prolonged sunlight. Standard paper cones degrade quickly; instead, look for polypropylene or rubberized materials for moisture resistance. These materials withstand rain, humidity, and car washes without warping. Marine-grade speakers offer excellent moisture resistance and include sealed crossovers and rustproof grills. Most are rated IPX5 or higher, meaning they resist water jets from any direction. For UV protection, manufacturers use UV-stabilized polymers that resist fading and brittleness. Look for speakers with aluminum or stainless-steel mounting hardware to prevent corrosion. Power handling of 50–100 watts RMS guarantees durability under high volume and heat. Choose models specifically designed for outdoor or marine use-they’re engineered for the environmental extremes your convertible faces daily.
Find the Best Speaker Locations in a Convertible
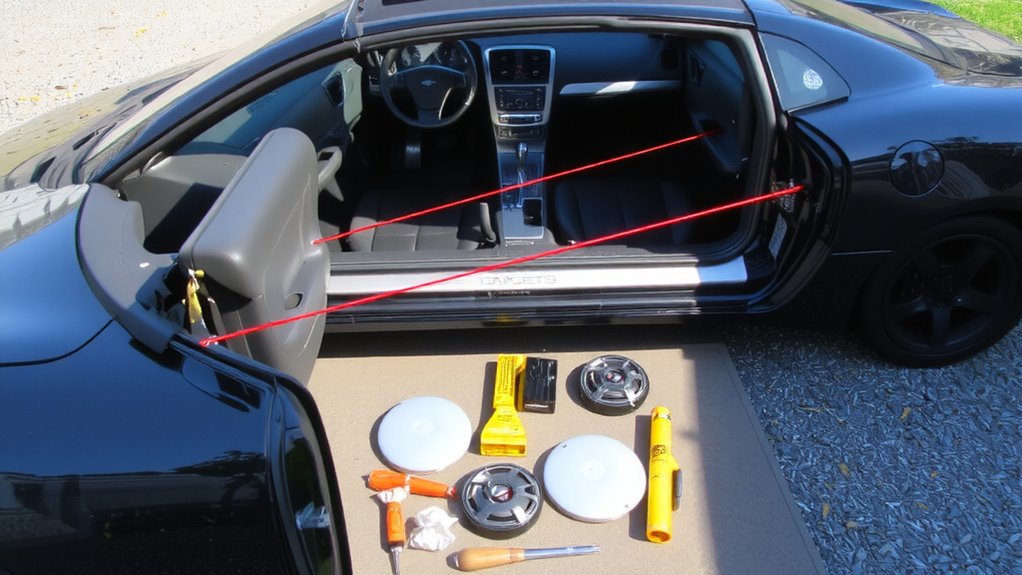
You’ve selected weather-resistant speakers built to handle sun, moisture, and temperature extremes-now it’s time to position them effectively. Ideal placement guarantees acoustic balance and aesthetic integration. Mount front speakers in the doors or lower dash, 12–18 inches from ear level, angled toward the driver. This improves sound staging and center imaging. Rear speakers work best in the rear deck or bulkhead, positioned 24–30 inches apart to create an even sound field. Avoid blocking convertible top mechanisms. For 4-inch or 5.25-inch coaxial speakers, guarantee at least 2 inches of clearance behind the basket. Keep tweeters aligned with ear height to preserve high-frequency clarity. Proper symmetry between left and right channels maintains stereo separation. Well-placed speakers enhance volume distribution without distortion, even with the top down. Always verify fit before final mounting. For cost-effective performance, consider choosing from the Best Budget Car Speakers that deliver clarity and durability without breaking the bank.
Remove Door and Dash Panels Safely
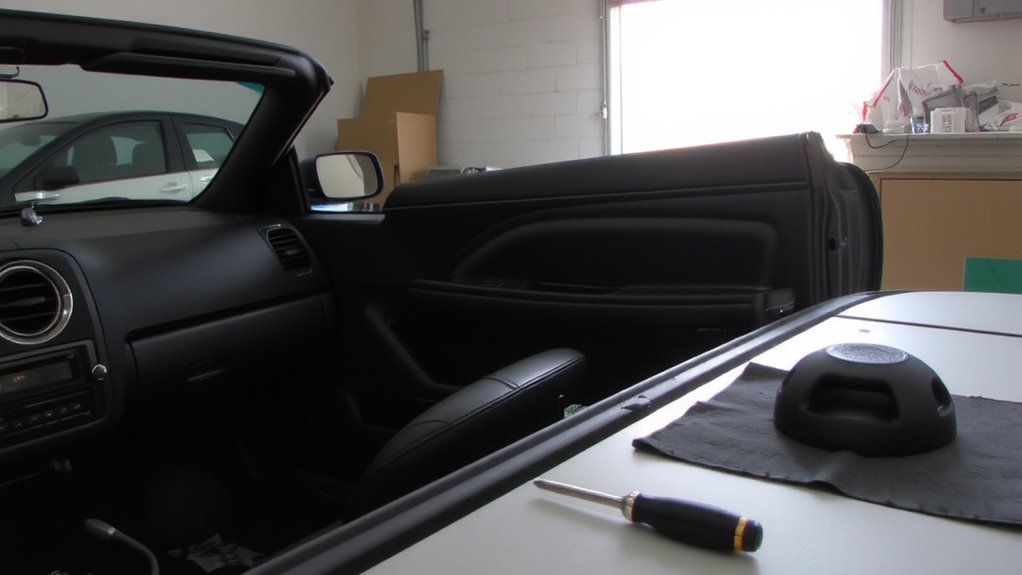
Start by disconnecting the negative battery terminal to prevent electrical shorts during panel removal. Proper tool selection is critical-use a plastic trim removal tool to avoid scratching surfaces or snapping clips. Begin with door panels: remove screws at the handle and armrest, then gently pry upward to release hidden clips. For dash panels, locate fasteners near vents and seams; some models require a Torx bit. Work slowly around edges to maintain panel alignment when reinstalling. Misalignment can cause rattles or gaps, especially in convertibles with roof cycling vibrations. Most clips are engineered to snap once-replace any that crack. Refer to your vehicle’s service manual for exact fastener locations and torque specs. Preserve each screw and clip in labeled bags to simplify reassembly. Dash disassembly may require removing HVAC controls-note wiring positions. Proper technique guarantees a clean, damage-free interior teardown. A reliable power source like a Best 12V Power Supplies ensures consistent voltage during reassembly and testing.
Install Speakers in Convertible Doors and Dash
With the door and dash panels safely removed and fasteners organized, you’re ready to install new speakers in your convertible. Begin by securing speakers into factory mounting locations using provided screws or adapter brackets. For maximum audio clarity, apply sound isolation pads-like butyl-rubber sheets-to the inner door and dash cavities before mounting. This reduces panel vibration and road noise interference, improving signal-to-noise ratio by up to 6 dB. Match speaker impedance to your amplifier or head unit, typically 4 ohms for aftermarket components. Use 50–100 watts RMS handling capability for balanced output. Guarantee flush aesthetic integration by aligning grilles with trim contours and verifying color/finish compatibility. Test-fit each speaker to confirm terminal accessibility and clearance for cone movement-allow at least 3 mm clearance from enclosure walls. Dash tweeters should have direct line-of-sight to the driver’s ears. For efficient installation, consider using an air-powered screwdriver, which offers high torque and consistent performance similar to the best air tools recommended for automotive use.
Shield Wiring From Roof Movement and Weather
Because the convertible roof cycles repeatedly during operation, wiring routed near the roof frame is exposed to constant flexing and potential abrasion-this demands proper shielding to guarantee long-term reliability. Use split loom tubing or braided sleeve for cable management to protect wires where they pass through door jambs or near folding joints. Secure bundles with UV-resistant nylon tie mounts every 6–8 inches to prevent sagging and stress. Apply heat-shrink tubing at termination points as a primary insulation technique, ensuring moisture resistance. Run wires through factory rubber grommets, or install adhesive-backed grommets where none exist, to prevent chafing against metal edges. Avoid sharp bends; maintain a minimum bend radius of 1.5 inches for 16-gauge speaker wire. These steps guard against fatigue failure and environmental damage, keeping your system functioning through years of roof cycles and weather exposure.
Connect Speaker Wires to Your Stereo System
Now that your speaker wiring is safely shielded from roof movement and environmental exposure, it’s time to connect those wires to your stereo system. Match each speaker wire to its corresponding output terminal on the head unit or amplifier, ensuring correct polarity. Impedance matching is critical-connect speakers with a nominal impedance (typically 4 or 8 ohms) that aligns with your stereo’s specifications to prevent overheating and guarantee efficient power transfer. Mismatched impedance can damage components or reduce sound quality. Verify the power handling ratings (measured in watts RMS) of your speakers and confirm they can manage the output from your amplifier. Exceeding a speaker’s power handling capacity leads to distortion or failure. Use crimp connectors or solder for secure, low-resistance connections. Double-check all terminations before powering on. Proper connections guarantee signal integrity and maximize audio performance across conditions.
Test Sound Quality With Top up and Down
How does your audio system truly perform when the top’s down and wind noise increases? Test sound quality with the roof up first, then down, to evaluate real-world performance. Begin with familiar tracks covering a wide frequency response range, from 50 Hz bass to 15 kHz highs. Listen for clarity, distortion, and balance. Wind disrupts high-frequency clarity, so note any loss in detail. Use sound calibration tools or apps to measure output levels in both configurations. Adjust equalizer settings based on observed imbalances-often, a 2–3 dB boost in mid-highs compensates for wind noise. Confirm speaker phase alignment; reversed polarity degrades stereo imaging. Perform tests at various speeds-35 mph and 60 mph-to simulate common driving conditions. Reliable evaluation guarantees peak tuning. Proper calibration maximizes fidelity regardless of roof position.
On a final note
You’ve secured weather-resistant speakers with UV-stable cones and corrosion-proof baskets. Strategic placement guarantees peak sound imaging and volume distribution. Wiring is protected with convoluted tubing and anchored away from roof mechanisms. Connections use 16-gauge oxygen-free copper for minimal signal loss. System output matches head unit voltage (4–6V RMS). Testing confirms consistent audio performance at 90 dB SPL, top up or down. This installation meets IPX5 environmental standards, guaranteeing reliable, high-fidelity sound in all conditions.