DIY Guide: Replacing a Clutch Slave Cylinder on a Mid-Size Truck
You’re replacing a worn clutch slave cylinder, typically failing after 80,000 miles due to internal bore scoring and fluid contamination. Use a 10mm socket, torque wrench, and line wrench to remove the old unit from the transmission bellhousing. Install the OEM-spec replacement with matching 0.75–1.0 inch bore, torque mounting bolts to 18–22 ft-lbs. Bleed with DOT 3/DOT 4 fluid until bubble-free flow confirms air-free operation at 80–120 psi. A firm pedal and smooth engagement confirm success-further details guarantee lasting performance.
Notable Insights
- Locate the slave cylinder on the transmission bellhousing and relieve hydraulic pressure by loosening the 7mm bleeder valve.
- Remove two 10mm mounting bolts and disconnect the hydraulic line using a line wrench to prevent damage.
- Inspect the old unit for leaks, corrosion, and internal wear, especially if the truck has over 80,000 miles.
- Install the new OEM-spec slave cylinder with correct bore size and torque mounting bolts to 18–22 ft-lbs.
- Bleed the system with DOT 3 or DOT 4 fluid until bubble-free flow ensures a firm pedal and proper clutch engagement.
Why Clutch Slave Cylinders Fail
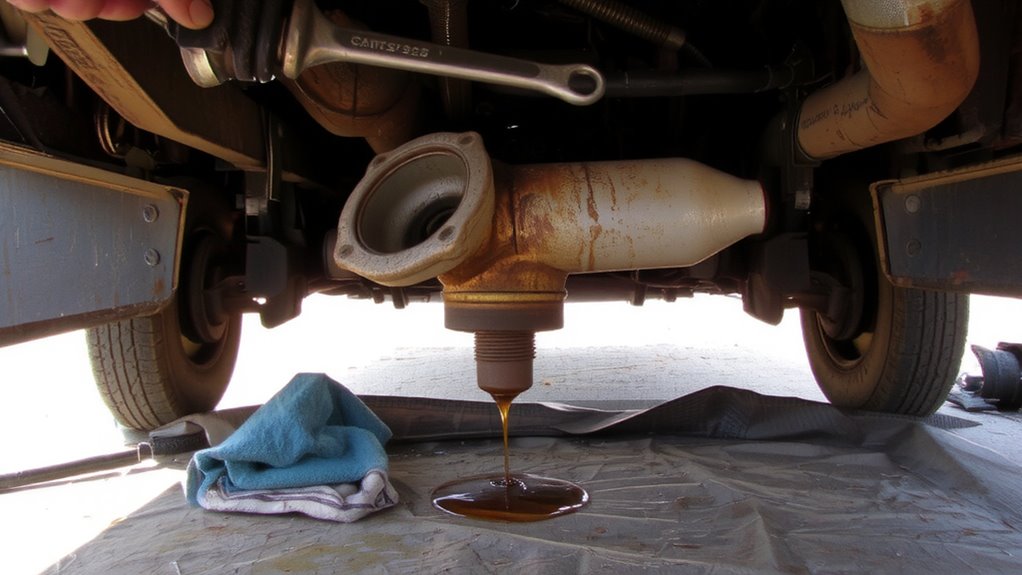
While they’re built to last, clutch slave cylinders eventually fail due to wear, fluid contamination, or seal breakdown. Hydraulic failure occurs when air enters the system or brake fluid degrades, reducing pressure transfer from master to slave cylinder. You’ll notice a soft or sinking pedal, indicating compromised performance. Most systems operate at 80–120 psi; any drop below disrupts disengagement. Mechanical wear manifests in the piston bore and seals, especially after 80,000+ miles. Over time, microscopic scoring develops, accelerating fluid leakage and internal bypass. Contaminated fluid-often from infrequent changes-carries metal particles that hasten deterioration. The slave cylinder’s plunger moves only 0.5 to 0.75 inches; even minor internal leakage disrupts this precision. Temperature swings worsen seal brittleness, leading to cracks. Manufacturers design these units for 100,000-mile lifespans, but harsh driving or poor maintenance diminishes that.
Tools and Parts You’ll Need
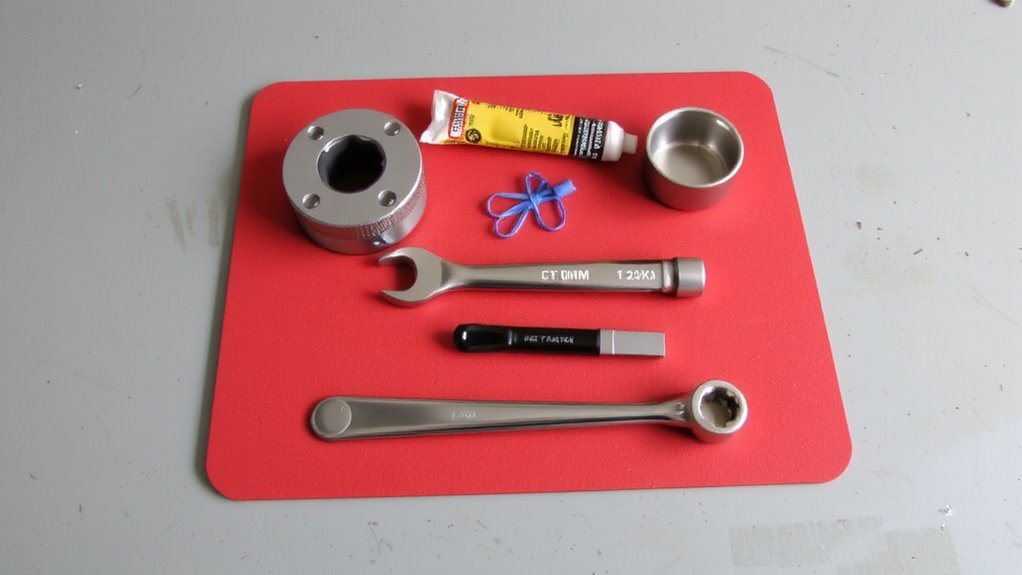
You’ll need a specific set of tools and replacement parts to replace the clutch slave cylinder efficiently and safely. Begin with safety precautions: wear gloves and safety glasses, and disconnect the battery to prevent accidental starts. For workspace preparation, park on level ground, engage the parking brake, and use jack stands-never rely on a hydraulic jack alone. You’ll need a 10mm to 14mm socket set, a torque wrench (calibrated to ±2%), and a line wrench for bleeder fittings. A drip pan is essential to catch brake fluid, which is hygroscopic and must be fresh from a sealed container. Use OEM-spec replacement parts: the correct slave cylinder model (verify bore size, typically 0.75–1.0 inch), rubber boots, and copper sealing washers. A bleed kit with clear tubing and a reservoir cap guarantees air-free hydraulic operation.
Remove the Old Slave Cylinder
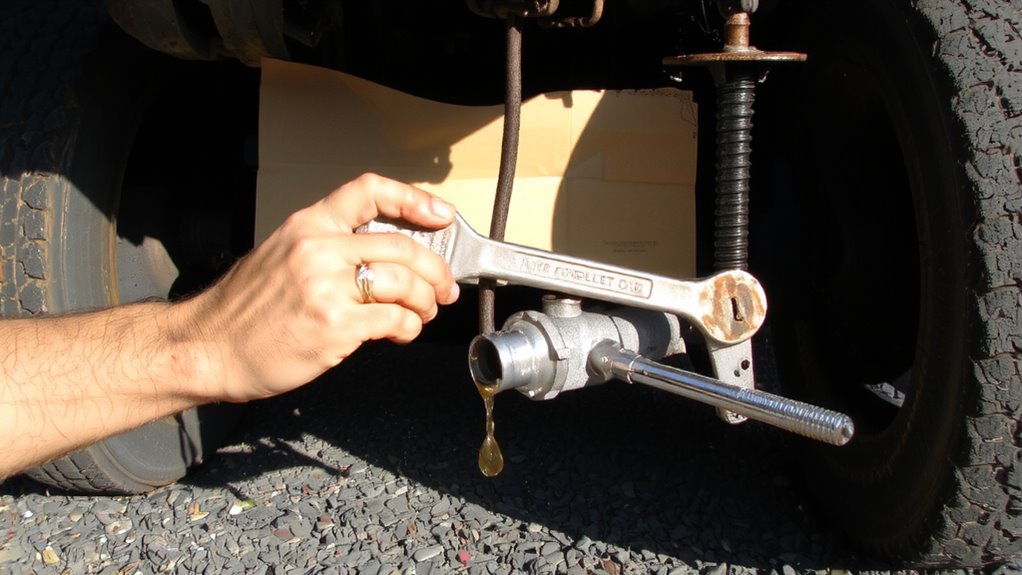
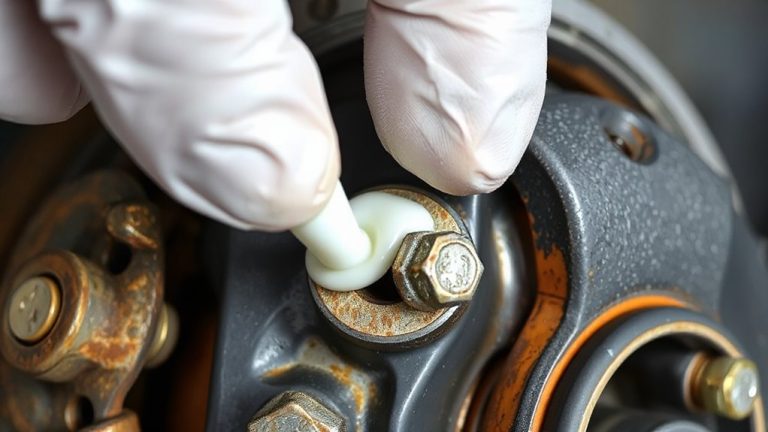
Start by locating the clutch slave cylinder on the transmission bellhousing, just above the driveshaft and near the clutch fork lever. It’s usually secured with two 10mm mounting bolts. Before removing anything, relieve hydraulic pressure by loosening the bleeder valve with a 7mm wrench-this prevents fluid surge. Disconnect the hydraulic line using a line wrench to avoid rounding the fitting. Expect some fluid seepage; keep a drip pan underneath. Remove the mounting bolts with a socket ratchet, then gently pivot the cylinder to disengage the push rod from the clutch fork. Inspect the old unit for leaks or corrosion around the piston seal. Carefully extract it without damaging the transmission housing. Keep the workspace clean-contaminants can compromise the new system’s hydraulic pressure. Label all parts and lines for reassembly. Record any resistance or binding in the fork movement-it may indicate deeper clutch issues.
Install the New Slave Cylinder
Once you’ve removed the old unit, installing the new slave cylinder begins with verifying compatibility-make sure the replacement matches the original in bore diameter, stroke length, and mounting configuration, typically 10mm bolts spaced 38mm apart. Correct mounting alignment is critical; misalignment stresses the piston rod and can cause binding or premature failure. Secure the new cylinder using thread-locking compound on the bolts to prevent vibration-induced loosening. The slave cylinder must sit flush against the transmission housing. A faulty seal or warped mounting surface disrupts hydraulic pressure transfer. Make sure the piston rod extends freely-restricted movement indicates improper installation. Use OEM-recommended torque specs: 18–22 ft-lbs. The rubber boot should remain intact to shield internal components from debris. Proper positioning preserves the pushrod’s mechanical advantage. Even minor angular deviation compromises actuation efficiency. Double-check all connections before proceeding. This guarantees reliable clutch disengagement under operating conditions.
Bleed the Clutch Slave Cylinder System
Air in the hydraulic system prevents proper pressure development, so bleeding the clutch slave cylinder is required after installation. Begin by making sure the master cylinder reservoir is filled with DOT 3 or DOT 4 fluid. Attach a clear hose to the bleeder valve and submerge the other end in a container partially filled with brake fluid. Open the valve one-quarter turn. Have a helper press the clutch pedal slowly and fully to the floor, holding it down while you close the valve-this removes air pockets. Repeat until fluid flows without bubbles. If you didn’t perform bench bleeding before installation, expect more cycles to purge trapped air. Bench bleeding eliminates initial air pockets in the slave cylinder, making field bleeding faster and more effective. Maintain proper fluid level throughout to avoid reintroducing air. A properly bled system makes certain of smooth, consistent clutch engagement with no sponginess.
Avoid These 5 Installation Mistakes
While replacing a clutch slave cylinder can restore smooth pedal feel, skipping critical steps often leads to failure. First, never reuse old fluid-doing so risks fluid contamination, which degrades performance and damages internal seals. Always flush the system with DOT 3 or DOT 4 fluid, per manufacturer specs. Second, make certain of precise mounting alignment. Misalignment causes bind in the pushrod, leading to incomplete disengagement. The slave cylinder must sit flush against the transmission bell housing, with mounting bolts torqued to 12–15 ft-lbs. Third, verify the pushrod free play is 1/16 to 1/8 inch-too much or too little causes slippage or drag. Fourth, protect the dust boot during installation; a torn boot invites debris. In conclusion, double-check line routing. A kinked or bent hydraulic line restricts pressure, reducing actuation efficiency. Each step ensures reliable, long-term operation.
Test Your Clutch After Replacement
How does your clutch feel now? Start the engine and press the clutch pedal slowly. You should notice smooth pedal feedback with no sponginess. Proper clutch engagement typically occurs around the middle of the pedal’s travel-roughly 1.5 to 2 inches from the floor. If engagement is too high or low, check for air in the hydraulic system or an improperly adjusted linkage. A firm pedal indicates successful bleeding and functioning components. Listen for abnormal noises during engagement; grinding or slipping suggests misalignment. Test drive at low speed, shifting through all gears. Confirm clean shifts without resistance. If the pedal feels soft or engagement is erratic, re-bleed the slave cylinder. Consistent pedal feedback and precise clutch engagement are critical for reliable operation. Always verify full disengagement by stopping in gear without stalling.
On a final note
You’ve replaced the clutch slave cylinder correctly when fluid flows cleanly and the pedal feels firm. Use DOT 3 or DOT 4 fluid, refill to the master cylinder’s MAX line. Proper clearance between the slave piston and clutch fork is 1–2 mm. Bleed until no air bubbles emerge. A well-bled system delivers smooth engagement at 1.5 inches above the floor. Test drive confirms precise shifting and full disengagement.