DIY Guide to Installing a Throttle Body Spacer: A Simple Modification That Can Increase Horsepower and Reduce Fuel Consumption in Your Vehicle
You gain 5–15 horsepower and 1–3 MPG by installing a throttle body spacer, a precision-machined aluminum or nylon ring, 3/8 to 1/2 inch thick, that fits between your throttle body and intake manifold. It increases air velocity and improves fuel atomization for more complete combustion. Match the spacer’s bore diameter-typically 75mm to 102mm-and bolt pattern to your engine. Use a digital torque wrench to secure bolts to 75 in-lbs in a crisscross pattern. Clean all mating surfaces to prevent vacuum leaks and guarantee peak sealing. No tuning is required post-installation. Real-world gains vary by engine type: V8s see up to 15 HP, while 4-cylinder engines gain 5–8 HP. Proper fitment and material choice directly impact performance. You’ll see the best results with CNC-machined spacers that maintain smooth internal airflow. Factors like engine displacement and induction type influence outcomes.
Notable Insights
- A throttle body spacer enhances power and fuel efficiency by improving air velocity and fuel atomization in the intake system.
- Choose a spacer with the correct bore size and bolt pattern to match your engine’s throttle body and intake manifold.
- Aluminum spacers with helical grooves offer better heat dissipation and can increase low-end torque by up to 5%.
- Install the spacer using a torque wrench, clean mating surfaces, and apply anti-seize on aluminum threads to prevent leaks.
- No ECU tuning is needed after installation; verify gains by comparing performance and fuel economy before and after.
How a Throttle Body Spacer Boosts Power
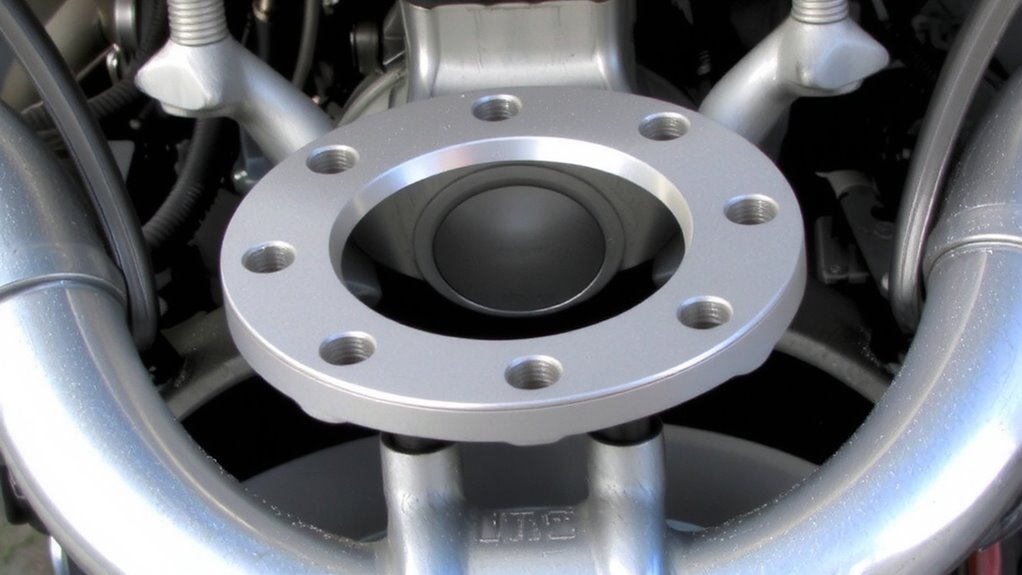
Power. You gain it when a throttle body spacer improves your engine’s efficiency. The spacer increases the air charge velocity by creating a longer intake path. It enhances intake turbulence-this swirl of incoming air disrupts fuel droplets, improving atomization. Better air/fuel mixing means more complete combustion. Most spacers are precisely machined, typically 3/8 to 1/2 inch thick, and fit snugly between the throttle body and intake manifold. The added turbulence mimics the effect of swirl pots found in high-performance heads. You’re not just adding space-you’re reshaping airflow dynamics. Aluminum spacers often feature helical grooves that further promote turbulence, increasing low-end torque by up to 5%. You’ll notice improved throttle response, especially at partial throttle. The effect is subtle but measurable: enhanced combustion efficiency translates directly into usable power. No major engine modifications needed-just smarter combustion.
Do Throttle Body Spacers Improve MPG and HP?
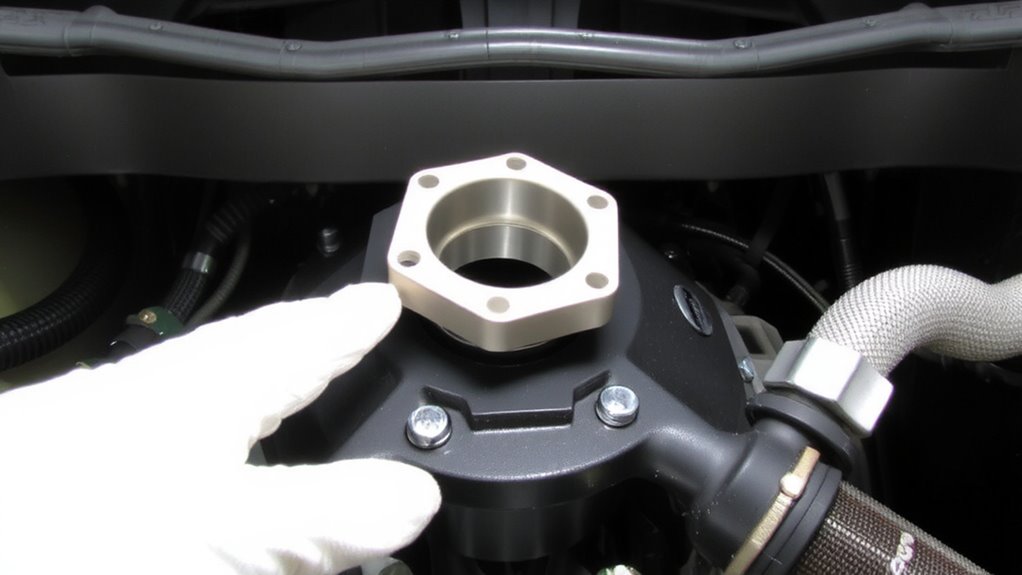
You’ve seen how a throttle body spacer optimizes airflow to improve combustion efficiency-now let’s look at what that means for measurable gains in horsepower (HP) and miles per gallon (MPG). Real-world tests show HP increases of 5–15 HP and MPG improvements of 1–3 MPG, depending on engine type and driving conditions. These gains result from improved air swirl and drag reduction within the intake tract. Enhanced turbulence promotes better fuel atomization, boosting fuel economy and throttle response.
| Vehicle Type | HP Gain | MPG Improvement |
|---|---|---|
| V8 Truck | 10–15 | 1–2 |
| V6 SUV | 7–12 | 1–3 |
| 4-Cylinder Sedan | 5–8 | 2–3 |
| Performance Car | 8–12 | 1–2 |
These outcomes reflect proper installation and spacer design. Drag reduction lowers intake resistance, while fuel economy improves due to more complete combustion.
Pick the Right Throttle Body Spacer for Your Engine
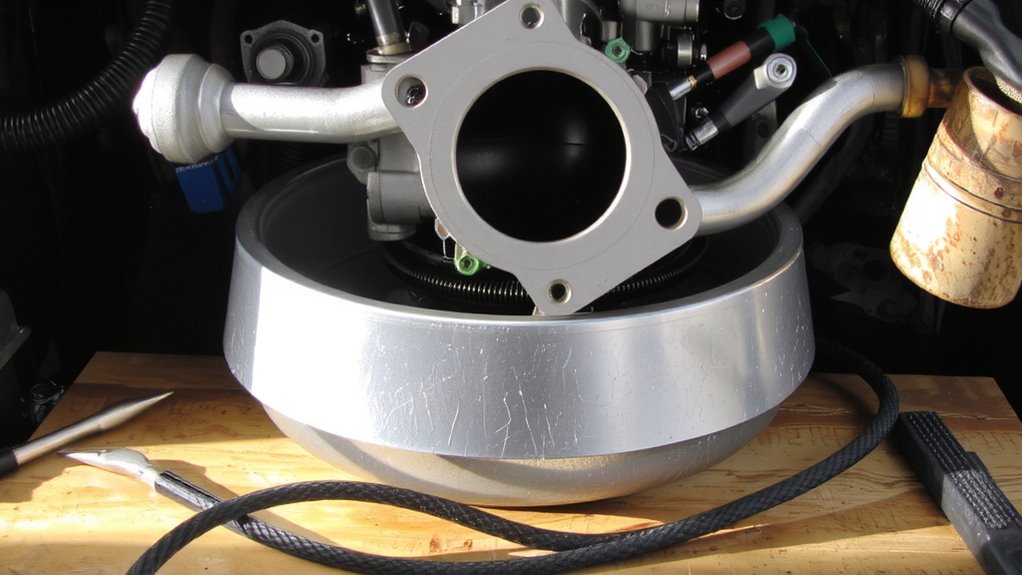
Choosing the right throttle body spacer starts with matching its design and dimensions to your engine’s intake system. You need the correct bore diameter and bolt pattern to guarantee proper fitment-most spacers range from 75mm to 102mm. Material compatibility matters: aluminum spacers dissipate heat well and resist corrosion, while nylon-fortified plastic models reduce intake temperatures differently but may warp under high heat. Always verify your intake manifold and throttle body specs before buying. Brand reputation is a reliable indicator of quality; trusted manufacturers provide precise tolerances, documented airflow gains, and fitment guides. Look for CNC-machined parts with smooth internal finishes to promote laminar airflow. Some designs use helical ribs to swirl incoming air, improving atomization. Choose based on engine type-factory vs. modified-and fuel system-port injection vs. direct injection. A mismatched spacer can hurt performance instead of helping.
Tools You Need Before You Start
Gathering the right tools before starting guarantees the job goes smoothly and prevents damage to sensitive intake components. You’ll need a digital torque wrench calibrated to ±2% accuracy, a 7mm to 10mm metric socket set, and a clean microfiber cloth. Always follow safety precautions-disconnect the negative battery terminal to disable the ECU and prevent accidental starts. Confirm vehicle compatibility by matching your engine’s OEM intake bolt pattern and throttle body diameter, typically 65mm to 80mm depending on make. A tamper-resistant T20 Torx bit may be needed for sealed housings. Use thread-safe nylon brushes to clear carbon deposits before installing the spacer. Keep an anti-seize compound on hand to protect aluminum threads. Each tool guarantees precision, reliability, and avoids cross-threading during modification. For accurate and consistent results, choose a torque wrench with calibration certification.
Install the Spacer in Under an Hour
Once the throttle body is removed, clean the mating surfaces thoroughly to guarantee a proper seal-any debris or residual gasket material can cause air leaks and trigger check engine lights. Align the throttle body spacer between the intake manifold and throttle body, ensuring it sits flush. Use new gaskets if required by manufacturer specs-most spacers include them. Reinstall mounting bolts in a crisscross pattern to 75 inch-pounds torque to prevent warping. Proper time management lets you finish in under 60 minutes with basic hand tools. This modification typically costs $50–$120, making cost analysis favorable versus performance gains. Spacers add 0.25 to 1 inch of height, promoting air vortex turbulence for improved atomization. Most kits support direct bolt-on installation without tuning. No modifications to ECU are needed. You preserve factory tolerances while enhancing airflow dynamics.
Test Drive, Check for Leaks, and See Gains
After reinstalling the throttle body spacer, it’s critical to verify the system’s integrity before evaluating performance. Start by inspecting all intake connections for tightness and proper sealing. Look for vacuum leaks-these can disrupt air/fuel ratios and negate potential performance gains. With the engine off, reconnect the battery and turn the key to the “on” position without starting; listen for the fuel pump prime. Then start the engine and let it idle. Check for abnormal hissing or warning lights. Take the vehicle on a controlled test drive under varied conditions: city, highway, and acceleration. Monitor throttle response and engine smoothness. Many users report up to 5–10 horsepower gains and improved torque. You may also notice better fuel efficiency-typically 1–2 mpg under ideal driving conditions. Record before-and-after data to assess real-world improvements.
On a final note
You’ve installed the spacer correctly when airflow improves without restrictions. A properly fitted throttle body spacer increases swirl in the intake charge, enhancing fuel atomization. This leads to more complete combustion, boosting horsepower by 3–5 HP and improving fuel economy by up to 2 MPG. Use a 2.5-inch cold-air intake spacer made of aerospace-grade polymer for maximum thermal insulation. Confirm no vacuum leaks exist post-installation. Performance gains are measurable on a dyno.