How to Remove and Inspect Ring Gear Bolts During Full Rear Axle Service Events
Clean the bolt heads and apply penetrating oil to the threads before removal, letting it soak for at least 15 minutes. Use a six-point socket with a torque wrench set to 80–100 ft-lbs in reverse. Remove bolts in a star pattern to prevent gear misalignment. Inspect each bolt for cracks, elongation beyond 0.002 inches, or thread damage using a 10x loupe and thread gauge. Replace any compromised bolts with grade 8.8 or higher, matching OEM specs. Reinstall using medium-strength threadlocker and torque in incremental steps to 70–85 ft-lbs. Proper technique guarantees long-term drivetrain integrity. There’s more to get right the first time.
Notable Insights
- Clean bolt heads and apply penetrating oil to corroded threads, allowing at least 15 minutes for effective loosening.
- Remove bolts using a six-point socket and torque wrench in a star pattern to prevent gear misalignment.
- Inspect each bolt for cracks, elongation over 0.002 inches, and thread damage using a thread gauge and 10x loupe.
- Replace all ring gear bolts as a set if any show signs of stretching, corrosion, or thread deformation.
- Reinstall with medium-strength threadlocker, torque in incremental steps using a calibrated wrench and star pattern.
Remove Ring Gear Bolts: Step-by-Step
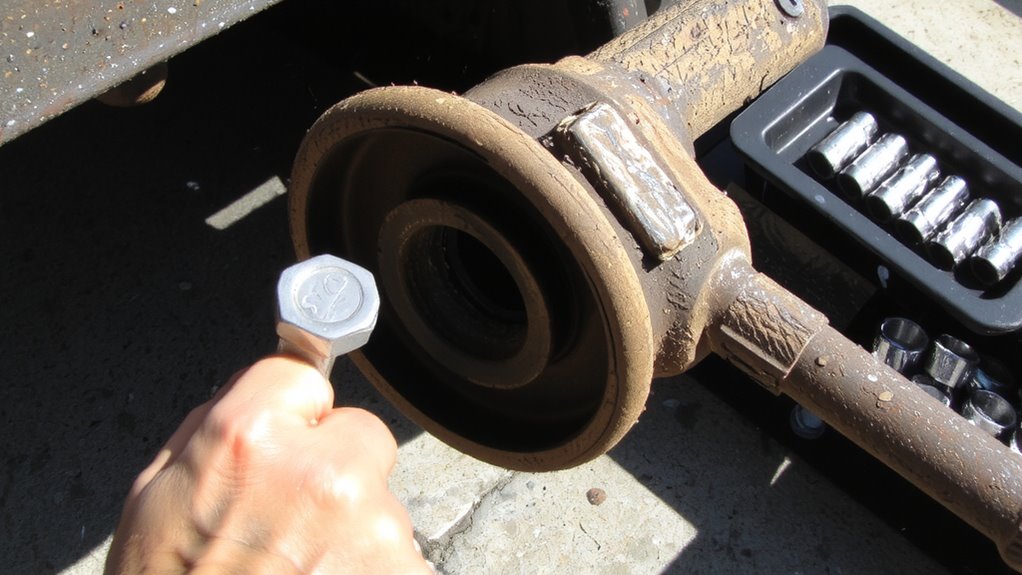
You’ll need the right tools and a methodical approach to remove the ring gear bolts safely and efficiently. Start by cleaning the bolt heads to assess bolt corrosion, which can weaken torque retention and complicate removal. Use penetrant on corroded threads and let it soak for at least 15 minutes. Apply a six-point socket with a calibrated torque wrench set to reverse specs-typically 80–100 ft-lbs-to break bolts loose without cam-out. Remove bolts in a star pattern to maintain even pressure and protect gear alignment. Misalignment during disassembly risks pinion contact and tooth wear. Inspect each bolt hole for thread damage; use a thread chaser if needed. Keep bolts grouped by position for reassembly accuracy. Proper sequencing prevents warping the ring gear face. Record bolt conditions for future maintenance reference. Always handle removed hardware with care to avoid nicking or stretching, which compromises structural integrity.
Tools for Ring Gear Bolt Removal and Inspection
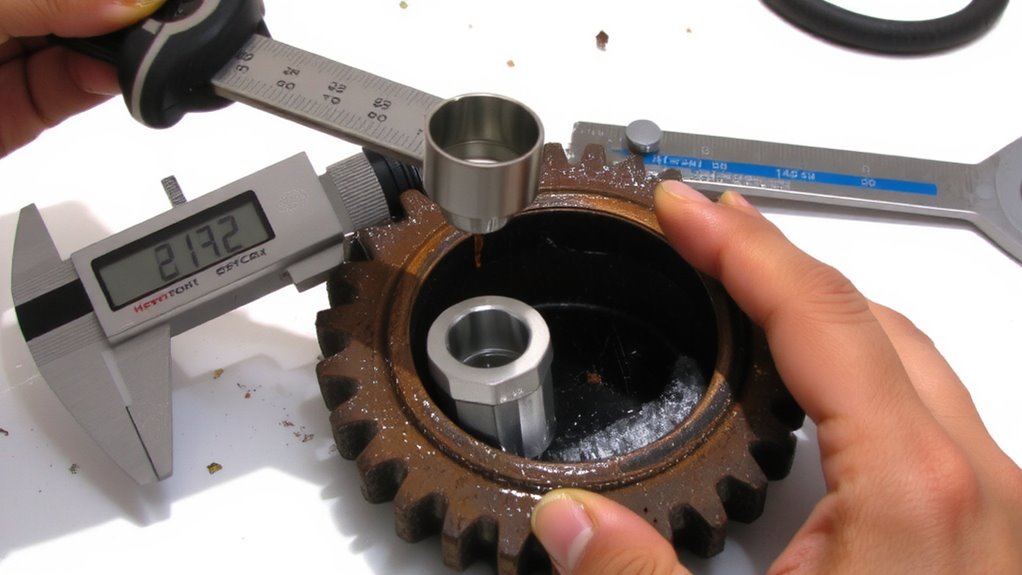
A well-equipped toolbox makes all the difference when tackling ring gear bolt removal and inspection. You’ll need a torque wrench calibrated to ±2% accuracy, typically rated for 50–250 ft-lbs, to guarantee proper bolt grade selection. Use a 1/2-inch drive breaker bar with 6-inch extension for stubborn bolts. A high-quality hex socket, precisely matching the bolt head-usually 12-point 1/2-inch or 13/16-inch-prevents rounding. Always verify bolt grade; most ring gear applications require Grade 8 bolts with 150,000 psi tensile strength. Never overlook washer usage-hardened flat washers, 0.090-inch thick, distribute load and prevent embedment. Magnetic trays organize removed hardware. Include a thread chaser, not a tap, to clean threads without removing material. Infrared markers help track bolt sequence. These tools guarantee precision, repeatability, and reliability during disassembly and future reassembly.
Inspect Bolts for Cracking, Stretching, and Thread Damage
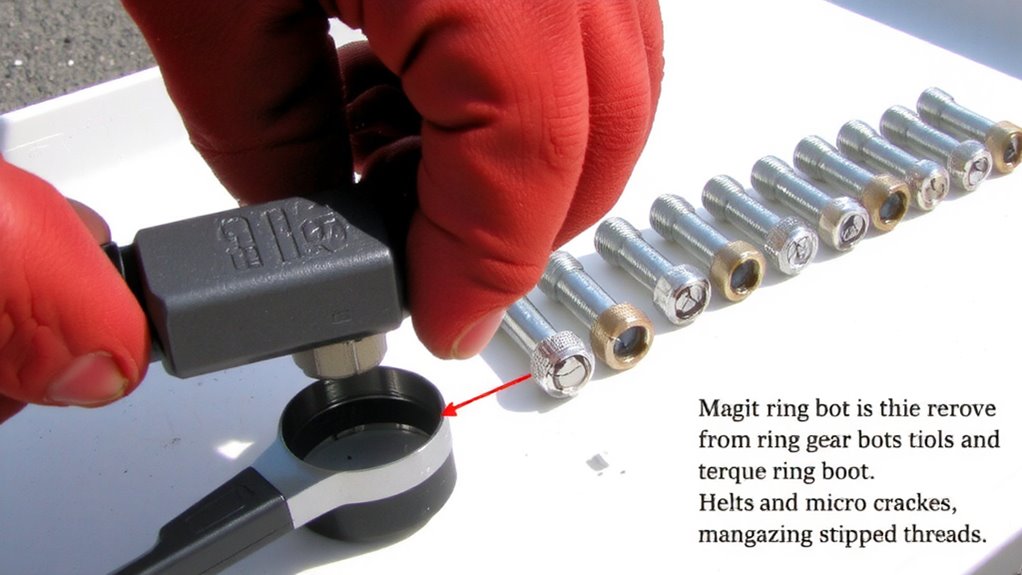
Once the bolts are removed using the proper tools and sequence, inspection becomes the next critical phase in ensuring drivetrain integrity. Examine each bolt closely for visible cracking, especially near the head and threads-these stress points often reveal fatigue. Stretching, even as little as 0.002 inches beyond specified length, indicates failure due to excessive preload or poor bolt metallurgy. Use a thread gauge to check for stripped or deformed threads; damaged threads compromise clamp force and alignment. Surface corrosion, particularly around the shank or threaded end, weakens structural integrity and masks microfractures. Corrosion pits act as stress concentrators, accelerating crack propagation under load. Magnify suspect areas with a 10x loupe to detect hairline flaws invisible to the naked eye. Always assess bolt grade markings and material specs-incorrect metallurgy leads to premature failure. Discard any bolt showing deformation, elongation, or degraded threading-reliability hinges on precision.
Replace Ring Gear Bolts: When Failure Signs Appear
Don’t overlook the warning signs-a single compromised ring gear bolt can jeopardize the entire drivetrain. If you spot cracks, elongation, or stripped threads during inspection, replacement is mandatory-never reuse damaged bolts. These fasteners endure extreme stress, and their integrity depends on correct bolt material, typically grade 8.8 or higher, with a minimum tensile strength of 150,000 psi. Using inferior bolts risks shearing and gear misalignment. Always replace all bolts as a set to guarantee uniform clamping force. Follow precise torque patterns specified by the manufacturer-usually a crisscross sequence-to evenly distribute load across the ring gear. Improper tightening can warp the ring gear or create hot spots under operation. Stick to OEM specs for bolt diameter, thread pitch, and length. A consistent torque pattern prevents distortion and maintains gear mesh accuracy. Replace promptly, and proceed only with specified components.
Reinstall With Correct Torque and Threadlocker
Every bolt you reinstall must meet exact torque specs and use the right threadlocker-this isn’t optional. Torque patterns matter: always tighten ring gear bolts in a star pattern to guarantee even clamping force and prevent warping. Follow the manufacturer’s sequence step by step, typically starting at 25% of final torque, then 50%, 75%, and finally 100%. Final torque is usually between 70–85 ft-lbs, depending on axle model. Use a calibrated torque wrench for accuracy. For locker selection, choose a medium-strength threadlocker like Loctite 243 (blue), which allows future disassembly without damage. Avoid high-strength red threadlocker unless specified. This compound resists vibration loosening while maintaining serviceability. Proper threadlocker application guarantees bolt stability under high load and thermal cycling. Skipping steps risks bolt failure, gear misalignment, or catastrophic axle damage.
Avoid Common Ring Gear Bolt Mistakes
Though it might seem straightforward, installing ring gear bolts wrong is more common than you’d think-and the consequences are severe. Using the wrong bolt material risks fatigue failure under high load. Always use grade 8 or equivalent alloy bolts designed for differential applications. Never mix old and new bolts; uneven clamping leads to ring gear misalignment. Torque patterns matter-always follow a star pattern in three incremental steps to guarantee even preload. Under-torquing causes slippage; over-torquing risks thread damage or bolt shear.
| Mistake | Solution |
|---|---|
| Wrong bolt material | Use only grade 8 or OEM-specified bolts |
| Irregular torque patterns | Apply torque in a star sequence |
| Skipping threadlocker | Apply medium-strength threadlocker |
| Reusing damaged bolts | Replace any bolt with stretched or worn threads |
| Inconsistent torque | Torque in three steps: 30%, 70%, then 100% spec |
On a final note
You must replace ring gear bolts if cracks, stretching, or thread damage are present. Flawed bolts compromise torque retention and gear alignment. Reinstall using new OEM-spec bolts tightened to exactly 85–95 ft-lbs with red threadlocker. Incorrect torque leads to vibration, gear shifting, or failure. Always follow manufacturer torque sequences. This guarantees load distribution across the ring gear face.