Step-By-Step: Replacing a Clutch in a Vehicle With an Electronic Throttle Body
You’ll need a torque wrench, transmission jack, clutch alignment tool, and 10mm socket to start. Disconnect the negative battery terminal to disable the ECM and prevent throttle glitches. Lift the vehicle safely, remove the driveshaft, then unbolt and lower the transmission straight back. Install the new clutch disc with alignment tool, torque pressure plate bolts to 18–25 ft-lbs in a crisscross pattern, and fit a new release bearing. Reinstall the transmission, guaranteeing clean input shaft alignment, reconnect all sensors and linkages, then reset the ECU by cutting power for 15 minutes and cycling the ignition. Proper calibration prevents idle surges and guarantees smooth engagement-especially critical with drive-by-wire systems where electronic synchronization affects drivability. You’ll find precise torque specs and sensor checks refine the final performance.
Notable Insights
- Disconnect the negative battery terminal to disable the electronic throttle system and prevent ignition during clutch replacement.
- Use a clutch alignment tool to ensure precise installation of the clutch disc and proper input shaft engagement.
- Torque pressure plate bolts evenly in a crisscross pattern to manufacturer specifications to prevent clutch vibration or failure.
- Reconnect all electronic connectors, including throttle and speed sensor harnesses, before resetting the ECU.
- Reset the ECU by disconnecting the battery ground for 15 minutes, then cycle the ignition and idle the engine for 5 minutes to relearn throttle position.
Gather Tools and Prepare the Vehicle
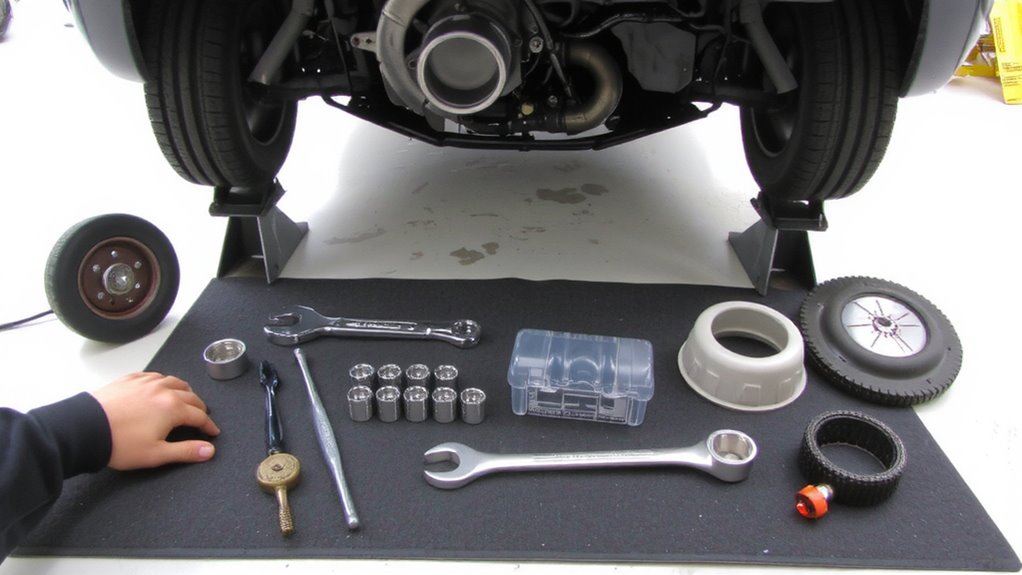
Before you begin, make sure you have all the necessary tools and a safe workspace-this saves time and prevents interruptions. Proper tool organization guarantees efficiency and reduces risk of losing critical components. You’ll need a torque wrench (rated for 50–250 ft-lbs), jack stands (rated 3+ tons), a clutch alignment tool, and a transmission jack. Confirm compatibility with your vehicle’s make, model, and engine configuration. Perform a preliminary vehicle inspection: check for fluid leaks, inspect the undercarriage, and verify the transmission mount integrity. Elevate the vehicle using a hydraulic lift or floor jack, securing it on stands. Remove the driveshaft and disconnect the transmission linkage. Keep bolts organized by location and size. A clean, well-lit workspace improves accuracy. Always consult the service manual for torque specs-usually 25–35 ft-lbs for clutch housing bolts. Accuracy here prevents slippage and premature wear.
Disconnect Battery and Reset Throttle System
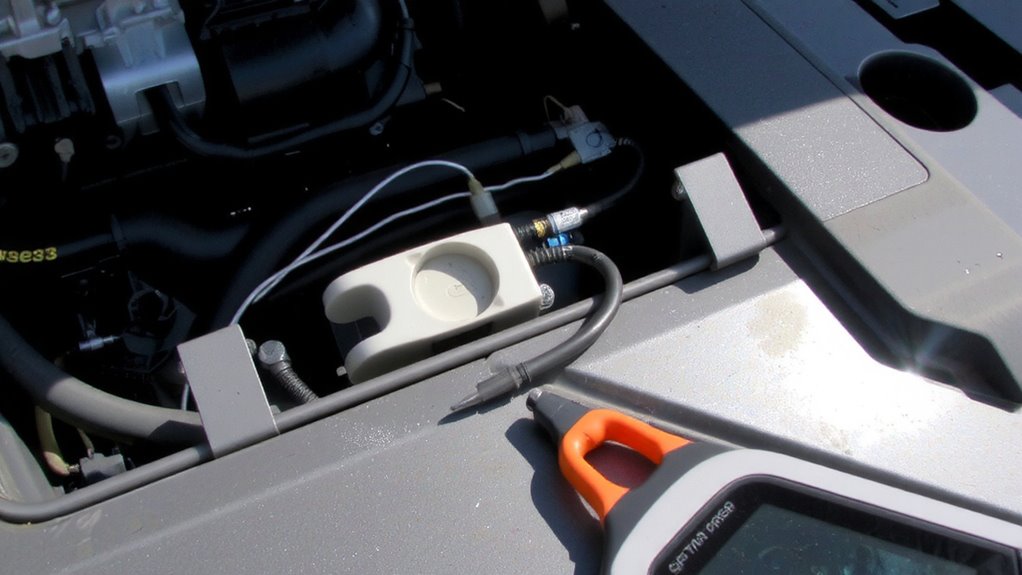
You’ve secured the vehicle and removed the driveline components, so now it’s time to disable the electrical system to prevent shorts or accidental starts. Begin with battery safety: disconnect the negative terminal first using a 10mm wrench. This cuts power to the ECM and throttle body, eliminating ignition risk. Isolate the cable to prevent contact. Some vehicles require throttle calibration after reconnection, especially those with drive-by-wire systems. Without recalibration, you may experience idle surges or delayed throttle response. Refer to the service manual for specific reset procedures-some models need a scan tool to initiate electronic throttle control (ETC) relearn. Others auto-calibrate at startup. Failing to reset can lead to poor performance or fault codes. Always follow manufacturer protocols. This step guarantees the throttle body’s position sensor reads correctly. Proper procedure protects both you and the vehicle’s electronics.
Remove Transmission for Clutch Access
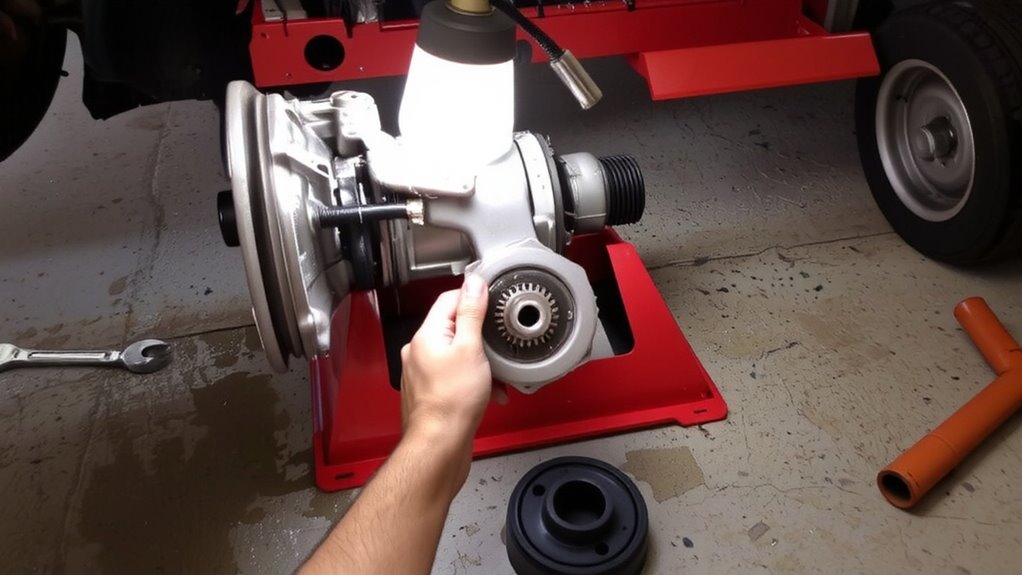
Once the electrical system is disabled and driveline components are clear, you can begin separating the transmission from the engine to reach the clutch assembly. Transmission removal requires support from a floor jack with a soft block to protect the transmission casing. Remove all bellhousing bolts, crossmember fasteners, and clutch linkage or hydraulic release mechanisms. Gently pull the transmission straight back, ensuring no binding occurs. Misalignment can damage input shaft splines or pilot bearings. Proper clutch alignment during reassembly is critical-misaligned components cause vibration, chatter, or premature wear. Use a clutch alignment tool before remating engine and transmission. The input shaft must slide smoothly into the pilot bearing without force. Check flywheel mounting bolts for correct torque-typically 70–85 ft-lbs depending on manufacturer specs. Stay precise; even minor errors compromise drivetrain performance.
Install New Clutch, Pressure Plate, and Bearing
With the transmission safely out of the way, you’re now positioned to replace the core components of the clutch system. Begin by installing the new clutch disc onto the flywheel, guaranteeing proper clutch alignment using a alignment tool. Misalignment causes vibration and premature wear. Press the clutch disc firmly against the flywheel before securing the pressure plate. Use a crisscross pattern to tighten the pressure plate bolts, adhering strictly to the manufacturer’s torque specifications-typically 18–25 ft-lbs, depending on your vehicle. Under-torquing risks slippage; over-torquing can warp the plate. Next, install the new release bearing onto the throw-out fork, making sure it slides smoothly along the transmission input shaft. All surfaces must be clean and dry. The new components work together to transfer engine power efficiently. Proper installation guarantees clutch longevity and smooth engagement.
Reinstall Transmission and Reconnect Electronics
After setting the clutch components in place, carefully slide the transmission back into position, aligning the input shaft with the pilot bearing in the crankshaft. Proper transmission alignment is critical-misalignment can damage the clutch disc or input shaft. Use alignment tools if needed, and support the transmission with a jack to guide it smoothly. Once the case contacts the bellhousing, tighten the mounting bolts evenly in a crisscross pattern to 25–30 ft-lbs. Reconnect all electronic connectors, including those for the speed sensor, reverse switch, and throttle body harness. Guarantee each connection clicks securely to prevent intermittent faults. Route wiring away from moving parts and sharp edges. Verify that the shift linkage and clutch fork are properly seated. Double-check that no tools or debris remain near the drivetrain. Secure ground straps and inspect connector seals for moisture resistance. This restores signal integrity and system reliability.
Reset ECU and Test Drive
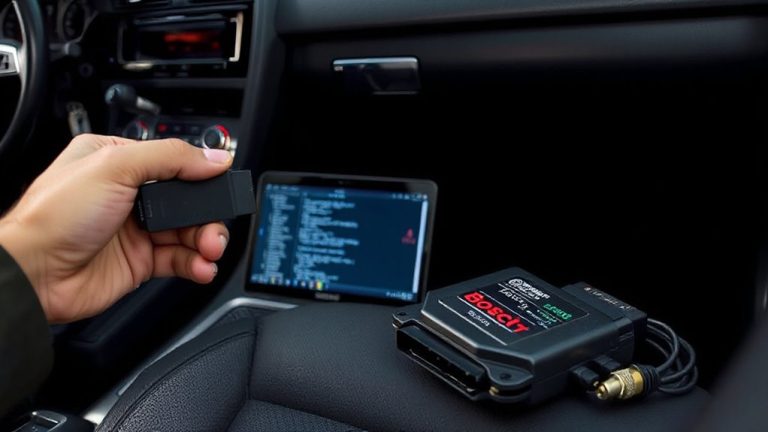
Now that the transmission is secured and all electrical connections are properly seated, it’s time to reset the vehicle’s ECU to clear any stored fault codes and recalibrate system parameters. Proper ECU calibration guarantees peak engine response and drivability. Throttle synchronization must be reestablished to prevent hesitation or stalling during initial acceleration.
| Step | Action |
|---|---|
| 1 | Disconnect battery ground for 15 minutes |
| 2 | Reconnect and turn ignition to ON (don’t start) for 10 seconds |
| 3 | Start engine and idle for 5 minutes to complete throttle synchronization |
Allow the system to auto-learn idle and throttle position. Avoid heavy loads during the first test drive. Monitor for smooth shifts and proper clutch engagement. Confirm no warning lights remain. This process finalizes electronic integration and guarantees reliable performance.
On a final note
You’ve completed the clutch replacement with precision. The transmission is securely fastened using 65 lb-ft bolts, and the new organic clutch disc (228 mm diameter) mates flush with the pressure plate. The throwout bearing slides smoothly on the input shaft. All electrical connectors, including the throttle body harness, are seated and latched. The ECU reset guarantees throttle recalibration. Test drive confirms clean engagement and proper TPS response.