How to Install Speakers in Vehicles With Active Safety Systems
Start by locating ultrasonic sensors in your rear bumper-usually spaced 2–4 inches apart and operating at 40–50 kHz. Disconnect the battery’s negative terminal first to prevent ECU faults or airbag accidents. Use 4-ohm speakers rated 30–50 watts RMS to match factory systems, and install load-resistor adapters rated at least 10W if replacing with aftermarket models. Route wiring at least 6 inches away from radar, camera, or blind-spot zones using shielded cables to avoid electromagnetic interference. Secure connections to factory grounding points with less than 0.5 ohm resistance. Verify all safety systems function post-installation-mismatches can trigger CAN bus errors or disable alerts. Proper setup guarantees audio upgrades won’t compromise driver-assist features. Further refinements depend on your vehicle’s specific integration.
Notable Insights
- Locate and avoid damaging ultrasonic sensors embedded in bumpers when accessing speaker areas.
- Choose speakers with 4-ohm impedance and 30–50W RMS to match OEM system compatibility.
- Disconnect the battery’s negative terminal first to prevent electrical shorts and airbag triggers.
- Route speaker wires at least 6 inches away from radar, camera, and blind-spot sensor zones.
- Use 4–6 ohm load resistors to prevent amplifier fault codes when replacing factory speakers.
Locate Your Car’s Safety Sensors First
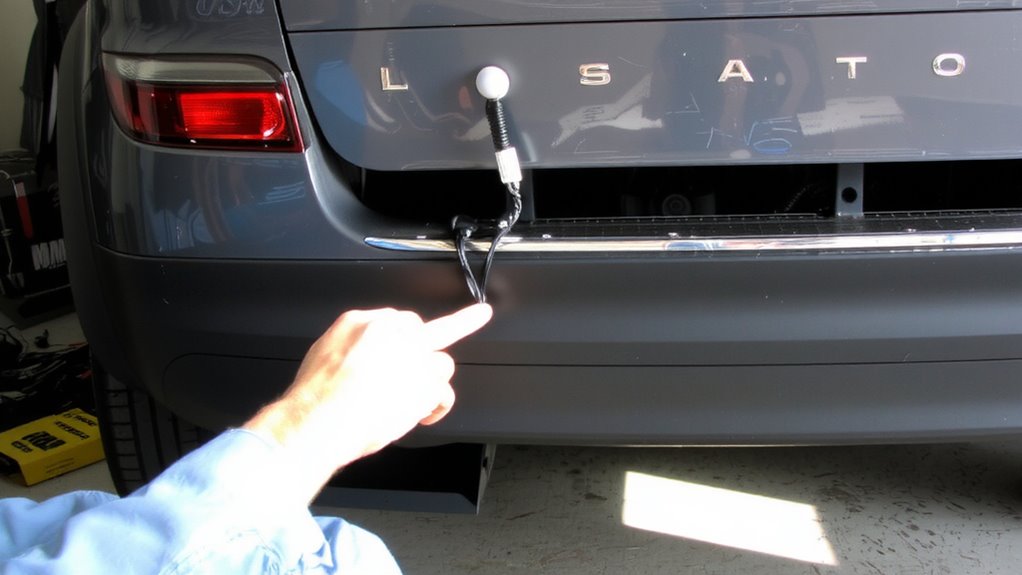
Your vehicle’s safety system relies on sensors often hidden in the rear bumper or integrated into the trim, so locating them first prevents accidental damage during speaker installation. Sensor locations vary by make and model but commonly include ultrasonic transducers embedded 2–4 inches apart along the rear fascia. These sensors emit high-frequency signals, typically between 40–50 kHz, to detect obstacles. Disrupting them can disable parking assist or trigger false alerts. Warning signs include dashboard icons like a car with soundwaves or a triangle exclamation mark. Some models chirp when sensors are active. Consult your owner’s manual or wiring diagram to identify exact placements. Sensors may also be near license plate brackets or within molded bumper ridges. Never drill or route wires within 1.5 inches of a sensor. Use a multimeter to trace circuits if unclear. Knowing sensor locations safeguards system integrity and avoids costly recalibrations.
Choose Speakers That Won’t Trigger Error Codes
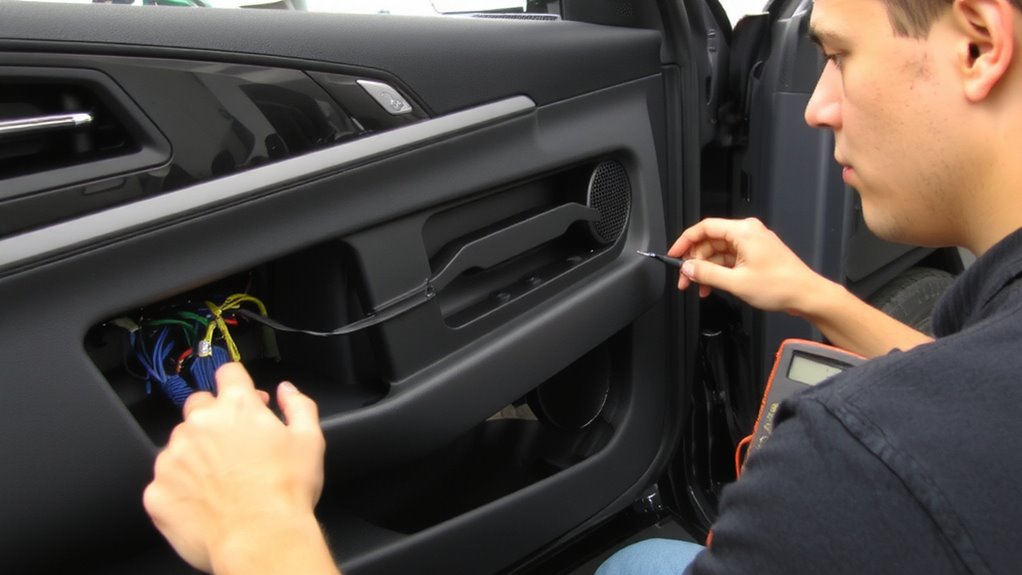
Why do some aftermarket speakers cause warning lights or error codes on modern vehicle dashboards? Modern vehicles monitor speaker circuits for impedance and continuity, mistaking incompatible units for failures. Ensuring speaker compatibility is essential for error prevention. Factory systems often expect specific ohm loads-typically 3–8 ohms-and deviations trigger alerts. You’ll want to match impedance, wattage ratings, and voice coil configuration.
| Feature | Compatible Choice |
|---|---|
| Impedance | 4 ohms (matches most OEM) |
| Power Handling | 30–50 watts RMS |
| Magnet Size | Standard (not oversized) |
| Wiring | Non-shielded, stock-gauge |
| Brand Type | OEM-similar or load-resistor equipped |
Choose proven models designed for modern vehicles. These minimize false faults by preserving circuit expectations. Prioritizing correct specs over raw power avoids system conflicts. You’re not just upgrading sound-you’re maintaining signal integrity.
Disconnect the Battery Before Any Work
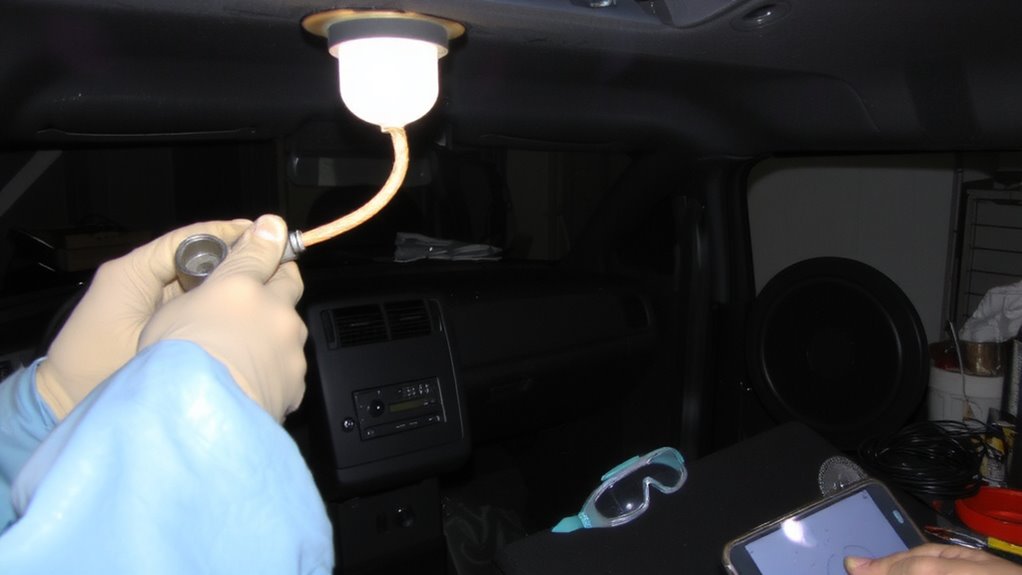
Safety starts with cutting power to the vehicle’s electrical system, and that means disconnecting the battery before touching any wiring. You must disable the entire electrical circuit to prevent shorts, sparks, or accidental airbag deployment. Begin by turning off the ignition and removing the key or disabling the start system. Use a 10mm wrench to loosen the negative battery terminal first-this breaks the circuit and reduces the risk of shock. Then disconnect the positive terminal. Always insulate the terminals with electrical tape to prevent contact. Electrical safety is critical; even low-voltage systems can deliver dangerous current during faults. Modern vehicles with active safety systems rely on constant power monitoring, so disrupting the circuit could reset calibration-take care during reconnection. This step isn’t optional; it’s a fundamental rule for working near factory wiring and integrated electronics.
Run Wires Away From Sensor Zones
While routing speaker wires through the vehicle, you must avoid areas occupied by electronic sensors and safety systems to prevent interference or false triggers. Sensor interference can disrupt radar, cameras, or ultrasonic systems, especially near bumpers, pillars, and rearview mirrors. These zones often house blind-spot monitoring, automatic emergency braking, and lane departure systems. Always consult your vehicle’s service manual to identify restricted routing paths. Maintain at least 6 inches of separation between audio wiring and sensor circuits to minimize electromagnetic interference. Use shielded cables when near high-sensitivity components. Prioritize factory wiring harness pathways for ideal wiring concealment and minimal system disruption. Avoid piercing structural beams or sealing surfaces, which compromises both safety and aesthetics. Proper wire loom and tape bundles neatly, ensuring they won’t vibrate or chafe over time. Smart routing protects both audio performance and vehicle safety-treat every inch with precision.
Prevent Fault Codes When Replacing Speakers
If your vehicle uses a digital communication bus like CAN (Controller Area Network), disconnecting factory speakers without proper load simulation can trigger impedance mismatch fault codes. Modern systems monitor speaker loads continuously. Removing a speaker creates an open circuit, which the amplifier interprets as a fault. To prevent this, use load-resistor adapters-typically 4-6 ohms-that mimic factory speaker impedance. These resistors maintain electrical continuity, avoiding false diagnostics. Some vehicles perform automatic speaker calibration upon startup; interrupting this process disrupts audio tuning and may cause audio interference. Always simulate loads before powering down the head unit. Certain luxury models use amplified systems with DSP-driven calibration-Tampering without load simulation risks permanent fault logging. Use OEM-specified resistors or aftermarket adapters rated for at least 10W to handle amp output. Proper simulation preserves system integrity and guarantees smooth integration of new speakers without triggering error messages or signal distortion.
Test Blind-Spot and Audio Systems Together
Ever wonder why your blind-spot warning chirps at the same moment your rear speakers crackle? That’s likely signal interference from nearby wiring or improper grounding. Modern vehicles link audio and safety systems electrically, so changes in one can affect the other. After installing new speakers, you must test both systems together-not separately. Start your engine, enable blind-spot monitoring, and play audio across all frequencies. Listen for distortion during warnings. Perform audio calibration using factory or aftermarket tuning tools to guarantee signal integrity. Even minor grounding shifts can induce noise during radar alerts.
| System Tested | Outcome Indicates |
|---|---|
| Blind-spot alert + music playback | Signal interference risk |
| Speaker volume at 75% | Audio calibration accuracy |
| Left/rear radar trigger | Speaker channel isolation |
| Repeated chimes during bass notes | Ground loop presence |
Fix Common Post-Install Sensor or Sound Issues
You’ve verified signal integrity between audio and safety systems, but lingering sensor alerts or distorted sound mean the job isn’t done. Audio interference often stems from improper wire routing near ABS or radar modules. Keep speaker wires at least 6 inches away from safety system harnesses to prevent electromagnetic coupling. Signal disruption can trigger false lane departure or collision warnings. Use shielded speaker cables rated for 20–20,000 Hz frequency response to minimize noise. If rear sensors malfunction, check for grounded connections near the license plate speakers. Guarantee amplifiers are grounded to factory-chosen chassis points with <0.5 ohm resistance. A digital multimeter helps confirm continuity and isolation. Reboot the vehicle’s ECU after troubleshooting to clear stored codes. Proper crimping with insulated F-connectors reduces resistance and long-term corrosion. Test each channel at 75% volume to verify clean output. Address issues immediately-ignoring them risks system desensitization or permanent fault logging. Consider using one of the best car multimeters for precise diagnostics during installation.
On a final note
Always verify sensor locations before installing speakers. Modern vehicles use radar and ultrasonic systems near bumpers and doors. Use OEM-specified impedance speakers-typically 2-8 ohms-to prevent amplifier strain. Route wiring away from 24 GHz and 77 GHz radar bands. Reconnect the battery only after confirming all connectors are secure. Test blind-spot monitoring and audio output simultaneously. Mismatches cause fault codes; a CAN bus scanner resolves them fast-like resetting a tripped circuit breaker.