DIY Guide: Replacing a Clutch Slave Cylinder on a Full-Size Truck
You’ll notice a spongy clutch pedal or fluid leak near the transmission bell housing, signaling slave cylinder failure. Use a 10mm wrench to disconnect the hydraulic line and a 13mm socket to remove the mounting bolts. Replace it with an OEM-spec unit, ensuring the bore size matches. Torque bolts to 12–14 ft-lbs and bleed with DOT 3 or DOT 4 fluid until the pedal feels firm-air in the system drops pressure below 80 psi, causing slip. Proper alignment prevents binding and premature wear. Master the right technique to avoid pressure loss and keep your truck shifting smoothly under load.
Notable Insights
- Inspect for spongy pedal feel and fluid leaks near the transmission to confirm clutch slave cylinder failure.
- Use a socket wrench and line wrench to safely disconnect hydraulic lines and remove mounting bolts without damage.
- Remove the old slave cylinder carefully by twisting gently to avoid damaging the transmission bore.
- Clean the transmission bore and verify alignment before installing the new OEM-spec slave cylinder.
- Bleed the hydraulic system using gravity or pump method to eliminate air and restore firm pedal feel.
Common Signs Your Clutch Slave Cylinder Is Failing
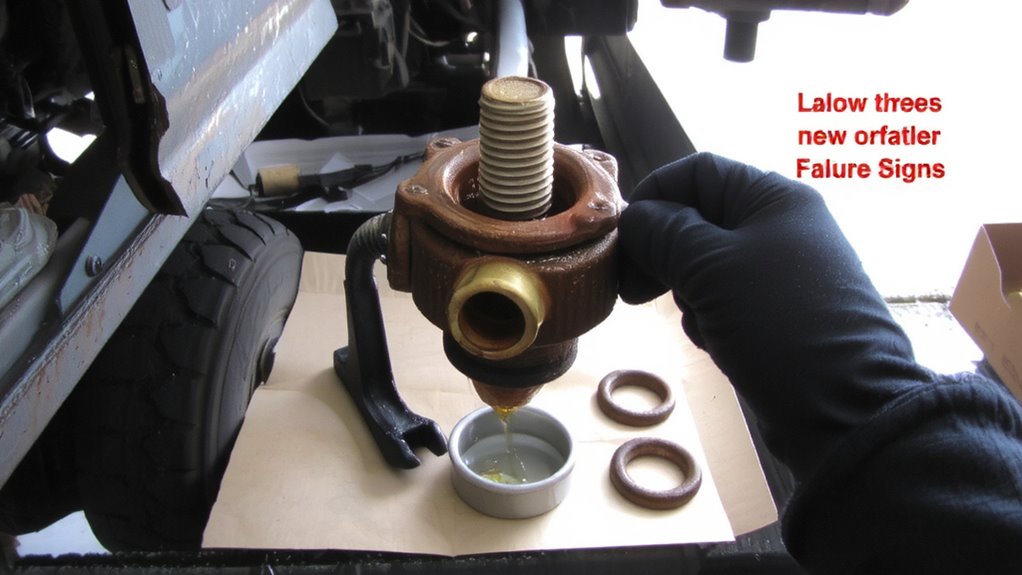
A spongy clutch pedal might be the first clue something’s wrong under the hood. You’ll notice reduced resistance when pressing down-it feels soft, unresponsive, almost like pushing into foam. That mushiness often points directly to air in the hydraulic system, usually caused by fluid leakage symptoms. Check around the firewall and transmission bell housing; a wet spot or oily residue means your slave cylinder is likely leaking brake fluid. Over time, this compromises hydraulic pressure. Clutch pedal stiffness can also develop-initially it might feel tight, then progressively worsen as fluid escapes. A properly functioning system maintains consistent pressure at 80–120 psi. When that drops, disengagement fails. Internal seals degrade, especially in high-mileage trucks exposed to heat cycles. The slave cylinder pushrod loses travel efficiency, reducing clutch fork movement to less than the required 0.8–1.2 inches. These signs mean replacement is urgent.
Gather the Right Tools and Parts for Replacement
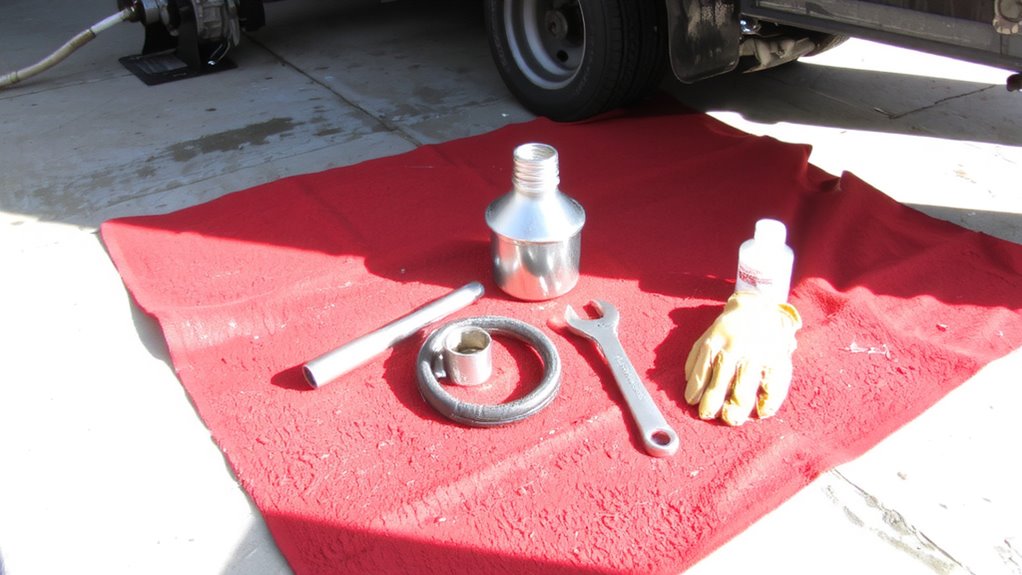
You’ll need seven essential tools and two critical components to complete the clutch slave cylinder replacement correctly. Ensuring brake fluid compatibility prevents seal damage and system failure-use DOT 3 or DOT 4, as specified by your truck’s manufacturer. Proper mounting bracket alignment guarantees the cylinder actuates smoothly without binding. Mismatched parts or misalignment cause premature wear or clutch slippage.
| Tool/Part | Purpose | Specification |
|---|---|---|
| Socket wrench set | Remove mounting bolts | 8mm–14mm sockets |
| Line wrench | Secure fluid line fitting | Prevents rounding fittings |
| New clutch slave cylinder | Replace failed unit | Match OEM specs for bore size |
| Brake fluid | Refill system | Verify compatibility (DOT 3/4) |
Use quality parts to maintain hydraulic efficiency and guarantee long-term reliability under high-pressure operation.
Remove the Old Clutch Slave Cylinder
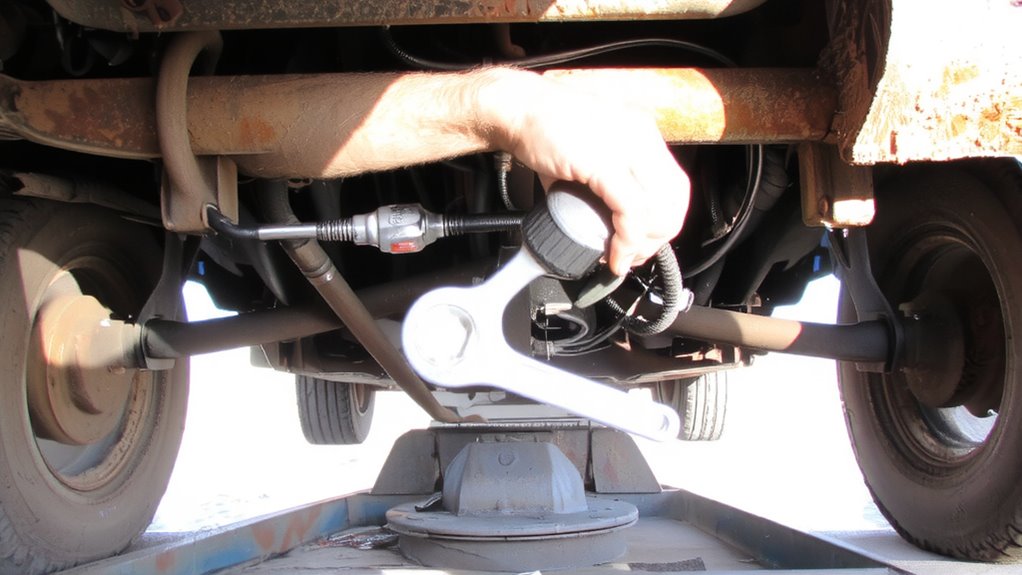
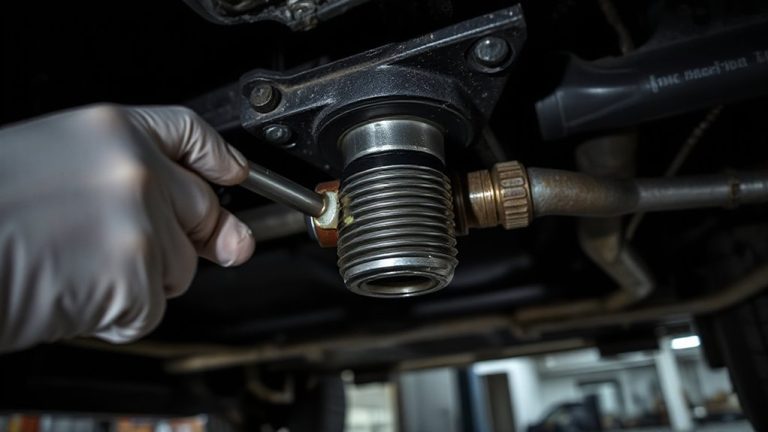
Now that you’ve assembled the correct tools and verified compatibility of your replacement parts, it’s time to start removing the old clutch slave cylinder. Begin by disconnecting the hydraulic line to prevent fluid leakage-place a drip pan underneath to catch residual brake sympton. Use a 10mm wrench to loosen the fittings, as most full-size trucks use metric hardware. Next, unbolt the slave cylinder mounting hardware, typically two 13mm bolts securing it to the transmission housing. Inspect for fluid leakage around the cylinder boot; pooled fluid indicates a compromised seal. Check for mechanical obstruction caused by corrosion or misaligned components. Gently twist the unit to dislodge it from the transmission bore. Avoid forcing removal, which could damage the clutch fork or bore surface. Confirm the clutch fork retracts freely, confirming no binding. Record any wear patterns for diagnostic insight before final removal.
Install the New Clutch Slave Cylinder
Once the old unit is removed, begin by inspecting the transmission bore for scoring, corrosion, or debris that could compromise the seal of the new slave cylinder. Clean the bore thoroughly with a lint-free cloth and approved solvent. Always confirm the correct mounting position before installation-mismatched positioning can misalign the push rod stroke. Proper hydraulic alignment guarantees the piston extends straight, preventing binding or uneven wear. Install the new slave cylinder by hand-tightening first to avoid cross-threading.
| Component | Specification | Purpose |
|---|---|---|
| Bore Diameter | 1.125 in | Seals slave cylinder cleanly |
| Mounting Torque | 12–14 ft-lbs | Prevents leaks and warping |
| Piston Stroke | 0.75 in | Fully disengages clutch |
| Fluid Type | DOT 3 or 4 | Maintains hydraulic integrity |
Verify secure fit before proceeding.
Bleed the Clutch System Without Air Bubbles
Why does the clutch pedal feel spongy after installation? Air trapped in the hydraulic system reduces fluid pressure, preventing full clutch disengagement. You must bleed the clutch system to remove all air bubbles. Use the correct fluid type-usually DOT 3 or DOT 4-based on your truck manufacturer’s specs; incorrect fluid types compromise performance and damage seals. Begin with gravity bleeding, the simplest of bleeding techniques: open the bleeder valve and let fluid flow until bubbles stop. For stubborn air, use the two-person pump method-depress the clutch fully, hold, open the valve, close it before releasing the pedal. Repeat until fluid flows cleanly. Make certain the reservoir never runs dry during the process. Proper bleeding restores firm pedal feel and ensures reliable clutch engagement.
Avoid These DIY Clutch Replacement Mistakes
How often do DIYers replace a clutch slave cylinder only to face the same symptoms shortly after? The culprit is often improper torque settings or skipping safety checks. Always torque mounting bolts to the manufacturer’s spec-typically 11–15 ft-lbs-using a calibrated torque wrench. Overtightening can crack the cylinder housing; undertightening leads to leaks and misalignment. Never skip safety checks: guarantee the vehicle is securely on jack stands, the battery is disconnected, and the transmission is in neutral. Verify the slave cylinder pushrod free play (usually 0.06–0.12 in) before reassembly. Confirm hydraulic fluid is DOT 3 or DOT 4, per your truck’s manual. Reusing worn lines or fittings risks contamination and failure. Address all related components-master cylinder, lines, and reservoir-during replacement. These steps prevent premature failure and guarantee a reliable repair.
On a final note
You’ve completed the clutch slave cylinder replacement with precision. The new unit guarantees proper hydraulic pressure, typically 70–90 psi, for smooth clutch engagement. Always verify fluid integrity using DOT 3 or DOT 4 brake fluid. A properly bled system eliminates spongy pedal feel. Incorrect installation can cause premature failure. This repair restores factory-level performance, maintaining driveline reliability. Check for leaks after 100 miles.