Step-by-Step Guide to Replacing Factory Speakers in a Luxury SUV
Start by choosing 4-ohm aftermarket speakers-3.5” to 6.75”-to match your luxury SUV’s factory openings. Use polypropylene cones and silk dome tweeters for clear, durable sound. Disconnect the battery’s negative terminal with a 10mm wrench to prevent shorts. Remove interior panels with a trim tool, watching for hidden screws. Factory speakers connect via color-coded 16–18 gauge wires-striped means positive. Swap them using crimp connectors and heat shrink tubing. Test with bass-heavy and vocal tracks. Optimize tweeter placement at ear level. Proper routing and secure connections prevent interference. Calibration with an RTA app guarantees balanced output across all seats. Further refinements await.
Notable Insights
- Disconnect the battery’s negative terminal using a 10mm wrench to prevent electrical damage during installation.
- Remove interior door panels carefully with a plastic trim tool, watching for hidden screws and friction clips.
- Disconnect factory speaker wiring harnesses and inspect wires for damage, noting color-coded polarity.
- Match new speakers to factory harnesses, ensuring correct polarity and using crimp connectors for secure joins.
- Mount new speakers and tweeters in original locations, route wires safely, and test sound with reference tracks.
Choose Replacement Speakers for Your SUV
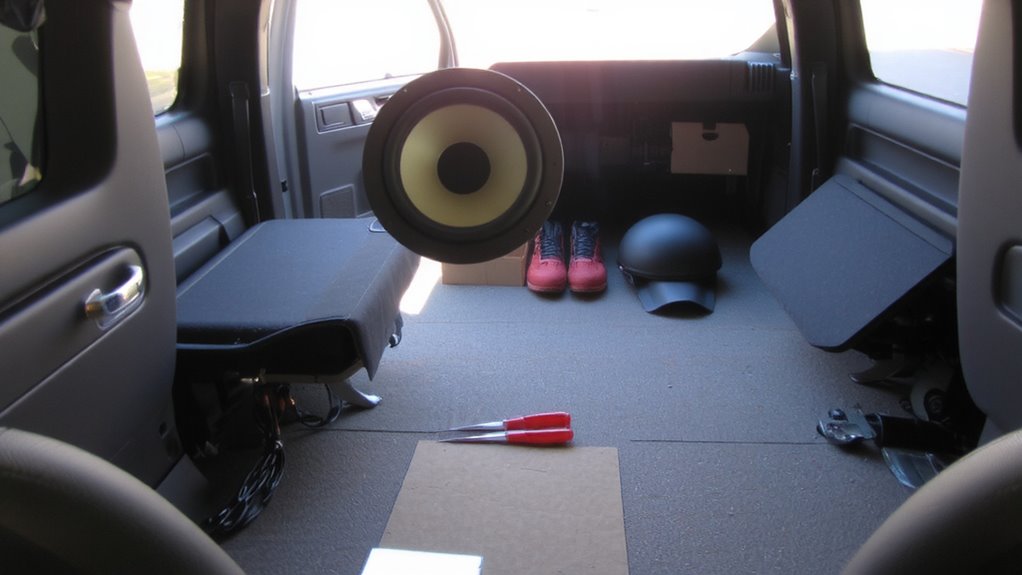
Start by identifying speakers that match your luxury SUV’s audio requirements and physical constraints. Factory speaker sizes typically range from 3.5 to 6.75 inches, so verify dimensions before purchasing. Prioritize speaker quality-look for polypropylene cones and rubber surrounds for durability and accurate sound reproduction. Components like silk dome tweeters extend high-frequency response, enhancing clarity. For improved soundstage positioning, choose component speaker systems over coaxial. These separate tweeters and woofers, allowing precise placement-tweeters near the dashboard for a front-focused stage, woofers in original locations. A well-tuned system creates the illusion that sound originates from in front of you, not below or beside. Guarantee sensitivity ratings are between 87–92 dB to match factory head unit output. Impedance should remain at 4 ohms for compatibility. If you plan to enhance your system further, consider pairing your new speakers with a high-quality car stereo amplifier for increased power and audio clarity.
Gather Tools and Disconnect the Battery
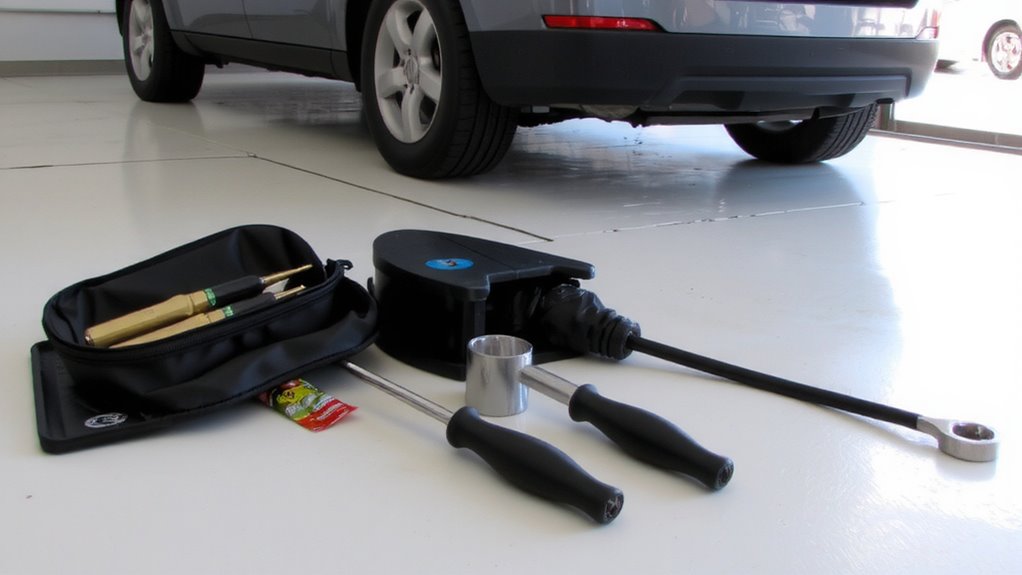
Before you begin removing any panels, disconnect the negative terminal of your SUV’s 12-volt battery to prevent short circuits or electrical damage during installation. This step is essential for battery safety and protects sensitive electronics. Use a 10mm wrench to loosen the terminal bolt, then tuck the cable securely away from the post.
Proper tool organization guarantees efficiency and reduces the risk of losing parts. Lay out all tools and fasteners in a labeled tray before starting.
| Tool | Purpose |
|---|---|
| 10mm socket wrench | Disconnect battery |
| Trim removal tool | Prevent panel damage |
| Phillips screwdriver | Access speaker mounts |
| Wire stripper | Prepare speaker wires |
| Digital multimeter | Verify power is off |
Having everything ready improves workflow and accuracy.
Remove Interior Panels Safely

Once the battery is disconnected, you can safely begin removing interior panels without risking electrical shorts or triggering airbag sensors. Use a plastic trim removal tool to avoid damaging surfaces during panel removal. Begin at the outer edges, gently prying where clips are located. Most luxury SUVs use a combination of friction clips and screws-some hidden beneath trim covers or door handles. Apply steady pressure to release each clip; popping sounds are normal. Take care not to twist or force panels, as this can crack plastic or stretch fabric. Trim care is essential: clean tools before use and avoid metal implements near painted or soft-touch surfaces. Door panels typically measure 18–24 inches wide and connect via 6–10 clips. Label and store screws separately by location. Proper technique guarantees seamless reassembly and preserves factory finish integrity throughout the vehicle interior. For added protection during interior work, consider using car fender covers to shield surrounding areas from debris and tools.
Disconnect Factory Speakers and Identify Wires
With the interior panels removed, you can now access the factory speakers mounted in the doors, pillars, or rear compartments. Locate the speaker wiring harness connected to the back of each speaker. Use a trim tool to gently disconnect the factory harness. You’ll see two wires per speaker, typically colored coded. These indicate speaker polarity-important for proper sound phase alignment. The positive wire often has a stripe or marking, while the negative lacks one. Check for worn wire insulation, which can cause shorts or signal loss. Peel back any protective sleeving to inspect fully. Factory wiring is usually 16–18 gauge, sufficient for stock systems but may limit high-power aftermarket speakers. Label each harness with its location to avoid confusion later. Never rely on wire length or connector shape alone-verify connections individually. Preserving correct speaker polarity guarantees ideal audio coherence across all cabin zones.
Connect and Install New Speakers
When installing your new speakers, start by matching each unit to its labeled harness to maintain correct polarity and channel alignment. Reverse polarity will degrade sound and damage amplifiers. Secure connections with crimp connectors or solder, then insulate with heat shrink tubing. Proper speaker placement ensures balanced sound staging-mount tweeters at ear level and align woofers toward the listening position. Follow factory wiring routing paths to avoid interference and physical damage-never pinch or stretch cables. Use zip ties to secure wires along existing conduits. Most luxury SUVs use 4-ohm speakers; verify impedance matches your head unit’s output. New speakers typically handle 50–100 watts RMS-exceeding this risks distortion. Mount units using provided brackets or foam gaskets to prevent vibration leaks. Guarantee flush mounting without pressure on the cone. Correct installation preserves warranty and acoustic integrity. For even greater audio performance, consider upgrading to high-sensitivity drivers like those found in the best truck speakers.
Test Your System and Tune the Sound
After securing all speaker connections and verifying correct polarity, power up the system to begin testing. Play a variety of reference tracks with known audio quality to evaluate output. Start with bass-heavy tracks to confirm woofer performance, then switch to vocal-centric music to assess midrange clarity. Use a real-time analyzer (RTA) app to identify frequency imbalances. Most luxury SUVs support built-in audio calibration through the infotainment system-enable this feature to automatically adjust timing and level differences between speakers. For fine-tuned results, engage sound profiling modes like “Surround” or “Stage Focus” to optimize speaker phase and imaging. Adjust the crossover frequencies if your amplifier allows user control, typically setting lows at 80 Hz and highs at 2.5 kHz. Re-test after each change. Proper audio calibration guarantees factory-level refinement with aftermarket power, giving you precise, balanced sound across all seating positions.
On a final note
You’ve completed the speaker upgrade successfully. Properly installed 6.5-inch component speakers deliver 90 dB sensitivity and 100-watt power handling. Confirm all connections are secure and impedance matches your amplifier-typically 4 ohms. Reassemble panels without overtightening clips. Test audio across frequencies. Tune crossover settings to reduce distortion. This precise installation enhances soundstage and clarity, matching factory acoustics. Enjoy improved fidelity with minimal resonance.