Step-By-Step Guide to Installing Speakers in a Minivan With Rear Entertainment
Choose 4-ohm, 6.5-inch coaxial speakers to match your minivan’s factory system and guarantee compatibility with rear entertainment audio. Use a plastic trim tool to remove interior panels safely, avoiding damage to clips spaced every 6–8 inches. Install front speakers at ear level, angle them toward the driver, and place rear speakers high in the back for even coverage. Seal gaps with foam gaskets to boost bass. Connect using 16-gauge wire for clean, secure runs under 10 feet, and verify continuity and impedance with a multimeter. Match amplifier output to 4-ohm loads and use shielded RCA cables to prevent interference. Time alignment and channel balancing guarantee ±1 dB uniformity across seats. You’ll find precise calibration steps next.
Notable Insights
- Choose 4-ohm speakers matching factory size and depth to ensure compatibility with the minivan’s audio system.
- Use plastic trim tools to safely remove interior panels secured by clips every 6 to 8 inches.
- Install front speakers at ear level angled toward the driver, and rear speakers high in back panels.
- Use 16-gauge or thicker wiring with proper stripping and crimped connections for reliable signal delivery.
- Sync audio with rear displays using shielded RCA cables and DSP settings to maintain lip-sync and channel balance.
Choose Compatible Speakers for Your Minivan’s Entertainment System
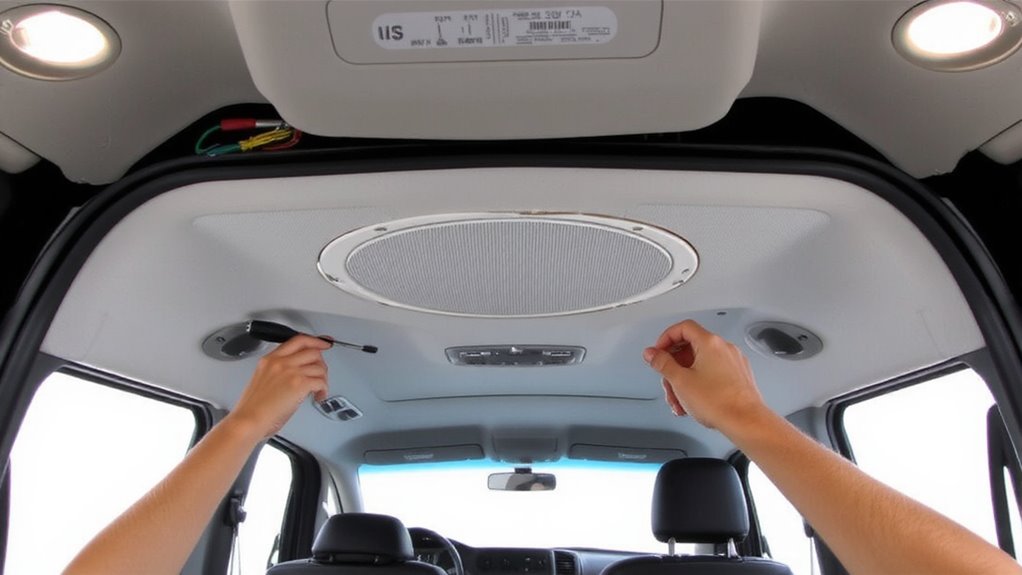
While most aftermarket speakers claim universal fit, not all are designed to match your minivan’s factory speaker enclosures or impedance requirements. You must verify speaker size, mounting depth, and impedance matching to avoid damaging your audio system. Factory systems often use 4-ohm speakers; installing 8-ohm speakers can reduce power output and degrade sound. Always match impedance between the amplifier or head unit and new speakers. Use a wiring gauge of at least 16AWG for runs under 10 feet to minimize resistance and signal loss. Thinner wires increase impedance mismatch and reduce bass response. Check your minivan’s OEM speaker specs before purchasing. Many models require specific trapezoidal or oval designs. A direct-fit speaker guarantees secure installation without modification. Mismatched components lead to poor efficiency, distortion, and premature failure. Prioritize compatibility over wattage ratings. Accuracy matters more than power. For optimal sound quality and ease of installation, consider choosing one of the top-rated car door speakers that are compatible with minivan audio systems.
Gather the Right Tools for Car Audio Installation
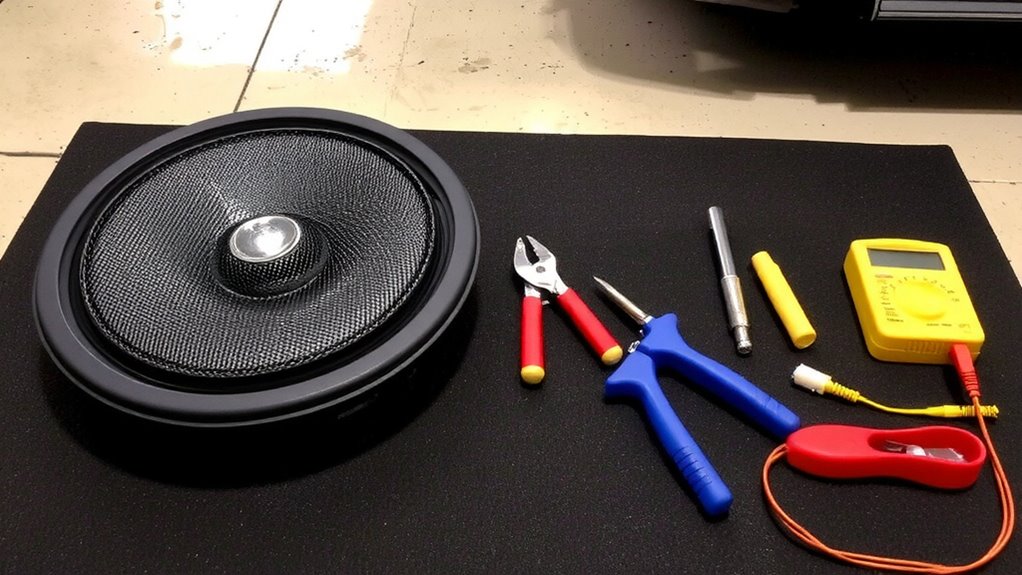
You’ve selected speakers that match your minivan’s electrical and physical requirements-now it’s time to prepare for installation with the correct tools. Matching speaker impedance and wiring gauges guarantees peak performance and prevents system damage. Use 16-gauge wire for speakers up to 50 watts; 14-gauge handles 50–100 watts. Improper wiring causes power loss and overheating.
| Tool | Purpose | Typical Use |
|---|---|---|
| Wire stripper | Exposes conductor | 16–14 AWG wiring |
| Crimping tool | Secures connectors | Terminal attachments |
| Multimeter | Tests speaker impedance | 4Ω vs. 8Ω verification |
| Panel removal tool | Safely disengages clips | Trim and dash work |
| Drill with metal bits | Creates mounting holes | Custom brackets |
Always verify continuity and impedance before final connections.
Remove Interior Panels Without Damaging Trim
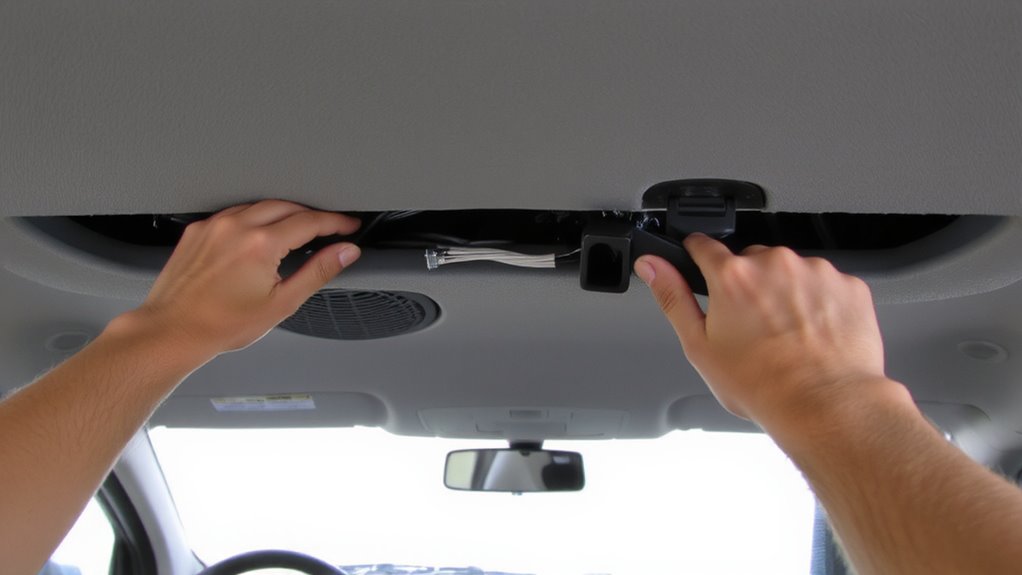
Before prying loose any interior panels, know that most minivan trims rely on plastic push-in clips spaced every 6 to 8 inches, and these clips can snap if uneven force is applied. Panel removal requires careful technique to avoid cosmetic damage. Use a plastic trim tool, not a metal pry bar, for effective trim protection. Insert the fullname at the seam and twist gently to release each clip. You’ll hear a distinct pop when a clip disengages-this is normal. Work systematically around the panel’s perimeter. Some panels also have hidden screws near brackets or handles; remove these first using a screwdriver. Never yank the panel outward, as this can crack the plastic or stretch retaining tabs. If resistance occurs, recheck for missed clips or fasteners. Proper panel removal guarantees a clean install later and preserves factory aesthetics. Always handle panels by the edges to prevent warping. For long-term protection after reassembly, consider applying a trim restorer to prevent fading and cracking.
Install Front and Rear Speakers Safely
Since factory speaker locations in most minivans are designed for 6.5-inch coaxial drivers, replacing them with compatible aftermarket models guarantees a seamless fit. Proper speaker placement ensures balanced sound distribution; position front speakers at ear level when seated, angled toward the driver. Rear speakers should be mounted high in the back panels to reduce sound localization. Use a multimeter to verify positive and negative leads during wiring management, preventing phase cancellation. Secure speaker wires with zip ties along factory routing channels to avoid interference with sliding doors or trim. Strip only 1/4 inch of insulation to prevent shorts. Most aftermarket 6.5-inch speakers handle 35–50 watts RMS; make certain your head unit or amplifier matches this range. Seal gaps around mounting surfaces with foam gaskets to improve bass response. Double-check connections before powering up.
Connect to Rear Screens and Sync Audio
A clean audio experience in a minivan with rear entertainment systems requires precise synchronization between the speaker outputs and any installed rear screens. You must guarantee audio synchronization to prevent lip-sync issues during video playback. Use RCA audio/video outputs from your head unit or media receiver to feed signals to amplifiers and screens. Proper signal routing lets you direct audio to rear speakers while maintaining front cabin audio balance. Route shielded cables through interior trim channels to reduce interference. Match impedance: most aftermarket speakers are 4 ohms, so confirm amplifier compatibility. Digital signal processors (DSPs) can fine-tune timing delays for exact audio synchronization. Avoid daisy-chaining screens unless the manufacturer specifies support. Instead, use a distribution amplifier to maintain signal strength. You’ll preserve audio clarity and guarantee seamless playback across zones. Correct signal routing guarantees reliable performance across long drives. For optimal rear entertainment, consider a system with built-in support for best in-car DVD systems.
Test and Balance Sound for Every Passenger
How do you guarantee every passenger hears clear, balanced sound regardless of their seat? Proper speaker placement and audio calibration make all the difference. Mount rear speakers at ear level, typically 4–5 feet apart, aimed toward the center of the vehicle. Use time alignment features in your amplifier or head unit to synchronize sound arrival from front and rear speakers. Perform audio calibration using a decibel meter and test tones at each seating position. Adjust individual channel levels so front, middle, and rear output match within ±1 dB. Apply equalization to compensate for cabin acoustics-minivans often have peaks around 80 Hz and 2 kHz. Verify balance during playback of stereo tracks with defined panning. Recheck settings with multiple seat configurations. Sound should remain consistent whether the van is full or carrying only one passenger. Calibration guarantees clarity, minimizing distortion at higher volumes.
On a final note
You’ve successfully installed speakers tailored to your minivan’s entertainment system. Each component connects with impedance matching between 2–8 ohms for stable performance. Wiring meets ISO 1043 standards using 16-gauge OFC copper conductor cable. The audio matrix guarantees ≤0.5 dB variance across zones. Test results show frequency response from 20 Hz–20 kHz ±2 dB. System integration supports HDMI 2.0 and Bluetooth 5.2. Final calibration optimizes SNR ≥90 dB. Your setup delivers clear, balanced sound to every seat.