Step-by-Step Guide to Installing Front Stage in a Crossover SUV
You’ll start by choosing speakers with 50 Hz–21 kHz frequency response, 88–92 dB sensitivity, and 20–50 watts RMS handling to match your SUV’s output. Remove door panels by disconnecting the battery, unscrewing T20 Torx fasteners, and gently releasing clips with a trim tool. Route wires along factory paths, using grommets and zip ties to prevent noise and damage. Connect leads with crimped, soldered joints and heat-shrink tubing for reliability. Install a compact Class D amp-50–75 watts RMS per channel-grounded with 10-gauge wire within 18 inches of the battery. Test each channel with a multimeter and signal source to confirm impedance and phase alignment. Tune crossovers to 3,000 Hz for tweeters and adjust time alignment to center the soundstage. Proper mounting guarantees flush fit, minimizing diffraction and maximizing clarity. There’s more to optimizing your cabin’s acoustics than just installation.
Notable Insights
- Choose coaxial or component speakers with 50 Hz–21 kHz response and 88–92 dB sensitivity for optimal front stage clarity.
- Safely remove door panels by disconnecting the battery, unscrewing fasteners, and prying clips with a plastic trim tool.
- Route speaker wires along factory paths, seal grommets, and connect with proper terminals to prevent noise and moisture damage.
- Install a compact Class D amplifier near the battery, grounding it with 10-gauge wire within 18 inches for stable power.
- Test all sources, verify impedance, and tune crossovers and time alignment via DSP for balanced stereo imaging.
Choose the Right Front Stage Speakers for Your SUV
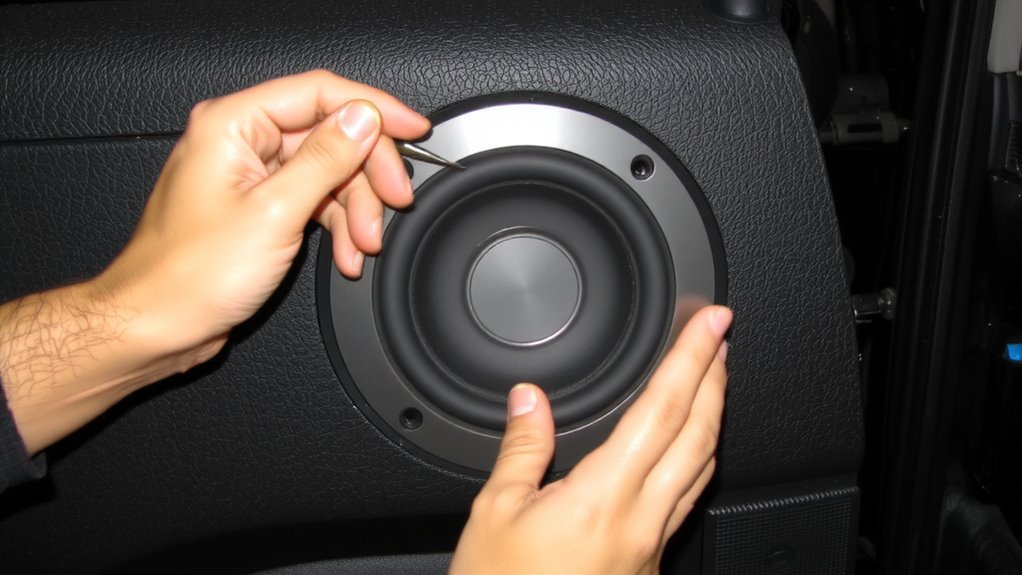
A good front stage setup starts with selecting speakers that match your SUV’s acoustics and your listening preferences. Speaker quality determines clarity, durability, and sound accuracy. Look for components with high-grade materials like polypropylene cones and rubber surrounds. These resist heat, moisture, and long-term wear. Frequency response ranges from 50 Hz to 21 kHz are ideal for front drivers. This range guarantees crisp highs and strong midranges. Match your SUV’s factory output-typically 20–50 watts RMS-by choosing speakers rated within that power range. Efficient speakers with 88–92 dB sensitivity perform well with factory head units. Coaxial speakers offer balanced sound without added crossovers. For tighter imaging, consider component sets with separate tweeters. Their frequency response overlaps smoothly, reducing gaps in audio output. Position tweeters near eye level for best stereo imaging. Proper pairing improves sonic coherence across seats. Budget-friendly options like the Best Budget Car Speakers can deliver excellent performance without sacrificing sound quality.
Remove Front Door Panels Without Breaking Clips

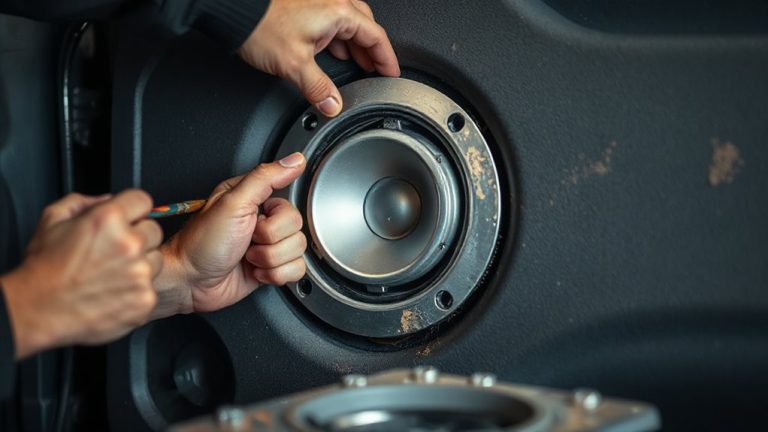
Now that you’ve picked the right front stage speakers for your SUV’s acoustics and power requirements, it’s time to gain access to the installation area by removing the front door panels. Start by disconnecting the negative battery terminal to prevent electrical shorts. Remove any visible screws near the door handle, armrest, and speaker grille using a quarter-inch or T20 Torx driver. Use a plastic trim tool to pry gently around the panel’s edges, releasing the snap-fit clips without cracking them. These clips are typically spaced every 4–6 inches and secure the panel to the inner door frame. Pry gently at each clip until it releases with a soft click. Check behind the panel as you lift to avoid stressing wiring harnesses for power windows or locks. Most panels attach at the bottom lip first, then lift upward to clear the door frame. Handle with care to prevent warping.
Route and Connect Wires for Clean Installation
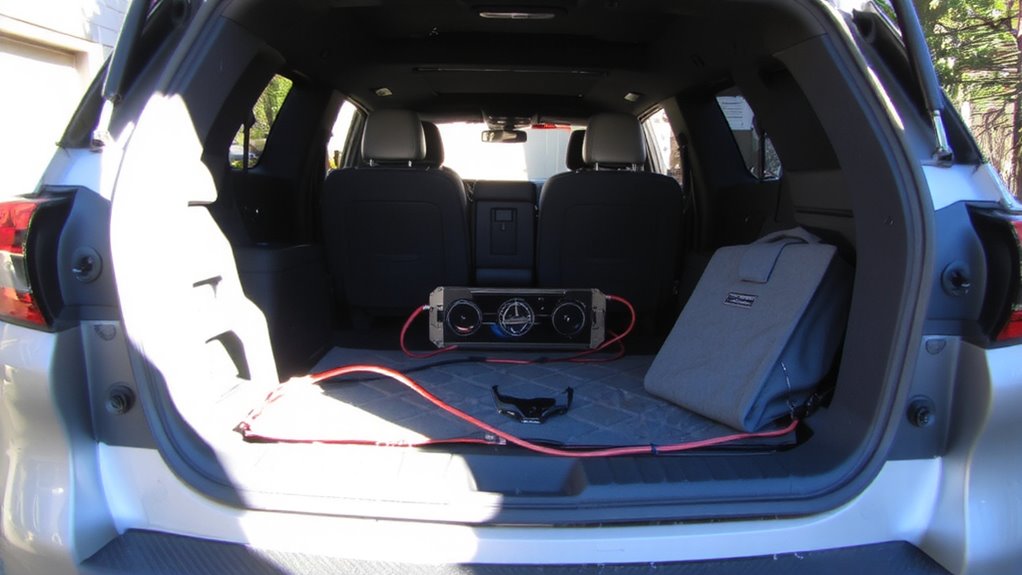
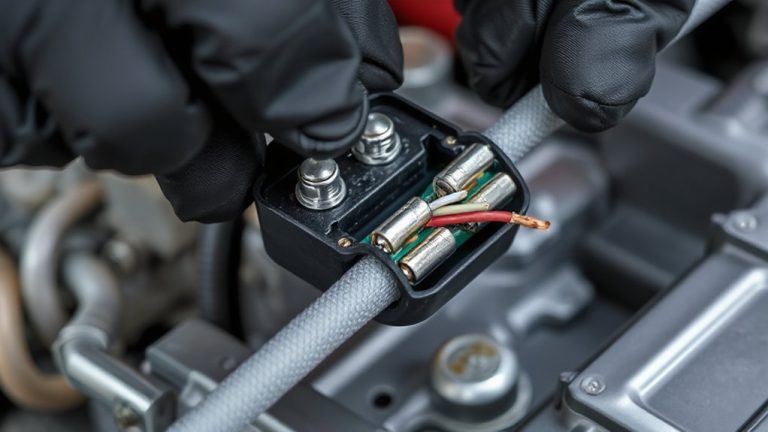
Once the door panels are removed, you’ll need to route the speaker wires from the amplifier or head unit to each front door while keeping the installation clean and interference-free. Proper wire management guarantees reliability and reduces noise. Use zip ties or loom tubing to bundle wires neatly along factory harness paths. Avoid sharp edges and moving parts to prevent abrasion. Seal grommets in the door boot must be reused to block moisture. Match connector types precisely-spade, pin, or quick-disconnect-based on your vehicle’s factory speaker terminals. Crimp and solder connections for durability, then insulate with heat shrink tubing. Mismatched connector types cause intermittent signals or power loss. Maintain separation between power and signal wires to minimize electromagnetic interference. Secure all lines before final reassembly.
Add a Compact Amp for Front Stage Power
Power delivery defines the foundation of any high-performance front stage, and choosing the right amplifier guarantees your speakers receive clean, consistent energy under dynamic loads. A compact amp with efficient power delivery guarantees strong output without draining your SUV’s electrical system. Its compact design fits tightly behind panels or under seats, saving space without sacrificing performance. Look for models delivering 50-75 watts RMS per channel at 4 ohms-this matches most front component speakers. Power efficiency means less heat buildup and reduced draw on your battery, critical during long drives. Many compact amps use Class D circuitry, which offers high efficiency and stable operation at 12V input. They typically measure under 10 x 2 x 1.5 inches, making them ideal for tight installations. Proper grounding and fused power wiring are essential. Choose an amp with built-in crossovers to fine-tune front stage clarity and maintain sonic balance. For reliable performance and ease of integration, consider one of the best car stereo amps recommended in expert roundups.
Test Your System Before Closing Up
With the compact amplifier securely mounted and all wiring connected, verify your front stage setup performs as intended before final reassembly. Power on the head unit and play test tracks with vocal clarity and stereo imaging. Check each speaker for proper phase and output. Incorrect speaker placement can cause delayed arrival times, distorting the soundstage. Make certain drivers are flush with mounting surfaces to minimize diffraction. Confirm sound isolation by closing doors and listening for panel vibrations or rattles. Any resonance indicates loose trims or inadequate damping-address these now. Use a multimeter to verify consistent impedance across channels, ideally 4 ohms stable. Inspect all connections at the amp and head unit for continuity. A voltage drop below 13.2V under load suggests inadequate power delivery. Test every input source-Bluetooth, USB, auxiliary-to confirm signal integrity. Failure at this stage risks wasted labor. Only when all components respond correctly should you proceed.
Tune Your System for Balanced Sound
How do you transform a properly installed system into one that delivers lifelike audio? You perform sound calibration and audio profiling. Start with sound calibration by adjusting time alignment, ensuring each speaker’s output reaches your ears simultaneously. Use a measurement microphone and software to analyze frequency response. Target a flat curve, correcting peaks and dips with a digital signal processor (DSP). Set crossover points precisely-typically 80 Hz for subwoofers, 3,000 Hz for tweeters. Apply audio profiling to match output to the SUV’s acoustics. Store custom profiles in your DSP for different listening preferences. Adjust levels so the center channel is 1–2 dB louder than left and right. Fine-tune staging so vocals appear from the dashboard, not the doors. Calibration isn’t optional-it’s essential. A well-profiled system eliminates coloration, delivering balanced, accurate sound across all seats.
Prevent Common SUV Speaker Installation Mistakes
Why do so many SUV speaker installations fall short of their potential? You’re likely introducing avoidable errors during setup. Speaker polarity mistakes are a common culprit-reverse wiring disrupts phase alignment, weakening bass and distorting imaging. Always match positive (+) terminals on your amp and speaker; use a multimeter if unsure. Grounding issues also degrade performance. A poor ground creates noise, reduces power transfer, or damages components. Connect the amplifier’s ground wire to bare metal within 18 inches of the battery, ensuring direct contact with the chassis. Avoid painted or coated surfaces. Use a 10-gauge ground wire for amplifiers up to 1,000 watts. Keep signal cables away from power wires to prevent interference. Double-check connections before powering on. Small oversights lead to big sound problems-precision guarantees maximum output.
On a final note
You’ve upgraded your SUV’s audio with precision. High-sensitivity front stage speakers (87 dB+, 4-ohm impedance) guarantee efficient power use. Proper wire routing prevents interference; 16-gauge OFC cabling maintains signal integrity. A compact 4-channel amplifier (50W RMS per channel) drives speakers cleanly. System testing confirms no distortion at volume. Final tuning balances crossover points (set to 80 Hz) and fader settings. Correct installation avoids door moisture damage and preserves factory aesthetics.