DIY Guide to Replacing Oil Filters: A Fundamental Task That Can Reduce Engine Wear and Tear While Ensuring Clean Lubricant Flows Throughout Your Vehicle’s System
You’ll need a 15/16-inch or 22mm wrench, socket set, and oil filter wrench to remove the old filter securely. Always match the new filter to your vehicle’s OEM specs for correct fit and sealing. Coat the rubber gasket with clean oil and hand-tighten the filter-typically ¾ to one full turn after contact. Over-tightening can damage the seal, causing leaks. Skipping changes risks sludge buildup and accelerated engine wear. Proper filter selection and installation guarantee clean oil flow, sustained pressure, and long-term engine health-key details follow.
Notable Insights
- Use the correct oil filter wrench and drain pan to safely remove the old filter without spills or damage.
- Match the new filter to your vehicle’s specifications using the owner’s manual for proper engine compatibility.
- Coat the new filter’s rubber gasket with clean oil to ensure a secure seal and prevent leaks.
- Install the filter by hand, tightening only until snug plus an additional ¾ to one full turn.
- Skipping changes leads to clogged filters, poor lubrication, and increased engine wear from contaminant buildup.
Oil Filter Change: Tools You’ll Need
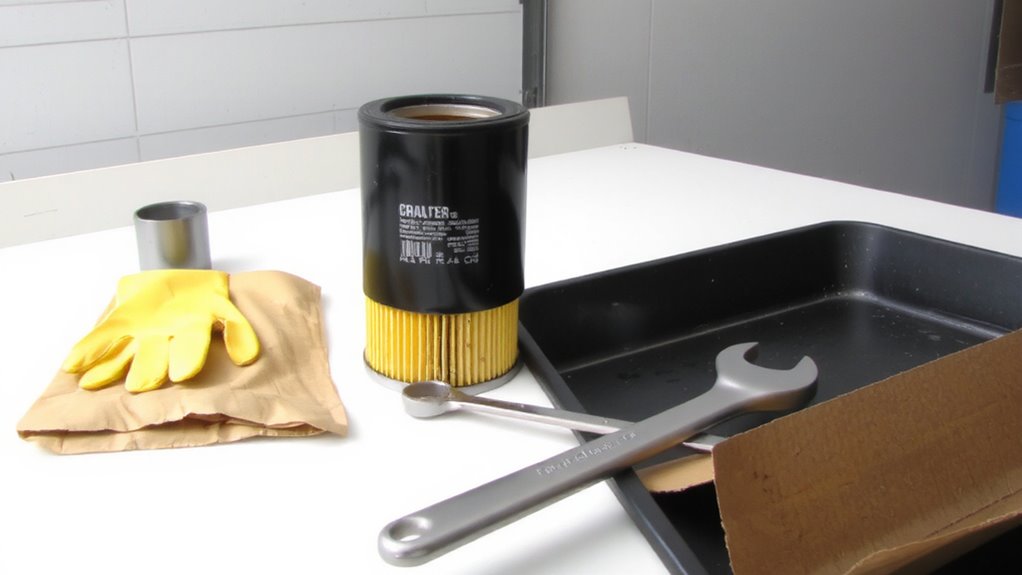
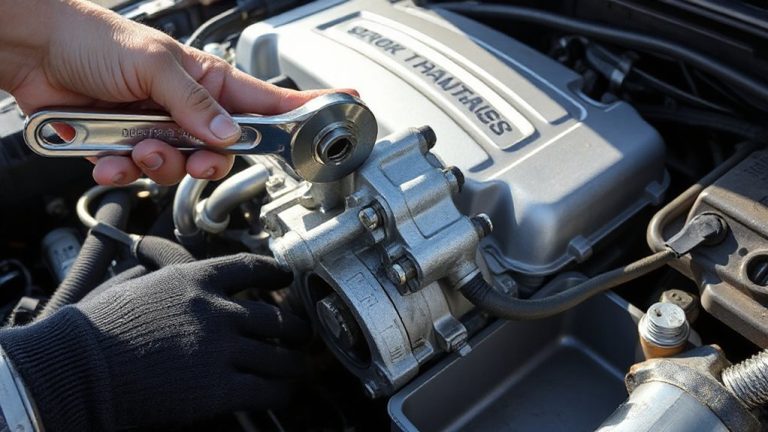
Before you begin the oil filter replacement, gather the right tools to guarantee a clean, efficient job. You’ll need a wrench with the correct wrench size, typically 15/16 inch or 22mm, depending on your filter’s diameter and mounting style. Use a socket wrench for better torque control. An oil filter wrench-either strap, gear, or cap-style-guarantees secure grip on filters that hand removal won’t loosen. Some filter types, like cartridge or spin-on, demand different tools; spin-ons usually require a standard oil filter wrench. Always place an oil drain pan beneath the engine to catch residual fluid during removal. Wear mechanic’s gloves to protect against hot oil and sharp edges. A funnel helps avoid spills when refilling. Keep shop towels handy for wipe-downs. These tools guarantee precision, improve safety, and reduce contamination risks during oil maintenance. Upgrading to a high-performance oil filter can significantly enhance engine protection and oil flow efficiency.
Choose the Right Oil Filter for Your Car
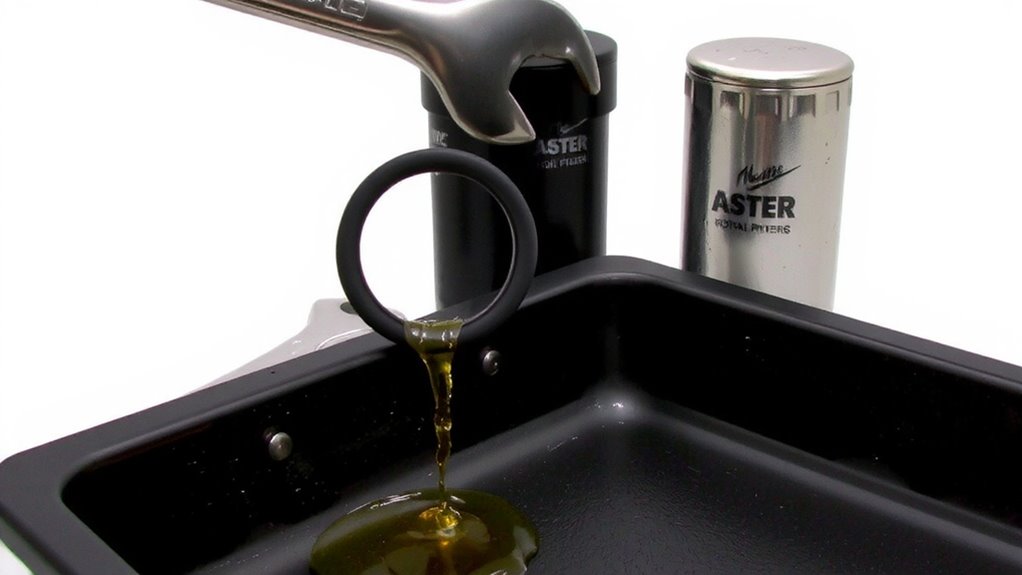
While your car’s engine depends on clean oil to function efficiently, selecting the correct oil filter is critical to guaranteeing proper filtration and long-term protection. You must match the filter to your vehicle’s engine compatibility-using the wrong one risks poor sealing or restricted flow. Check your owner’s manual for the OEM-specified part number; this guarantees correct dimensions, thread size, and gasket placement. Filters are designed to work with specific oil viscosity grades, like 5W-30 or 10W-40, so verify that your choice supports your oil type. High-performance engines often require filters with higher dirt-holding capacity and durable media, typically synthetic or microglass. Look for filters meeting API, SAE, or ISO 4548 standards for filtration efficiency and burst strength. A quality filter maintains flow even under high pressure and cold starts, protecting critical components. For off-road vehicles subjected to extreme conditions, consider using a high-lift bottle jack to ensure reliable access during oil changes and undercarriage maintenance.
How to Replace Your Oil Filter – Step by Step
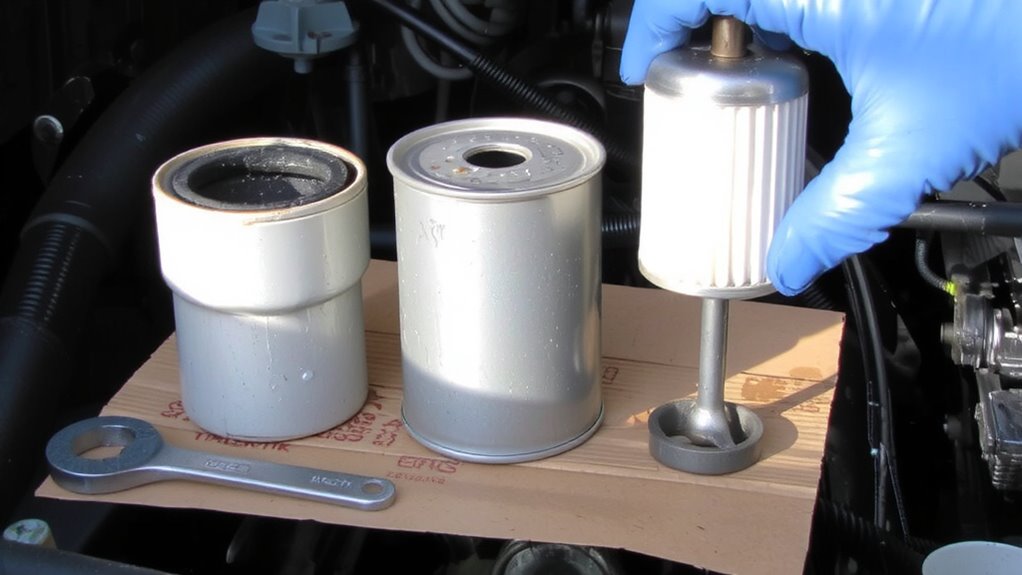
You’ve picked the right oil filter for your vehicle, so now it’s time to get it installed correctly. First, locate the filter-usually on the engine’s underside-and place a drain pan beneath it. Use a wrench to remove the old filter counterclockwise. Before installing the new one, coat the rubber gasket with clean oil to guarantee a proper seal and prevent leaks. This helps maintain consistent oil pressure during operation. Install the new filter by hand, turning it clockwise until snug-over-tightening can damage the seal. Correct filter orientation matters: the threaded end must face outward, aligned with the mounting point on the engine block. Most filters have arrows indicating flow direction; align these with the engine’s oil path. Proper installation guarantees full-system circulation and maximum filtration efficiency.
Don’t Make These Oil Filter Mistakes
Why do some oil changes lead to leaks or engine damage despite using the correct filter? The issue often stems from improper installation. Wrong placement of the filter-such as installing it at an angle-prevents proper sealing. Always align the filter straight with the mount before tightening. Cross threading occurs when you start threading the filter clockwise but misalign the first threads. This damages the mounting base’s aluminum threads, leading to leaks or filter failure under pressure. Never force a filter onto the block; hand-tighten only, typically ¾ to one full turn after the gasket contacts the surface. Over-tightening can crush the gasket, causing leaks. Use a torque wrench if possible-most filters require 15–20 ft-lbs. A poorly sealed filter compromises oil pressure and lubrication, risking engine wear. Avoid these mistakes to guarantee reliable protection. For maintaining a pristine surface before applying protective coatings, consider using a car clay bar to remove embedded contaminants.
What Happens If You Skip Oil Filter Changes?
If you skip regular oil filter changes, contaminants accumulate and restrict oil flow, reducing engine protection over time. Dirt, metal particles, and debris clog the filter’s media, typically rated to trap particles as small as 10–25 microns. When the filter fails, unfiltered oil circulates through the engine, accelerating wear. Over time, this leads to sludge buildup-thick, tar-like deposits that block oil passages and impair lubrication. Sludge forms when oxidized oil and contaminants combine under high heat, often above 200°F. This residue reduces oil circulation to critical components like camshafts and bearings. Extended neglect increases friction, raising the risk of engine failure. Modern engines operate with tight tolerances-often less than 0.001 inches-making clean oil essential. A clogged filter may also trigger the bypass valve, allowing dirty oil to flow freely. That compromises engine longevity and performance, leading to costly repairs or complete engine replacement.
How Often Should You Change Your Oil Filter?
Changing your oil filter at the right interval keeps your engine running cleanly and efficiently. Most manufacturers recommend replacing the filter every time you change your oil, typically every 5,000 to 7,500 miles. However, your driving conditions and oil viscosity can affect this. Severe conditions-like towing, stop-and-go traffic, or extreme temperatures-require more frequent changes.
| Driving Conditions | Recommended Filter Change Interval |
|---|---|
| Normal (city/highway mix) | Every 7,500 miles |
| Severe (towing, off-road) | Every 3,000–5,000 miles |
| Short trips (under 10 miles) | Every 3,000 miles |
| High-performance driving | Every oil change |
| Using high-viscosity oil | Every oil change |
Always match the filter to your oil viscosity grade and follow your vehicle’s manual. A clogged filter restricts flow, increasing wear.
On a final note
You now have the knowledge to change your oil filter correctly. Every vehicle requires a specific filter size and thread pitch-verify fit stringstreaming using your make, model, and engine type. A properly torqued filter (typically ¾ to 1 full turn after gasket contact) prevents leaks and guarantees sealing. Skipping changes risks sludge buildup, reducing oil flow and increasing engine wear by up to 40%. Clean oil extends engine life.