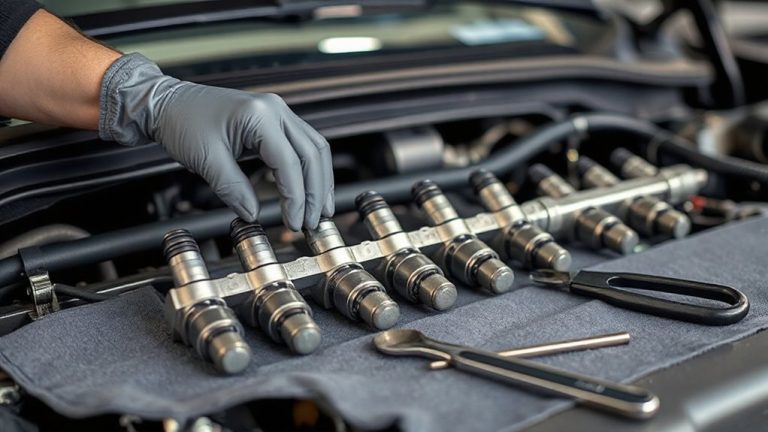
DIY Guide to Replacing Fuel Pumps: A Common Task That Can Prevent Engine Malfunction Due to Insufficient Fuel Delivery and Extend Its Lifespan Through Proper Maintenance Practices
You can prevent stalling and poor engine performance by replacing a failing fuel pump. Weak pumps cause low pressure-gasoline systems need 45–60 psi for proper operation. Listen for whining noises or notice hesitation under load-signs of fuel starvation. Always disconnect the battery, relieve fuel pressure, and use safety gear. Replace with a compatible 12V unit matching OEM flow, pressure, and connector type. Install using new seals and proper torque. Keep the tank above quarter full to extend life. Learn how each step guarantees reliability and peak fuel system function.
Notable Insights
- Diagnose fuel pump failure by checking for engine hesitation, stalling, or a loud whining noise from the tank.
- Always relieve fuel pressure and disconnect the battery before beginning fuel pump replacement for safety.
- Remove the fuel pump access panel, disconnect electrical connectors, and use proper tools to detach fuel lines and lock ring.
- Select a replacement pump with matching fuel type, pressure rating, voltage, and connector type to ensure compatibility.
- Replace the O-ring, torque fittings correctly, keep the tank above quarter full, and change the fuel filter every 30,000 miles for longevity.
How to Tell Your Fuel Pump Is Going Bad?
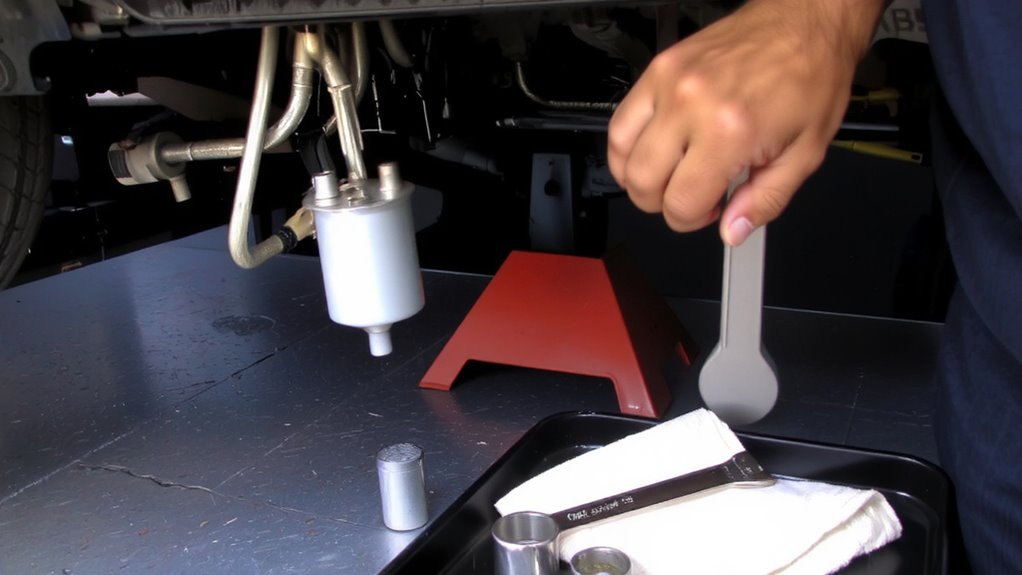
You might not think about your fuel pump until something goes wrong, but recognizing early signs of failure can save you from getting stranded. A weak fuel pump causes low fuel pressure, leading to poor engine performance or stalling. Proper fuel pressure typically ranges between 45–60 psi, depending on your vehicle. If pressure drops below specs, the engine won’t receive enough fuel. You may notice hesitation during acceleration or misfires under load. A loud whining noise from the gas tank often indicates pump wear. During engine cranking, a faulty pump may delay startup or prevent ignition. Listen for the fuel pump’s brief hum when you turn the key to “on.” No sound could mean a failed pump or electrical issue. Consistent fuel delivery is essential. Ignoring these signs risks complete breakdown. Check fuel pressure with a gauge to confirm. Early diagnosis avoids roadside failures.
What Tools You Need and How to Stay Safe
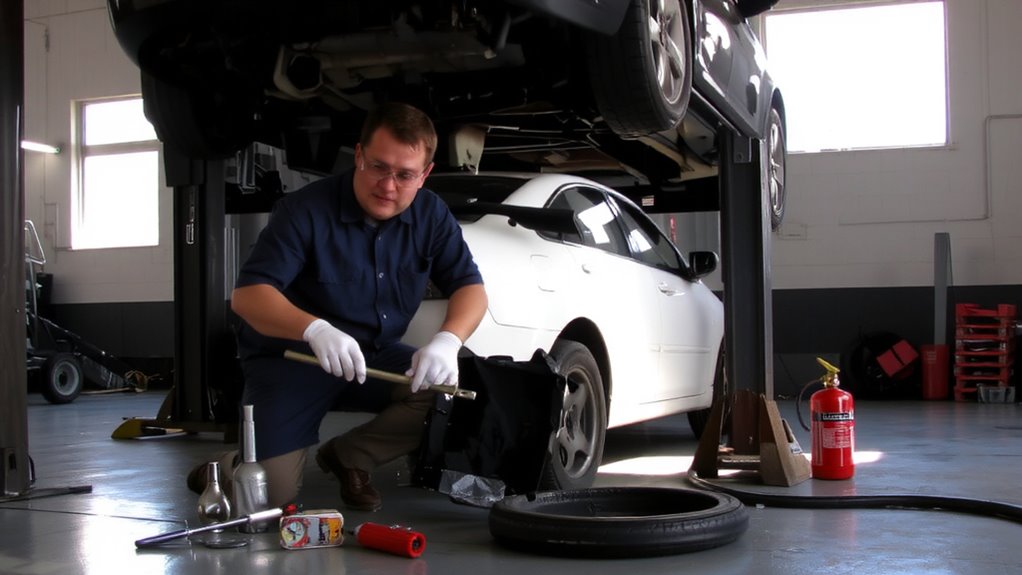
Working on a fuel system demands preparation and caution, especially when replacing a fuel pump. You must relieve fuel pressure before starting-use a fuel pressure gauge and bleed the system via the Schrader valve to avoid dangerous spray. Always disconnect the battery to isolate electrical connections and prevent sparks. Wear safety goggles and nitrile gloves; fuel is corrosive and flammable. Use a jack and jack stands rated for your vehicle’s weight if accessing the pump from underneath. Needed tools include a fuel line disconnect set, 10mm to 15mm wrenches, screwdrivers, and a torque wrench for reassembly. A multimeter helps verify electrical connections aren’t shorted or open. Keep a Class B fire extinguisher nearby. Work in a well-ventilated area, never near open flames. Metal tools can spark-use plastic ones near the tank. Safety isn’t optional; it’s built into each correct step. Be sure to choose a reliable car fire extinguisher that meets safety standards for vehicle use.
Remove the Old Fuel Pump in 6 Steps
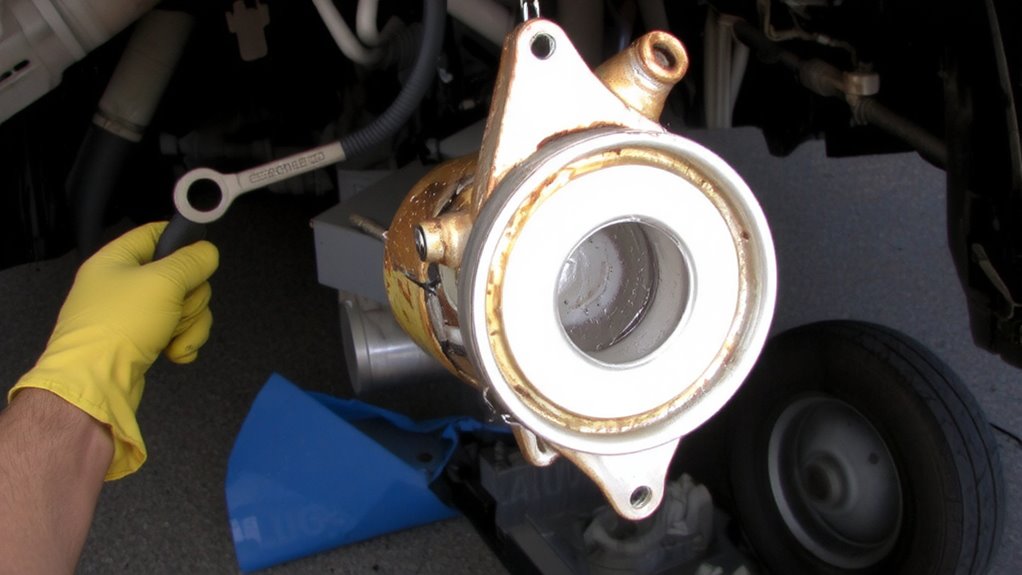
Before starting the removal process, make certain the fuel system is depressurized and the vehicle is securely lifted on jack stands-safety and preparation are critical. Begin with fuel tank access by removing the access panel, typically located under the rear seat or in the trunk. Disconnect the negative battery terminal before proceeding. Perform electrical connector removal by pressing the release tab and gently pulling the connector apart. Detach the fuel lines using a fuel line tool to prevent leaks. Unfasten the fuel pump lock ring with a brass punch and hammer to avoid sparks. Carefully lift the old fuel pump assembly from the tank. Inspect the fuel sock for debris and the pump housing for damage. Keep the work area clean to prevent contamination. Handle all components with care-precision guarantees proper function.
Pick the Right Replacement for Your Car
Most modern vehicles rely on a specific fuel pump configuration, so choosing the correct replacement is essential for ideal engine performance and longevity. You must verify fuel type compatibility-gasoline, diesel, or flex-fuel-since using the wrong pump risks component failure. For example, diesel pumps operate at higher pressures (typically 43–75 psi) than gasoline units (40–60 psi). Conduct a brand comparison before purchasing: OEM parts match original specs exactly, while aftermarket options like Airtex or Delphi offer comparable flow rates (up to 90 gallons per hour) at lower costs. Check voltage requirements-most are 12V-and guarantee the connector type and mounting style match your fuel tank assembly. Flow rate, pressure rating, and amperage draw are critical specs; deviating more than 5% can disrupt air-fuel ratios. Always cross-reference part numbers and consult your vehicle’s service manual. Precision in selection prevents costly mistakes.
Install the New Fuel Pump Without Leaks
Once you’ve confirmed the replacement fuel pump matches your vehicle’s specifications, it’s time to focus on a leak-free installation. Proper sealing techniques are critical to maintaining fuel pressure and preventing hazardous leaks. Always replace the fuel pump O-ring and use approved thread sealant on fittings. Guarantee mounting surfaces are clean and undamaged-debris can compromise the seal. Torque the pump mounting bolts to the manufacturer’s spec-usually 8–10 ft-lbs-to avoid warping.
| Component | Specification |
|---|---|
| Fuel Line Tightening Torque | 15–22 in-lbs |
| O-Ring Material | Nitrile rubber (NBR) |
| Maximum Operating Pressure | 75 psi |
| Sealant Type | RTV silicone, fuel-resistant |
| Recommended Re-torque Interval | After first 500 miles |
Use only OEM-recommended parts to sustain fuel pressure integrity and guarantee long-term performance.
Start the Engine: Did It Work? (And What to Do If Not)
Why isn’t the engine starting after your fuel pump replacement? Engine failure after installation usually points to incorrect wiring or a poor ground connection. First, verify the fuel pump relay clicks-this confirms power delivery. Without proper fuel pressure, combustion can’t occur. Most gasoline engines need 40–60 psi; use a gauge on the fuel rail to confirm. No pressure? Check the fuel pump fuse and inertia switch-many forget this safety feature cuts power during perceived impacts. If voltage reaches the pump but it’s silent, the pump may be defective. Listen near the tank; you should hear a brief hum when the key turns to “on.” If pressure is present but the engine won’t crank, investigate spark or fuel injector issues-your problem isn’t fuel-related. Double-check all connections. A single loose wire can mimic total engine failure.
Make Your Fuel Pump Last Longer
With proper maintenance and smart driving habits, you can greatly extend the life of your fuel pump. Fuel quality directly impacts performance-always use clean, high-grade fuel with detergents that prevent deposit buildup in the system. Low fuel levels cause the pump to overheat; keep your tank above one-quarter full to guarantee consistent cooling and lubrication. Avoid frequent short trips, which limit fuel circulation and increase wear. Your fuel pump relies on fuel for cooling-running on empty accelerates failure. Modern in-tank pumps operate at 12 volts and deliver 50–100 psi, depending on engine demand. Poor fuel quality clogs strainers and stresses internal components. Aggressive driving habits, like rapid acceleration, increase flow demand and thermal load. Monitor pressure regularly with a gauge; deviations beyond ±5 psi indicate wear. Replace the fuel filter every 30,000 miles to maintain peak flow. Consistent care prevents premature failure and sustains efficiency.
On a final note
You’ve completed the fuel pump replacement with precision. A properly installed pump delivers 50–70 psi, restoring ideal fuel pressure. This prevents lean conditions and engine misfires. Use OEM-spec parts to guarantee compatibility and durability. Bleed air from the fuel lines before startup. Regular maintenance, like replacing the fuel filter every 30,000 miles, extends pump life. Monitor performance with a fuel pressure gauge annually.