Transmission Band Adjustment: Torque Specs for Old Automatics
You adjust transmission bands by loosening the locknut, then tightening the adjuster screw to 72 in-lb with a torque wrench before backing it off-typically 1/4 turn for the forward band. Proper tension restores clamping force to 250–350 ft-lbs, stopping slippage and improving shift firmness. Always use clean fluid and inspect for wear, since over-tightening damages drums. Correct adjustment guarantees reliable gear engagement and extends transmission life-further details reveal how to avoid common mistakes.
Notable Insights
- Older automatic transmissions use adjustable steel bands tightened via an access plug to control gear engagement.
- Always disconnect the battery and use safety gear before adjusting bands to prevent accidental electrical shorts or injury.
- Loosen the band locknut, then torque the adjusting screw to factory specs-often around 72 in-lbs-using an inch-pound torque wrench.
- After torquing, back off the adjuster a precise amount-typically 1 to 2 turns-per manufacturer specifications for proper band clearance.
- Check transmission fluid condition and cleanliness, as burnt or dirty fluid can impair band operation and cause premature wear.
How Transmission Bands Control Gears
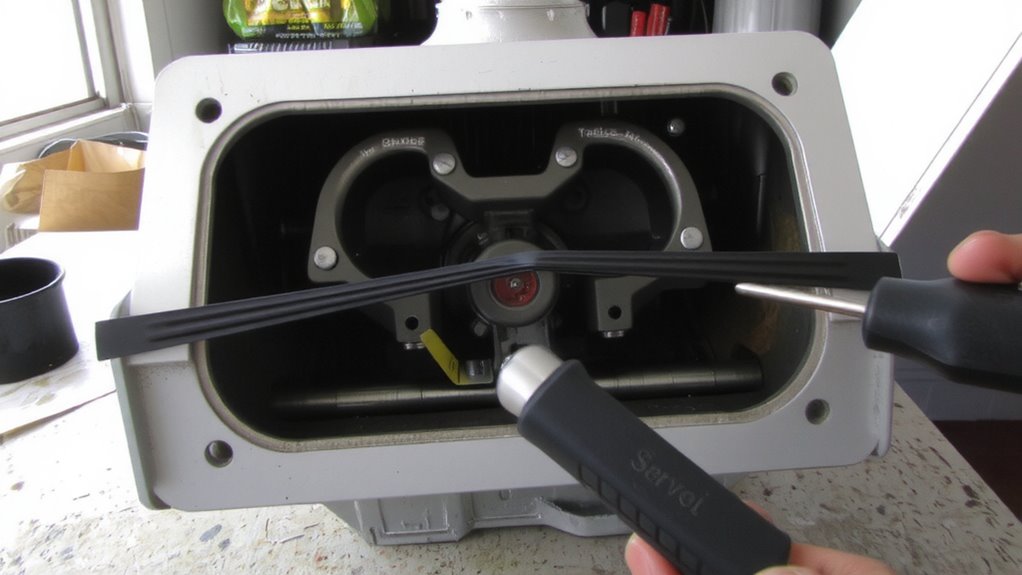
When the transmission shifts gears, hydraulic pressure tightens or releases the transmission bands to control gear engagement. You rely on this system for smooth, accurate shifts in older automatic transmissions. The band, a steel strap lined with friction material, wraps around the drum to lock or release gears. Hydraulic pressure from the valve body actuates the servo, which applies the band. Proper band tightness guarantees firm shifts without slippage. Over time, band wear degrades clamping force, reducing control over gear engagement. Excessive clearance between the band and drum exacerbates the issue. When band wear progresses, you’ll notice gear slipping-especially under load or during acceleration. Gear slipping compromises efficiency and leads to overheating and further internal damage. Adjustments restore correct clearance, typically to factory specs of 0.070–0.100 inches for most units. You must measure and set this precisely.
Symptoms of a Loose or Worn Band
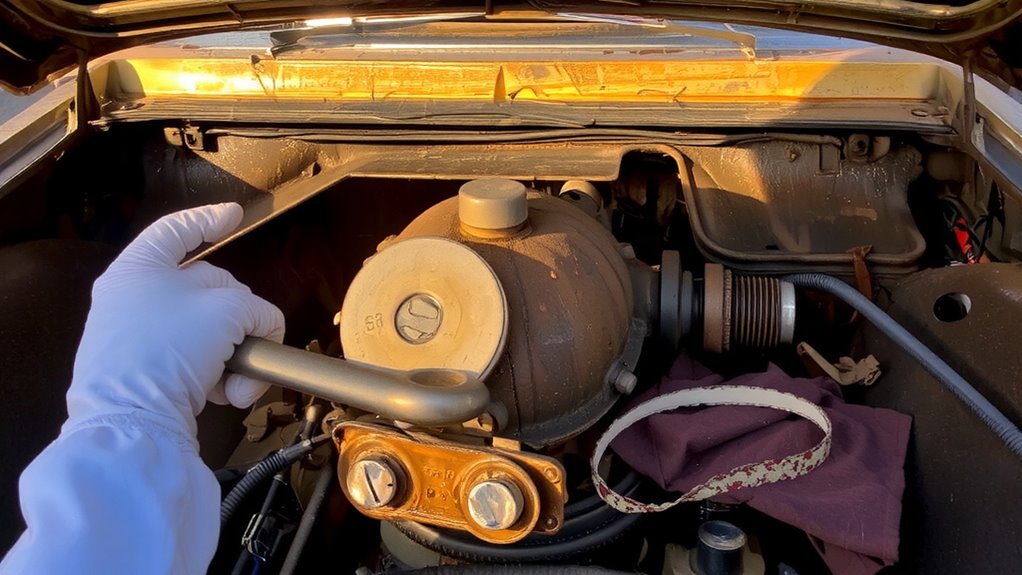
A slipping gear is your first clue. Slipping gears occur when the transmission band can’t hold the drum securely, causing the engine RPM to rise without corresponding speed increases. You’ll notice this during acceleration, especially under load. Delayed engagement-when the vehicle hesitates before moving after shifting into Drive or Reverse-is another key sign. This delay often exceeds 1.5 seconds and indicates excessive band clearance. Worn bands lose tension, reducing clamping force below the ideal range of 250–350 ft-lbs. You might also hear a soft thud or clunk as gears finally engage. These symptoms worsen over time, affecting shift timing and reducing drivetrain efficiency. Left unaddressed, a loose or worn band accelerates wear on clutch packs and seals. Early diagnosis prevents costly internal damage. Monitoring for slipping gears and delayed engagement helps maintain proper transmission function. Address these issues before they compromise overall performance.
Tools You’ll Need for Band Adjustment
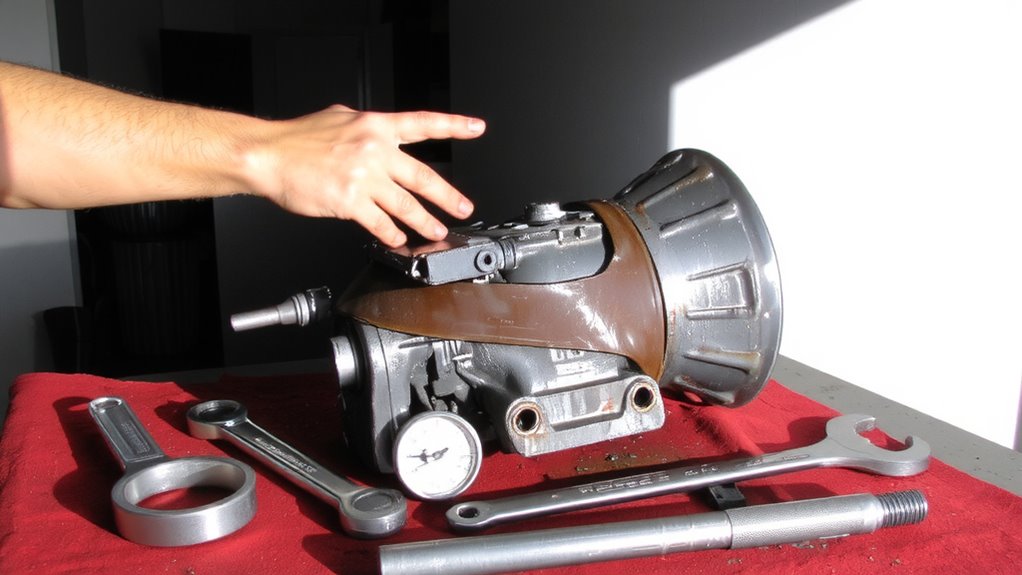
Gather your tools before opening the transmission. You’ll need a torque wrench calibrated to read in inch-pounds for accurate torque specifications. A 3/8-inch drive ratchet, extensions, and a set of SAE sockets are essential-bands often use 3/4-inch or 7/8-inch adjuster nuts. Include a flat-blade screwdriver for locking the adjuster during tightening. Always follow safety precautions: disconnect the battery and support the vehicle on jack stands rated for its weight. Wear safety glasses and nitrile gloves when handling transmission components. You’ll also need a funnel and drain pan for fluid loss. A feeler gauge helps verify band clearance on some models. Refer to the manufacturer’s service manual for exact torque specifications-typically 72 in-lb, then loosened a precise number of turns. Missing these specs risks band slippage or mechanical damage. Prepare everything now to maintain workflow precision.
Adjusting Transmission Bands: Step-by-Step
Torque is your best ally when adjusting transmission bands-get it right, and you’ll guarantee smooth shifts and long component life. Proper band tension directly affects shift timing, so follow specs precisely. Loosen the locknut, then turn the adjusting screw to set tension. Over-tightening causes slippage and premature wear; under-tightening leads to delayed, sloppy shifts. Use a torque wrench for accuracy-most older GM and Ford transmissions require 72 inch-pounds followed by a 1/4-turn backout.
| Band Location | Torque Spec (in-lbs) |
|---|---|
| Forward Band | 72 + 1/4 turn backoff |
| Rear Band | 72 + 1 full turn backoff |
| Intermediate | 50 + 1/2 turn backoff |
Adjust each band according to manufacturer specs to maintain correct band tension and guarantee precise shift timing. Always recheck after adjustments.
Common Mistakes in Band Adjustment
You just finished setting the bands with precise torque and correct backoff turns, but even a perfect adjustment can fail if common errors slip through. Over tightening bands is one of the most frequent mistakes-it crushes the drum, leading to rapid wear and transmission failure. Bands need a specific torque, usually 72 ft-lbs, followed by a precise backoff of 1 to 2 turns, depending on the model. Going beyond this causes excessive pressure and poor shifting. Ignoring fluid condition is another critical error. Old, dirty, or oxidized fluid reduces hydraulic efficiency and contaminates servo operation. Always inspect fluid color and smell-burnt fluid indicates internal damage. Clean fluid guarantees proper band release and engagement. Never assume components function correctly if the fluid hasn’t been checked. These oversights compromise adjustments and accelerate transmission wear.
Post-Adjustment Testing and Troubleshooting
After completing the band adjustment, it’s critical to verify the transmission operates as intended under real-world conditions. Start with a test drive to evaluate shift timing and overall responsiveness. You should notice smoother 1-2 and 2-3 shifts, with no slippage or harsh engagement. Improper band tension can delay shift timing or cause flare, indicating incorrect adjustment. Check fluid pressure using a gauge on the transmission’s test port; typical line pressure should read 60–80 psi at idle in drive. Low fluid pressure may point to internal leaks or a misadjusted band. If the vehicle hesitates or slips during acceleration, recheck band tightness. Always inspect for leaks post-test. Proper adjustment guarantees adequate friction surface contact, extending clutch and band life. Think of it like tuning a guitar-small changes affect overall performance.
On a final note
You now understand how transmission bands control gear engagement through friction and hydraulic pressure. Proper adjustment guarantees smooth shifting and prolongs transmission life. Always use a torque wrench to tighten the band adjusting screw to factory specs-typically 72 in-lbs before backing off 2.5 turns. Incorrect adjustments cause slipping or harsh shifts. Test drive thoroughly. Verify shift points at exact RPMs per service manual data.