How to Jump-Start a Car Safely Without Damaging the Electrical System
Check the dead battery for cracks, leaks, or corrosion before starting. Inspect jumper cables for fraying or exposed wires-use only 6-gauge cables rated for 200-amp CCA. Position vehicles within 10 to 15 feet, front-to-front or side-by-side, with engines off and parking brakes on. Connect the red clamp to the dead battery’s positive terminal, then to the donor’s positive terminal. Attach the black clamp to the donor’s negative terminal, and the other black clamp to an unpainted metal surface on the disabled car’s engine block, away from the battery. Let the donor vehicle idle 3 to 5 minutes; its alternator should output 13.5–14.5 volts. Turn off accessories in the stalled car. Crank the engine for no more than 10 seconds, waiting 30 seconds between attempts. Limit tries to three to avoid draining the donor battery. Remove cables in reverse order: first the grounded black clamp, then donor negative, donor positive, and finally the dead battery’s positive. Inspect all clamps and insulation post-use for damage. Ensuring clean connections and proper sequence prevents voltage spikes that could harm sensitive electronics. You’ll learn how to handle stubborn starts and protect your vehicle’s charging system with the right follow-up steps.
Notable Insights
- Inspect both batteries for damage or corrosion and clean terminals to ensure a safe, low-resistance connection.
- Use 6-gauge jumper cables with proper insulation and a 200-amp CCA rating to handle the electrical load safely.
- Position vehicles close but not touching, with engines off and parking brakes engaged to prevent electrical surges.
- Follow the correct connection order: red to dead positive, red to donor positive, black to donor negative, black to ground on disabled car.
- Remove cables in reverse order after starting, beginning with the ground connection to minimize spark risk and electrical damage.
Check for Battery Damage and Safe Jump-Start Conditions
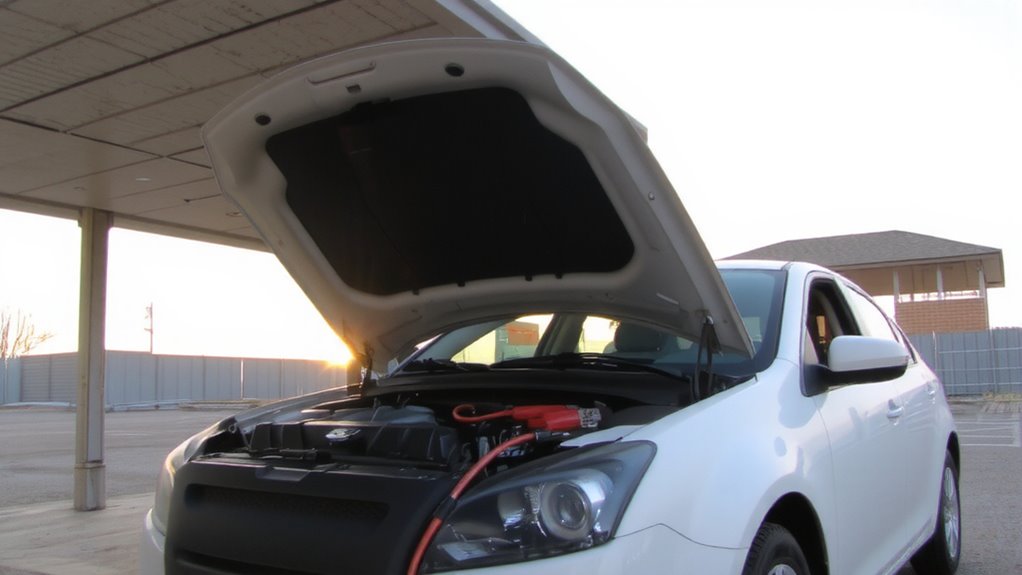
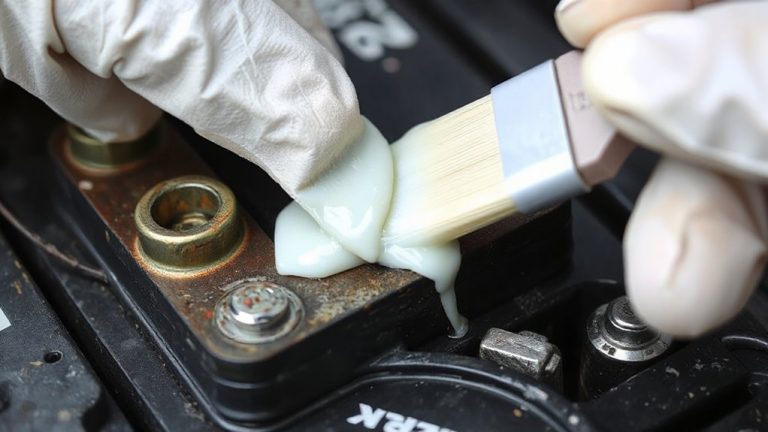
Before attempting a jump-start, inspect the battery for visible damage-this step can save you from dangerous situations. Cracks, leaks, or swelling indicate a compromised battery that could fail catastrophically. Check for battery corrosion around the terminals; excessive buildup appears as white or greenish crust and increases electrical resistance, impeding current flow. Clean minor corrosion with a baking soda solution, but avoid contact with eyes or skin. Inspect cable insulation on jumper cables for fraying, cuts, or exposed wires. Damaged insulation reduces safety and conductivity, raising the risk of short circuits. Use cables with at least 6-gauge wire and 200-amp cold-cranking amperage (CCA) capacity for reliable performance. Confirm both vehicles use 12-volt systems, standard in most gasoline cars. Never proceed if the battery shows severe damage or if insulation or corrosion compromises electrical integrity. Safety depends on these checks.
Position the Cars Close but Not Touching
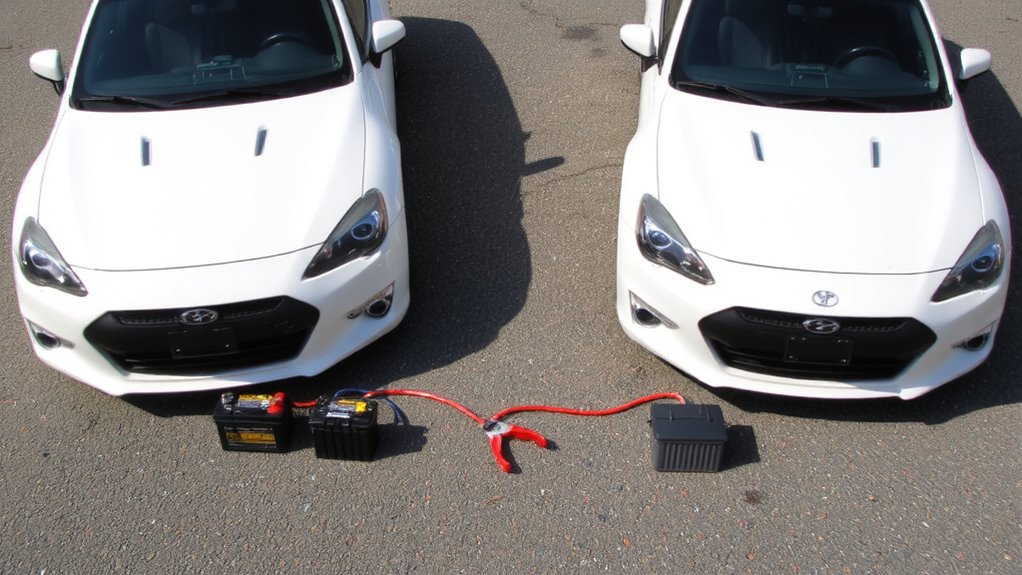
Park the working vehicle close to the disabled one-ideally within 10 to 15 feet-so the jumper cables can reach both batteries without strain. Guarantee proper alignment between the two cars so the positive and negative terminals are easily accessible. Front-to-front positioning is typically best, though side-by-side works if hoods open toward each other. Maintain at least 18 inches of safety clearance between bumpers or side panels to prevent accidental contact. Even slight movement during operation can cause scratches or electrical grounding through the body. Both vehicles must remain off and in park or neutral with parking brakes engaged. Proper alignment reduces cable tension, minimizing the risk of disconnection or arcing. Good clearance also allows airflow and keeps bystanders and flammable materials away from hot engine components. Positioning correctly upfront prevents mistakes during connection.
Hook Up the Jumper Cables the Right Way
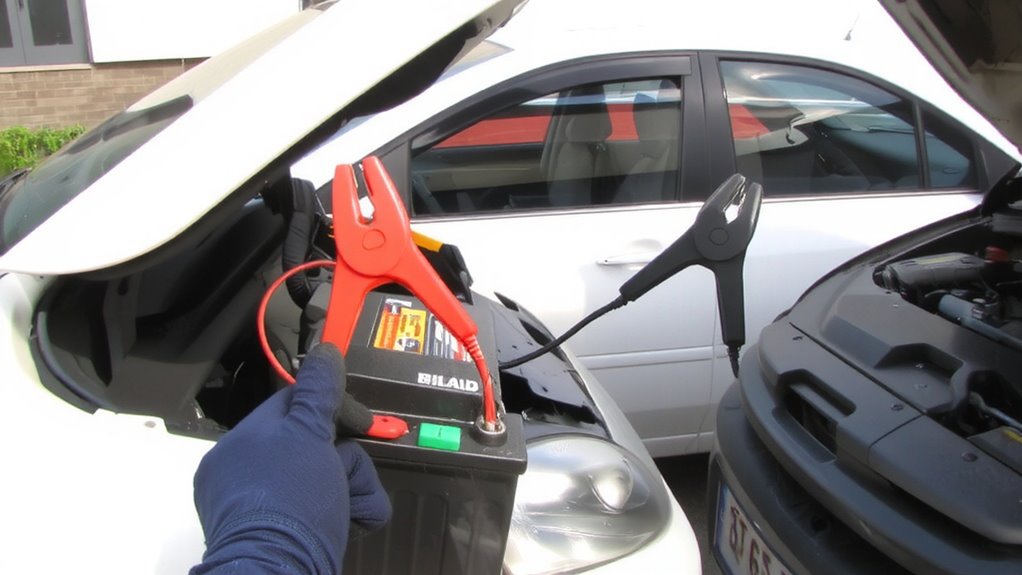
Once both vehicles are properly positioned, it’s time to connect the jumper cables in the correct sequence to avoid sparks, short circuits, or damage to the electrical systems. Always observe proper cable polarity-red is positive, black is negative. First, clamp the red cable to the dead battery’s positive terminal. Then attach the other red clamp to the working battery’s positive terminal. Next, connect the black cable to the working battery’s negative terminal. Finally, attach the other black clamp to an unpainted metal surface on the disabled car’s engine block, away from the battery. This connection sequence minimizes spark risk near the battery, where hydrogen gas may be present. Never connect both black and red clamps to the same battery terminal. Following correct cable polarity and connection sequence protects sensitive electronics and guarantees a safer, more effective jump-start.
Let the Working Car Run for Several Minutes
After connecting the jumper cables correctly, let the working vehicle run for about three to five minutes to allow sufficient charge transfer. This period enables the dead battery to accept a partial charge, improving its ability to crank the engine. Keep the donor car’s engine at idle; revving isn’t necessary and may risk voltage spikes. A steady alternator output of 13.5 to 14.5 volts supports effective charging without stressing the electrical system. This brief run helps assess battery health-if the dead battery responds, it may still hold a charge over time. Poor engine performance upon startup could indicate deeper issues, like sulfation or cell degradation. Maintaining proper charge cycles preserves both battery health and long-term engine performance. Never skip this step; insufficient charge transfer reduces success rates and increases restart difficulty later.
Try Starting the Dead Car and Wait 30 Seconds
While the donor vehicle runs, prepare to start the car with the dead battery, ensuring all accessories are turned off to reduce electrical load. Turn the ignition switch to the “start” position and crank the engine for no more than 10 seconds. If the engine doesn’t start, wait 30 seconds before retrying to prevent starter motor overheating. This pause allows the battery to recover slightly and stabilizes voltage flow. Proper connection at the battery terminals is essential-loose or corroded terminals disrupt current delivery, reducing starting power. A fully charged 12-volt battery typically delivers 12.6–14.4 volts; a jump-start temporarily supplies this through jumper cables rated for 400–600 amps. Repeated failed attempts can drain the donor battery. If the engine still won’t start after three tries, recheck terminal connections and consider other issues like fuel or spark.
Remove the Cables in Reverse Order Safely
You’ve cranked the engine and it’s running-good. Now, remove the cables in reverse order to avoid short circuits. Start by disconnecting the black negative clamp from the grounded metal on the boosted car. This prevents current flow during removal. Next, remove the black clamp from the donor battery’s negative terminal. Then, take off the red positive clamp from the donor battery, followed by the red clamp from the previously dead battery. Always handle clamps by the insulated handles. Check cable insulation for cracks or wear; damaged insulation increases shock and short-circuit risk. Inspect for clamp corrosion, which raises resistance and reduces current transfer efficiency. Corroded clamps might require cleaning or replacement to maintain proper conductivity. Never let clamps touch each other or metal surfaces while connected. Proper removal protects both vehicles’ electrical systems and guarantees a safe, successful jump-start.
What to Do If the Car Won’t Start and Preventing Drain
If the engine doesn’t start after a proper jump, it’s likely due to a deeper issue than a dead battery alone. Check for starter motor engagement or alternator failure-common culprits when jump-starting fails. A voltage test showing less than 12.2V at rest indicates poor battery maintenance. Use slow charging methods like trickle chargers (1–2 amps) to restore battery health without overheating lead plates. Fast charging may revive a battery quickly but risks long-term damage. Make sure the alternator outputs 13.5–14.5 volts during operation; otherwise, it won’t sustain electrical loads. Prevent future drain by inspecting parasitic draws exceeding 50 milliamps. Modern vehicles with infotainment and sensors require consistent charging methods. Replace batteries every 3–5 years regardless of performance. Proper battery maintenance includes cleaning terminals and securing mounts to prevent vibration damage. Address electrical issues promptly to avoid repeated jump-start attempts. For accurate diagnostics, consider using one of the best battery testers to ensure reliable voltage and charge assessments.
On a final note
You’ve now safely jump-started your car without risking electrical damage. Always verify battery voltage is 12.6V when charged and inspect for cracks or leaks before proceeding. Proper cable sequence prevents surge damage: connect red to dead battery’s positive, then donor car’s positive, donor negative to donor engine block, and finally dead car’s negative to its engine block. Running the donor engine for five minutes stabilizes voltage. Remove cables in reverse order to avoid short circuits.