How to Inspect Brake Pads for Wear Using a Visual Check on Any Sedan
You can check your brake pads through the wheel spokes using a flashlight and mechanic’s mirror. Look for the outer pad pressing against the rotor. Healthy pads are at least 6 mm thick; replace them if worn to 3 mm or less. Check for cracks, glazing, or uneven wear, which may signal caliper issues. Inner and outer pads should wear evenly. Inspect every 10,000 miles, or more often in heavy stop-and-go driving. Next steps reveal how wheel type affects visibility and accuracy.
Notable Insights
- Use a flashlight and mechanic’s mirror to clearly view brake pads through the wheel spokes.
- Check outer pad thickness; replace if wear is at or below 3 mm.
- Compare inner and outer pad wear-uneven wear may indicate caliper issues.
- Look for glazing, cracks, or metal-on-metal grinding signs indicating pad damage.
- Rotate wheels if needed for better visibility, especially on tight mesh or steel cover wheels.
Check Your Brake Pads Without Removing the Wheel
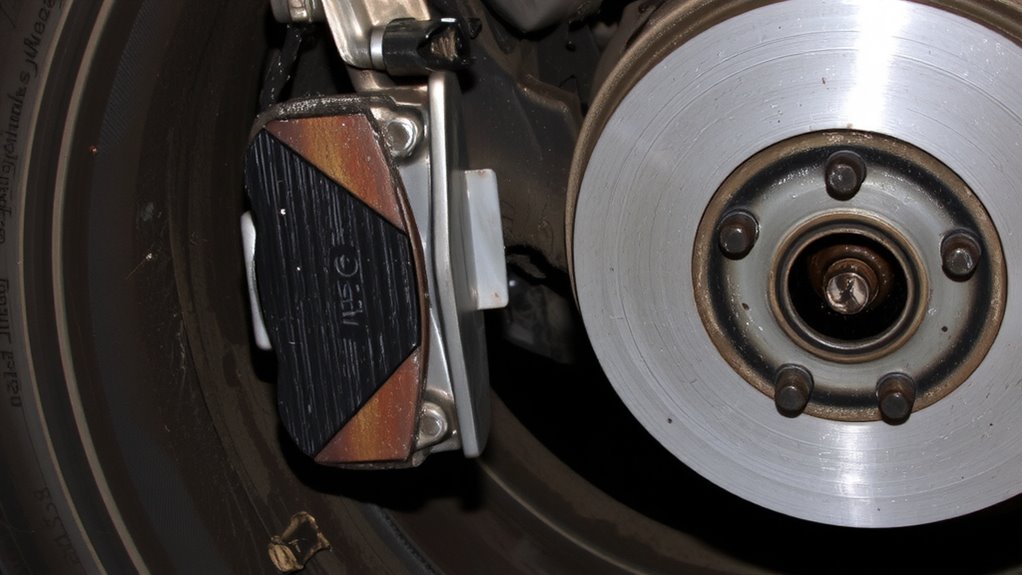
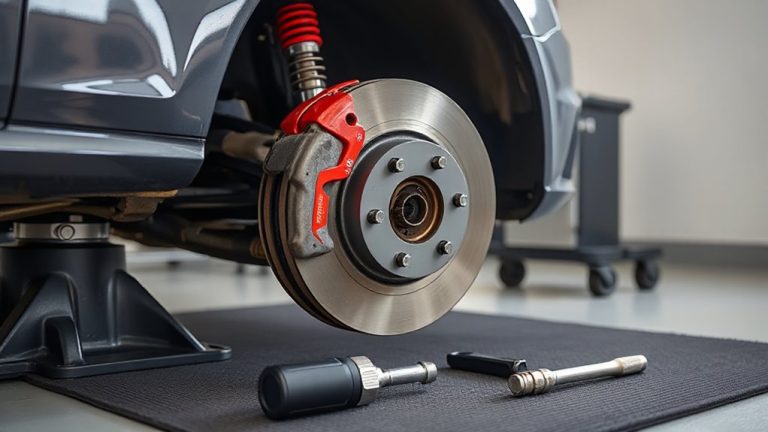
Many modern vehicles allow you to inspect brake pads through the wheel spokes without removing the tire, saving time and effort. You can clearly see the outer brake pad pressed against the rotor. Check the thickness of the brake pad material-it should measure no less than 3 mm. If it’s thinner, replacement is necessary. The inner pad is harder to see but should match the outer pad’s wear. Uneven wear may indicate poor caliper alignment, where the caliper isn’t sliding freely on its guide pins. This causes one side of the pad to wear faster. Proper caliper alignment guarantees even pressure and peak braking. Look for signs of glazing or cracking on the pad surface, which degrade performance. Always compare both sides of the same wheel for consistency. This quick visual check gives reliable insight into brake health using only basic observation and knowledge of brake pad material behavior under normal conditions.
What You Need for a Quick Inspection
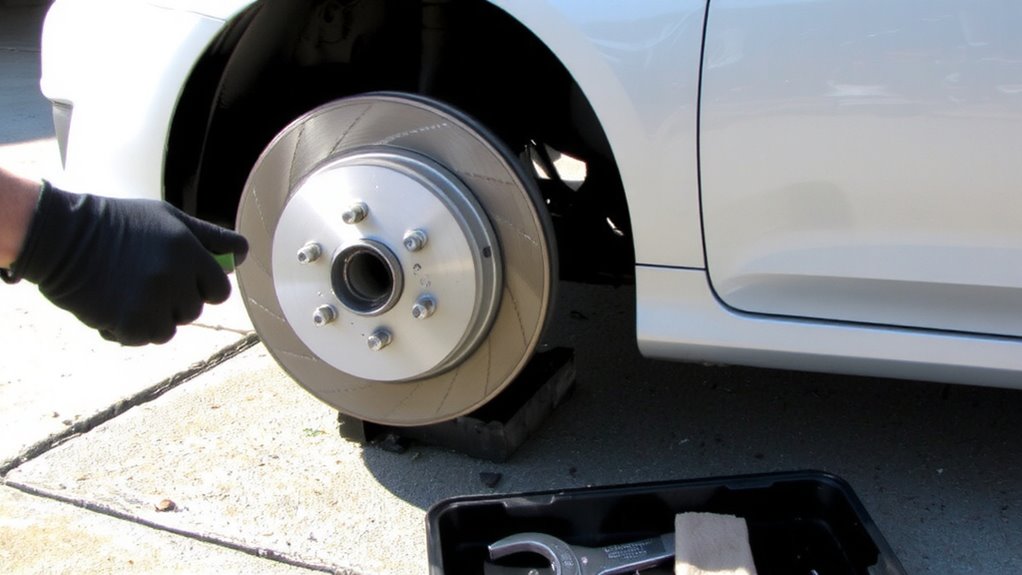
You’ll need just a few basic tools to inspect your brake pads quickly and accurately. A flashlight with at least 100 lumens illuminates the caliper area clearly. Use a 6-inch mechanic’s mirror to view pad surfaces at awkward angles. Your main inspection tools include a ruler with millimeter markings to measure pad thickness. Most manufacturers recommend replacing pads when they reach 3mm or less. Observe the brake pad material through the wheel spokes-ceramic, semi-metallic, or organic-each wears differently. Semi-metallic lasts longer under high heat; organic wears faster but is quieter. Look for uneven wear or cracks. A pad should have uniform thickness across its surface. Avoid relying solely on visual cues if corrosion or debris blocks your view. These tools and observations give you reliable data. Accuracy matters-your stopping power depends on it. Upgrading to high-performance best brake rotors can improve braking efficiency and pad life.
Where to See Brake Pads Through Your Wheels
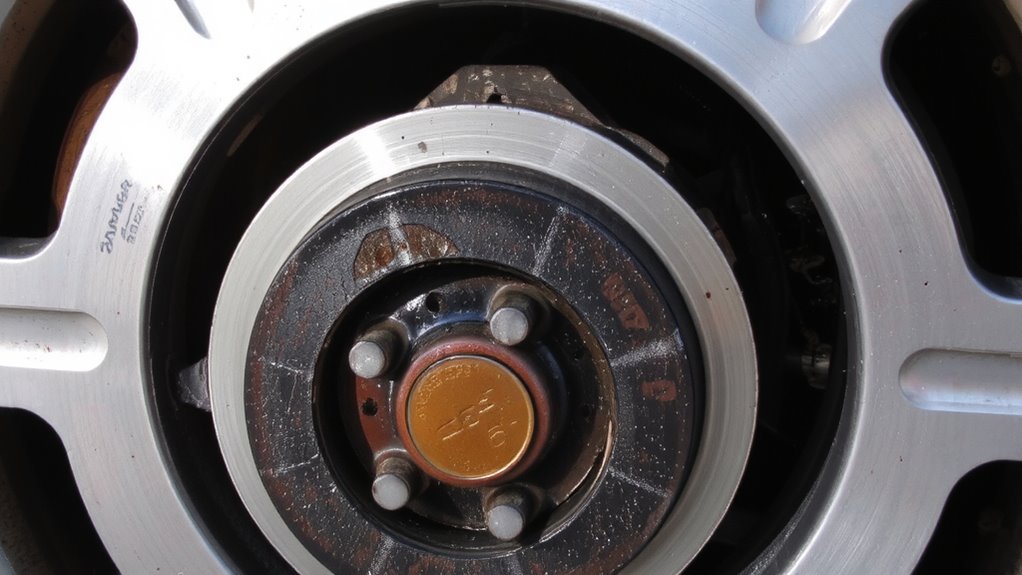
Look between the spaces in your wheel spokes to locate the outer brake pad where it presses against the rotor. You don’t need to remove the wheel for this check on most sedans. Focus on areas with visible brake dust accumulation, as this often marks active friction zones. Confirm caliper alignment by ensuring the pad sits flush and parallel to the rotor surface. Misalignment can cause uneven wear and reduced braking efficiency.
| Wheel Type | Visibility Level | Notes |
|---|---|---|
| Open Spoke | High | Easy pad view |
| Tight Mesh | Low | May need rotation |
| Alloy | Medium | Good dust visibility |
| Steel Cover | Poor | Wheel removal needed |
| Performance | High | Clear caliper access |
Clear sightlines help assess pad thickness and alignment accurately. Always inspect multiple angles.
What Healthy and Worn Pads Look Like
Condition is everything when it comes to brake pads. Healthy pads are thick, with friction material measuring at least 6 mm. The surface is smooth and even, with no signs of pad corrosion or material degradation. You’ll see consistent coloration-usually dark gray or black-indicating uniform compound distribution. Worn pads drop below 3 mm and often expose metal backing, reducing stopping power. As material degrades, braking becomes less efficient and more dangerous. Thinning pads increase heat transfer to calipers, risking seal damage. Pad corrosion appears as rust on steel components, especially in damp climates, weakening structural integrity. Unlike healthy pads, worn ones deliver longer stopping distances and may cause metal-on-metal grinding. You can’t rely on feel alone-visual checks reveal the real story. Consistent thickness and clean edges mean your pads are still effective. Ignore early signs of wear, and you risk compromising the entire braking system.
Spot Cracks, Shavings, and Uneven Wear
Cracks, shavings, and uneven wear reveal problems that go beyond simple thickness loss. These defects indicate stress, contamination, or hardware failure affecting brake pad material integrity. Visible cracks suggest overheating or aged compounds, while metal shavings near the rotor point to aggressive wear or debris intrusion. Uneven wear often results from misaligned calipers or seized slides, causing one edge of the pad to bear most friction.
| Issue | What You’ll See | Likely Cause |
|---|---|---|
| Cracks | Hairline fractures in pad surface | Degraded brake pad material |
| Shavings | Metallic debris around caliper | Glazing or rotor damage |
| Uneven Wear | Tapered pad edges, one side thin | Corrosion signs on slides or pins |
Corrosion signs on mounting hardware restrict movement, accelerating wear. Always inspect backing plates and abutments. Early detection prevents rotor damage and maintains braking consistency.
When to Replace Brake Pads by Thickness
When measuring brake pad thickness, you’re checking the most reliable indicator of remaining service life. Most sedans use semi-metallic or ceramic brake pad material, which wears predictably under normal driving. New pads typically measure 10 to 12 millimeters thick. You should plan for replacement when they reach 3 millimeters-this is the industry safety threshold. At 2 millimeters, you risk damaging rotors, increasing the replacement cost markedly. Pads worn below 1.5 millimeters offer minimal friction and compromise stopping power. Uneven thinning suggests alignment or caliper issues, not just wear. Using a ruler or caliper guarantees accuracy-don’t guess. Waiting too long reduces braking efficiency and raises repair expenses. Replacing pads proactively maintains performance and safety. Measuring thickness gives you control over maintenance timing and prevents costly repairs down the road. For optimal results, consider pairing your inspection with a review of the top brake pads and rotors.
How Often to Check Brake Pads
You should inspect your brake pads every 10,000 to 15,000 miles under normal driving conditions. This interval helps guarantee you catch wear before it impacts braking performance. Brake pad lifespan varies considerably based on driving conditions. City driving with frequent stops shortens pad life due to increased friction and heat. Highway driving typically allows longer service life. Most standard brake pads last between 30,000 and 50,000 miles, while high-performance or ceramic pads can exceed 70,000 miles. Extreme conditions-like towing, mountainous terrain, or stop-and-go traffic-require inspections every 5,000 miles. Visually check pad thickness; replace if below 3mm. Regular monitoring under diverse driving conditions maximizes safety and extends system durability. Don’t wait for squealing-proactive checks prevent rotor damage.
On a final note
You should inspect your brake pads monthly for safety and performance. A visual check through the wheel spokes takes minutes and requires no tools. Look for pad thickness: anything under 3 mm needs replacement. Uneven wear, cracks, or metal shavings indicate problems. Most sedans use pad indicators; a screeching noise means immediate service. Regular checks prevent rotor damage and costly repairs. Brake maintenance guarantees peak stopping distance and vehicle control.