How to Wash a Car After Exposure to Construction Dust Without Scratching
Rinse your car with a 1,200–1,800 PSI pressure washer and a 40-degree flood nozzle to loosen bonded construction dust safely. Use a two-bucket method with grit guards to trap debris, preventing reapplication. Wash top to bottom using a plush 360 g/m² microfiber mitt, rinsing it after each pass. Dry with a 300 g/m² microfiber towel using straight-line motions. Finish with a clay bar and sealant. There’s a precise order and timing that maximizes protection.
Notable Insights
- Pre-rinse with a 1,200–1,800 PSI pressure washer and 40-degree nozzle to safely remove bonded construction dust.
- Use the two-bucket method with grit guard in the rinse bucket to prevent abrasive particles from scratching paint.
- Wash with a plush microfiber mitt (360 g/m² or higher) and rinse it after every pass to avoid transferring grit.
- Dry with a clean, high-quality microfiber towel using straight-line motions to prevent swirl marks.
- Follow up with a clay bar and lubricant to remove remaining contaminants, then apply wax or sealant for protection.
Start With a Pre-Rinse After Construction Dust
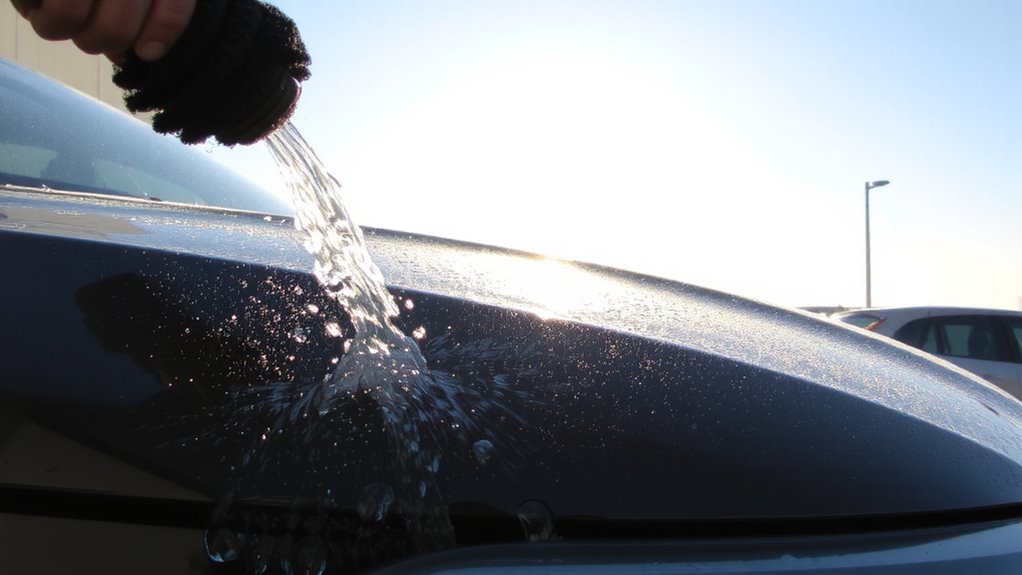
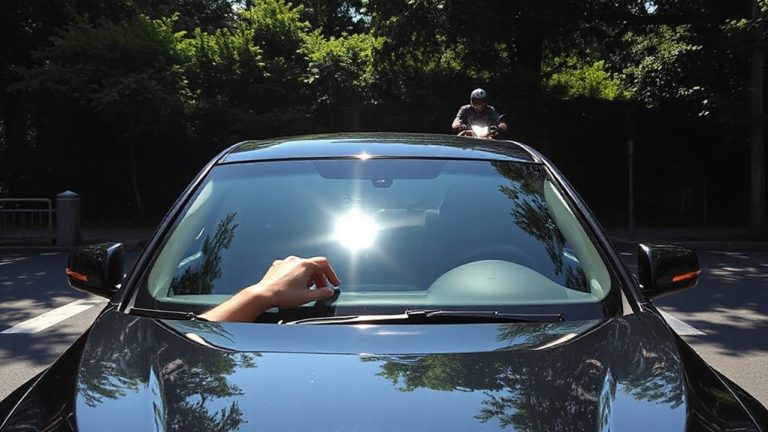
While construction dust may look harmless, it often bonds to paint like microscopic sandpaper, making a proper pre-rinse critical before any physical contact. You need to loosen particulates without driving them deeper into the clear coat. Use a pressure washer set between 1,200 and 1,800 PSI-enough to dislodge grime, but low enough to avoid damaging surfaces. Higher pressures can force debris into rubber seals or chip paint. Choose a 40-degree flood nozzle; it delivers wide, even coverage with reduced risk of swirls. Narrow nozzles, like 15- or 25-degree tips, concentrate water pressure too intensely and may scratch. Start rinsing from the top down, letting water carry debris off lower panels. Maintain a 24-inch distance between nozzle and surface. This method guarantees effective particle removal while preserving finish integrity. A reliable car pressure washer kit ensures you have the right tools for safe, effective cleaning.
Use a Grit Guard and Microfiber Mitt
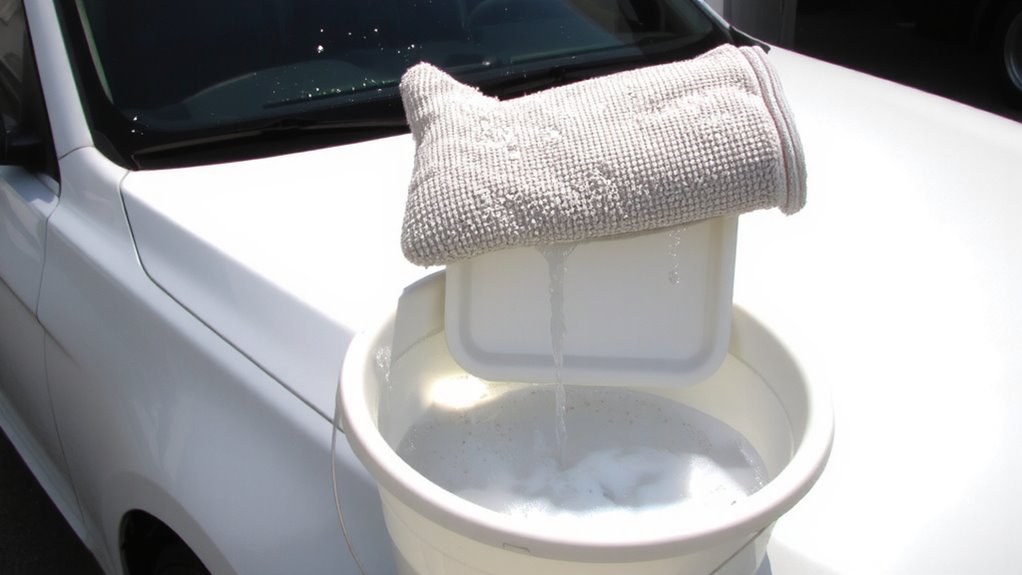
You’ve rinsed the surface to loosen bonded particles, and now it’s time to safely remove remaining contaminants. Use a grit guard in your wash bucket to settle dislodged debris below the waterline, preventing reapplication. The grit guard benefits include reducing swirl marks by keeping abrasive particles away from your mitt. Place it at the bucket’s base, where its raised ridges trap grit effectively. Pair it with a plush microfiber mitt measuring at least 360 grams per square meter for maximum dirt absorption. Microfiber mitt care requires rinsing it thoroughly after each pass, then washing it in cold water without fabric softener to preserve fiber integrity. Never use a degraded or poorly maintained mitt-it compromises paint safety. These tools work together: the grit guard contains contaminants, while the mitt lifts them without scratching. This method guarantees a scratch-free, thorough clean critical after construction dust exposure. For optimal results, consider selecting one of the top-rated grit guards based on performance and durability.
Wash Top to Bottom Using Two Buckets
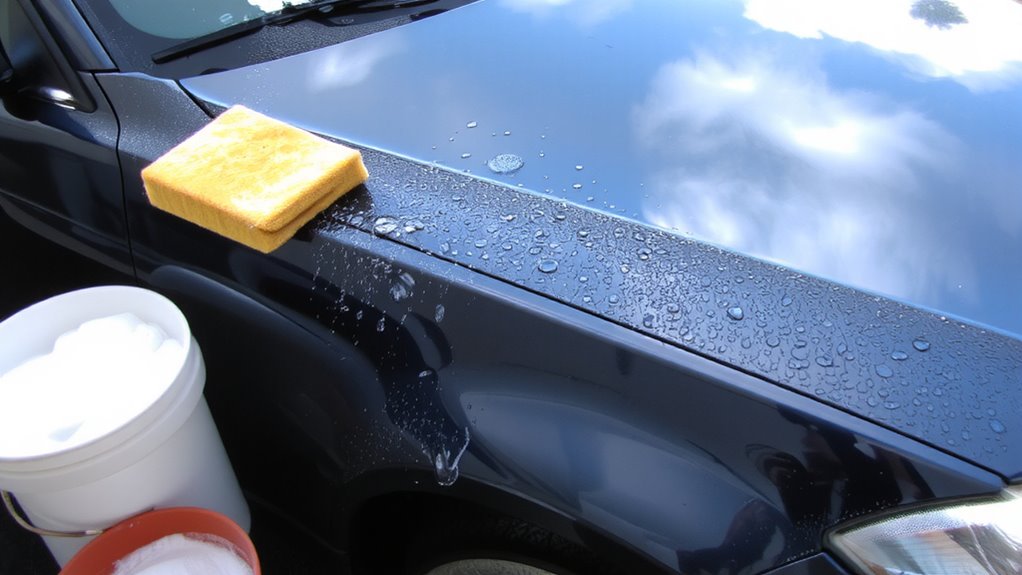
Start at the roof and work downward to prevent dirty water from contaminating areas you’ve already cleaned. Use two buckets: one with car shampoo and lukewarm water (around 80°F) to preserve wax, the other filled with clean rinse water and a grit guard. This two-bucket method drastically reduces swirl marks. Dip your microfiber mitt in the soapy bucket, wash a section, then rinse the mitt in the plain water bucket-never back in the soap. Water temperature matters; too hot can damage finishes, too cold reduces soap effectiveness. Avoid pressure washing directly on paint; it forces grit into surfaces, increasing scratch risk. Instead, use it only for rinsing wheels or undercarriage before the manual wash. Maintain a consistent workflow from top to bottom-hood, roof, trunk, then sides. Each section gets soaped, wiped, and rinsed before moving down. This guarantees contaminants don’t transfer across panels. For optimal results, choose a bucket designed specifically for the two-bucket method, such as one with an internal grit guard trap.
Dry Safely to Avoid Swirl Marks
Don’t underestimate how easily a poor drying technique can undo all your careful washing. Use only a clean, plush microfiber drying towel to prevent surface marring. Microfiber drying works because densely woven, split fibers absorb water efficiently without dragging contaminants. Choose towels with a minimum weight of 300 g/m² for maximum absorbency and softness. Hold the towel flat across the panel-never balled up-and use straight-line motions, not circles, to support effective swirl prevention. Exert no pressure; let capillary action pull water into the fabric. Flip or replace the towel often to avoid re-depositing grit. Never let water air-dry, especially after construction dust exposure, as mineral deposits can create etch marks. A dedicated drying aid, like a blower or water-fed squeegee used before microfiber contact, reduces towel contact time and risk. Proper technique guarantees a flawless, swirl-free finish every time.
Remove Remaining Dust With Clay
A clay bar is the most effective way to remove embedded contaminants and lingering dust particles after construction exposure. It works by gliding over the paint, lifting microscopic debris that washing alone can’t eliminate. Always use clay lubrication-either a dedicated spray or soapy water-to prevent marring. Without proper lubrication, the clay bar may drag contaminants across the surface, causing fine scratches. Flatten the clay into a pancake shape, about 1/4 inch thick, for even contact. Work in small sections, around 2×2 feet, using light pressure and overlapping passes. After each use, fold the clay to expose a clean surface. Conduct a surface inspection by gently running clean fingers over the panel-it should feel glass-smooth. Any grittiness means repeat the process. Use medium-grade clay for typical buildup; reserve fine clay for delicate finishes.
Apply Wax or Sealant After Dust Exposure
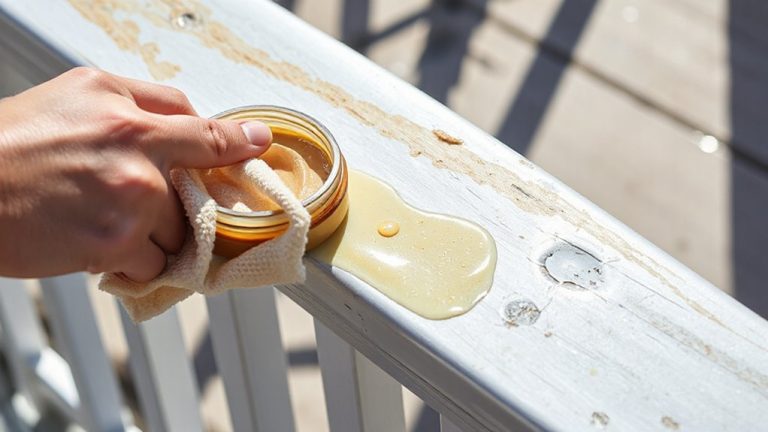
After removing all contaminants with a clay bar, it’s time to protect your car’s finish with a proper layer of wax or sealant. Wax benefits include UV resistance and improved water beading, with natural carnauba waxes offering warmth and depth but lasting only 4–6 weeks. Synthetic waxes last up to 3 months and bond better to paint. For longer protection, consider sealant types like polyethylene or SiO₂-based formulas. These polymer-based coatings last 6–12 months and maintain hydrophobic properties. Apply by hand using a foam applicator pad in thin, even layers. Let the product haze, then remove with a microfiber towel. A single layer provides 3,000–5,000 angstroms of thickness, sufficient for defense against environmental fallout. Sealants outperform wax in durability and chemical resistance, making them ideal after repeated dust exposure.
Prevent Damage: Wash Early and Often
Waiting too long to clean your car after exposure to construction dust increases the risk of surface etching and clear coat degradation. Early intervention prevents particulates from bonding to the surface. Dust contains abrasive minerals like silica, which, when combined with moisture, form a corrosive compound. Frequent cleaning minimizes buildup and preserves finish integrity. Wash every 3–5 days during active construction nearby. Use pH-neutral car shampoo at 1:20 dilution with distilled water to avoid mineral deposits. Rinse first with 40–60 psi pressure to lift contaminants without embedding them. Soak the wash mitt in a grit guard bucket to trap debris. Each panel should be wiped in straight lines, not circles, to reduce micro-scratches. Dry immediately with a 70/30 microfiber towel (360–400 g/m²). This routine guarantees protection through consistent, effective maintenance.
On a final note
Wash your car promptly to prevent etching. Use pH-neutral shampoo at 30 mL per 4 liters of water. Always pre-rinse with 50 PSI pressure to dislodge particles. Employ a grit guard in the wash bucket to trap contaminants below the mitt. Microfiber mitts with 300 g/m² density reduce swirl risk. Dry with a 70/30 chamois, pressing gently. Claying with a2.0 medium-grade bar removes bonded residues. Seal with a silica-based product offering 9H hardness and 6-month durability.