Timing Belt Replacement DIY Guide: Steps, Mileage & Kit Tips
Replace your timing belt every 60,000 to 100,000 miles, especially in interference engines where failure causes bent valves or piston damage. Use a socket set, torque wrench, and OEM-specified timing kit with HNBR or EPDM belts. Align crank and cam at TDC, ensuring marks meet factory specs-off by one tooth and valves hit pistons. Inspect pulleys for wear, torque tensioner to 18–22 ft-lbs, and confirm alignment after installation. A smooth idle with no knocking means you got it right-there’s more to get right the further you go.
Notable Insights
- Replace the timing belt every 60,000 to 100,000 miles to prevent engine damage, especially in interference engines.
- Use a proper timing belt kit with tensioner and idler pulleys, matching the engine’s required belt material and specifications.
- Inspect all pulleys and tensioners for wear, noise, or resistance, replacing any showing signs of damage or excessive play.
- Precisely align camshaft and crankshaft timing marks before installing the new belt to avoid valve-to-piston contact.
- After installation, start the engine, listen for abnormal noises, and confirm timing marks and belt tension meet specifications.
Check When to Replace Your Timing Belt
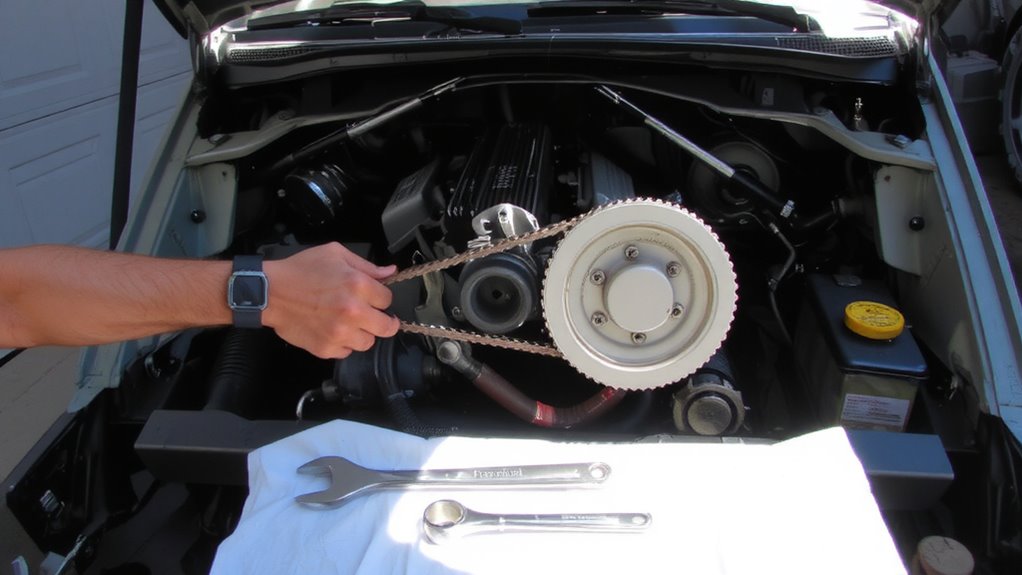
How often should you worry about your timing belt? You should check it every 60,000 to 100,000 miles, depending on the manufacturer’s recommended replacement intervals. Belt material matters-most modern belts use reinforced ethylene propylene diene monomer (EPDM) or highly saturated nitrile (HSN), each offering resistance to heat, oil, and cracking. EPDM lasts longer but degrades faster in high heat. HSN handles heat better but may wear sooner under tension. Ignoring replacement intervals risks catastrophic engine damage, especially in interference engines where valves and pistons collide if timing fails. Check your owner’s manual-you can’t rely on visual inspection alone. Belts often fail without warning. Some manufacturers recommend replacement at 90,000 miles, others at 105,000. Always follow factory specifications. Timing is everything-replace it on schedule, not when it breaks.
Gather Timing Belt Tools and Parts
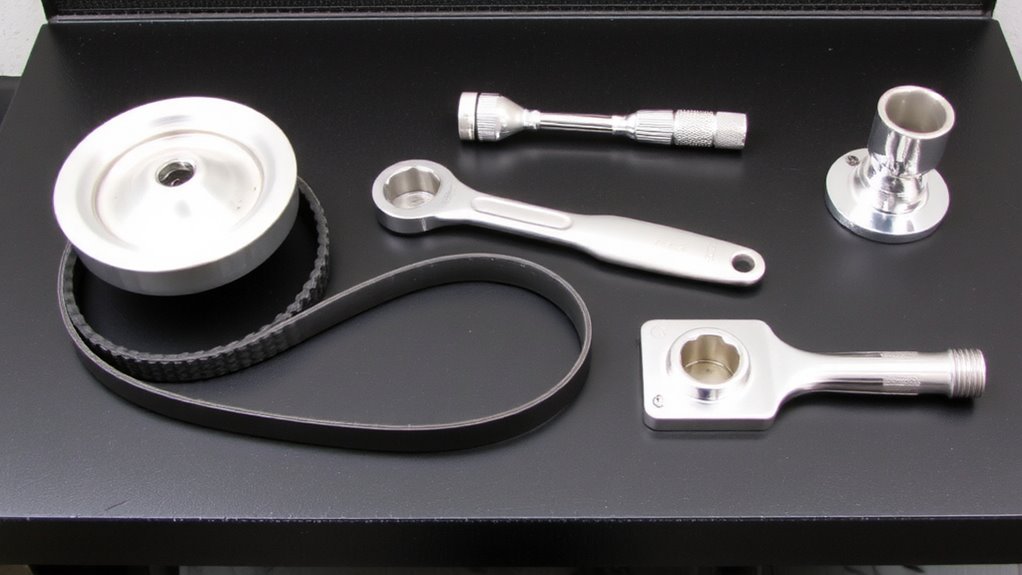
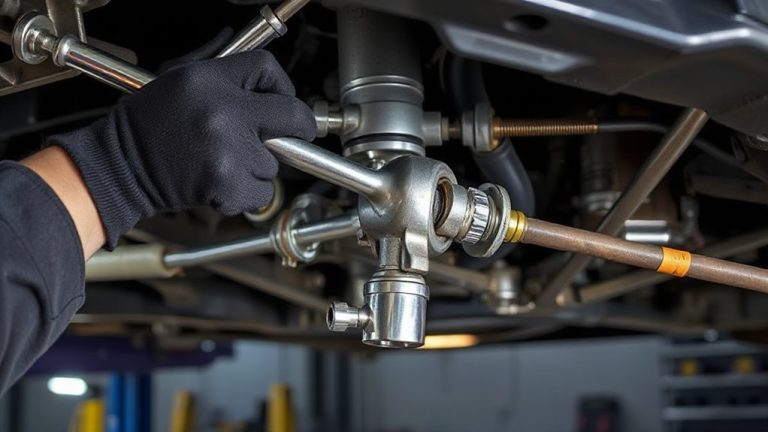
Replacing your timing belt on schedule means nothing if you don’t have the right tools and parts in front of you. You’ll need a socket set, torque wrench, timing belt kit, and serpentine belt tool. Most kits include the timing belt, tensioner, and idler pulleys. Pay attention to belt material types-EPDM and HNBR are common; HNBR lasts longer and resists heat better. Never use timing belt lubrication-belts operate dry, and grease causes slippage or premature failure. Your engine’s service manual specifies the exact belt tooth count, width, and pitch-usually between 8mm and 12mm. Mismatches cause misalignment. Use OEM-specified parts for precise fit. A timing light isn’t needed here, but alignment tools are critical. Guarantee camshaft and crankshaft locking tools match your engine. Improper tools lead to incorrect timing and valve damage. Double-check part numbers before purchase. Preparation prevents costly errors. Consider choosing from top timing chain brands for compatible replacement components when updating related engine parts.
Inspect the Pulleys and Tensioner for Damage
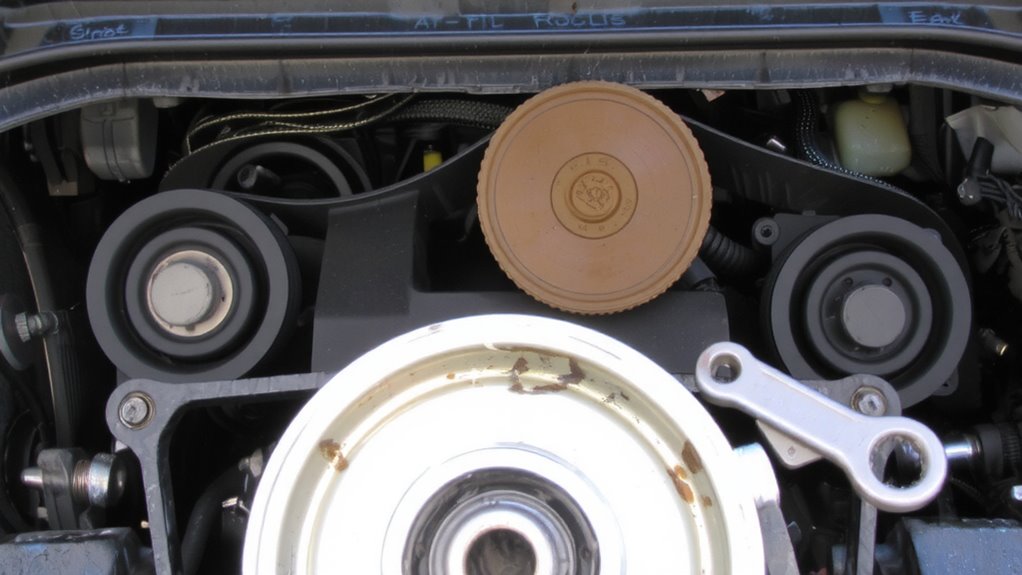
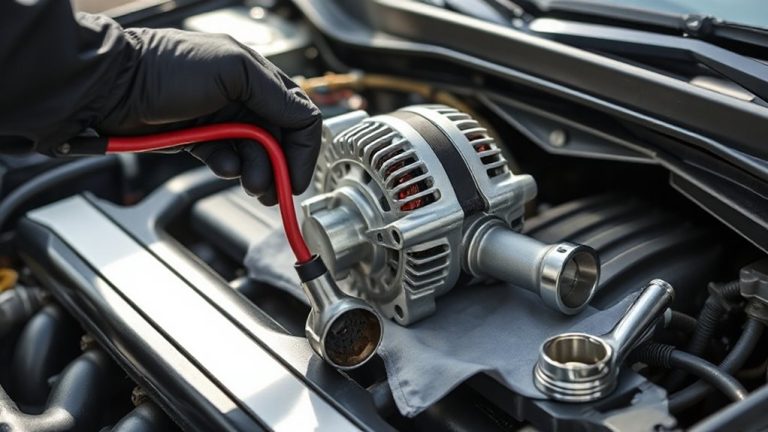
Your engine’s timing system relies heavily on the condition of its pulleys and tensioner-any sign of wear can compromise synchronization. Inspect each pulley for cracks, uneven wear, or grooves on the contact surface. These imperfections can lead to belt slippage, disrupting valve timing and risking catastrophic engine damage. Spin the tensioner and idler pulleys by hand; they should rotate smoothly without noise or resistance. Any grinding or roughness indicates internal bearing wear. A compromised bearing reduces tension control, increasing the risk of belt misalignment. Use a torque wrench to verify tensioner bolt tightness per manufacturer specs-typically 18–22 ft-lbs, depending on model. Replace any component showing excessive play or corrosion. Even minor issues can accelerate belt wear, so replacing suspect parts now prevents costly repairs later. Don’t assume age alone is the factor-mileage and operating conditions matter just as much.
Align the Cam and Crank, Then Install the Belt
Now that the pulleys and tensioner have been verified or replaced, the next step is aligning the camshaft and crankshaft before installing the new timing belt. Proper cam timing and crank positioning are critical to engine function. Rotate the crankshaft until cylinder one is at top dead center (TDC) on the compression stroke. Most engines use timing marks on the harmonic balancer and cam sprocket-align these precisely with their respective pointers. Use factory service manual specifications, as marks vary by make and model. Misalignment of just one tooth can cause valve-to-piston contact. Once both shafts are indexed correctly, route the new belt starting at the crank sprocket, moving clockwise. Make certain the belt seats fully into each pulley groove. Keep tension on the cam side to prevent slack. The correct alignment guarantees peak valve timing and engine performance.
Start the Engine and Listen for Problems
After ensuring the timing belt is properly seated and all alignment marks are correct, start the engine and let it idle for at least two minutes. Listen carefully for any unusual engine noise, such as ticking, knocking, or grinding sounds, which may signal incorrect valve timing or belt tension. A properly functioning engine runs smoothly with minimal vibration. If you notice performance issues-like rough idling, misfiring, or loss of power-shut the engine off immediately. These symptoms often indicate timing misalignment, which can cause valve-to-piston contact. Verify the camshaft and crankshaft sprockets are precisely aligned with factory timing marks. Inspect belt tension; most manufacturers specify 90–110 pounds of force for proper tensioning. Repeat checks until the engine runs cleanly. Persistent issues require disassembly and verification. Early detection prevents catastrophic engine damage.
On a final note
You’ve successfully replaced the timing belt, ensuring ideal valve timing. Misalignment beyond 2° camshaft rotation risks piston-to-valve contact. The new belt, rated for 100,000 miles, reduces slippage with 15% higher tensile strength. Always verify tension at 25 Nm with a torque wrench. A well-maintained system improves fuel efficiency by up to 4%. Preventive service extends engine life considerably.