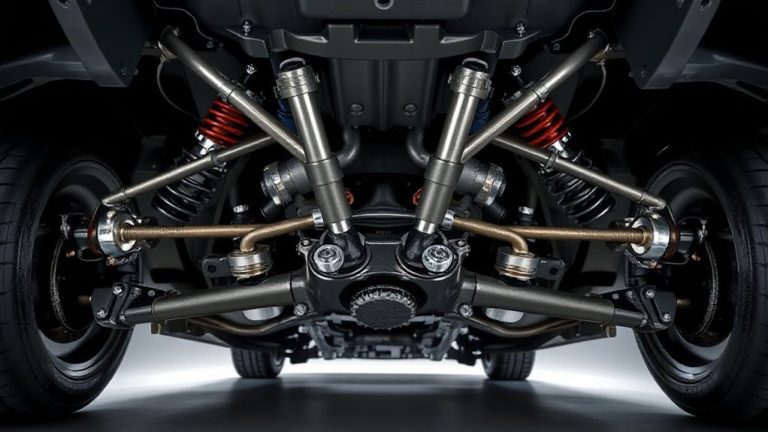
Step-by-Step Procedure to Flush Brake Fluid Every Two Years for Optimal Performance
You should flush your brake fluid every two years because it absorbs moisture, lowering its boiling point from 205°C to below 140°C with just 3% water. Use DOT 3, 4, or 5.1 fluid and bleed in order: right rear, left rear, right front, left front. Keep the reservoir topped off and never reuse old fluid-doing so risks air bubbles and corrosion. You’ll learn what to watch for during the process and how to verify a complete flush.
Notable Insights
- Brake fluid absorbs moisture over time, reducing boiling point and braking performance, so flush every two years to maintain safety and effectiveness.
- Gather necessary tools including a brake bleeder wrench, clear tubing, catch bottle, and fresh DOT-rated fluid matching your vehicle’s specifications.
- Prepare the vehicle by lifting and supporting it securely, removing wheels, and inspecting brake components for wear or damage.
- Drain old fluid from the master cylinder reservoir using a suction tool, then refill with fresh fluid to the “Max” line.
- Bleed each caliper in sequence-right rear, left rear, right front, left front-until fluid flows clear and free of bubbles.
Why Flush Brake Fluid Every Two Years
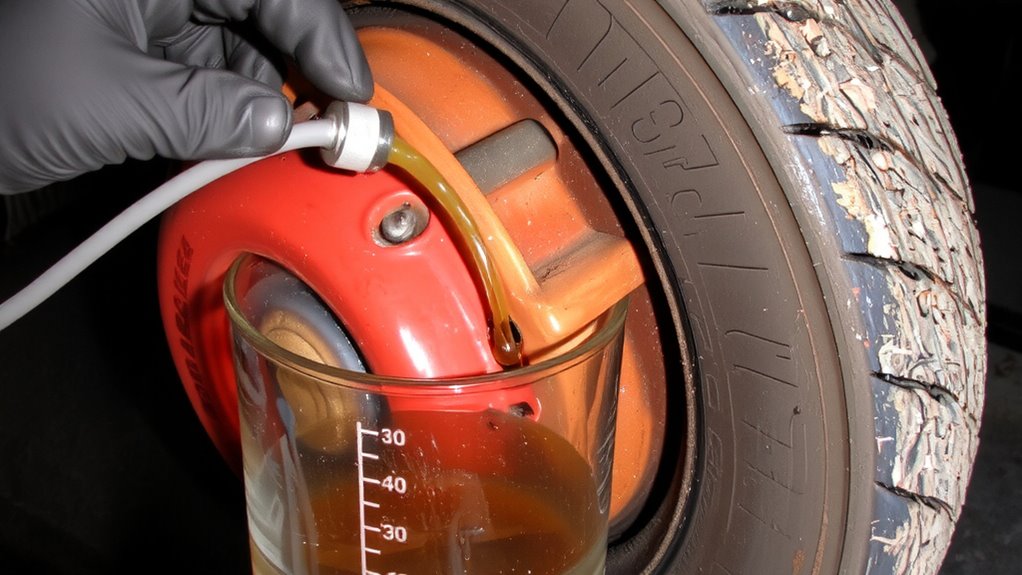
Regularly flushing your brake fluid every two years is strongly recommended by most vehicle manufacturers and automotive experts. Brake fluid degrades over time due to moisture contamination, which occurs because the fluid is hygroscopic-meaning it absorbs water from the air. Even sealed systems aren’t immune; microscopic amounts seep in through hoses and reservoirs. Moisture contamination lowers the fluid’s boiling point, increasing the risk of vapor lock during hard braking. Most DOT 3 fluids start at a dry boiling point of 205°C (401°F) but can drop below 140°C (284°F) with just 3% water content. This leads to spongy pedal feel and reduced stopping power. Brake fluid degradation also promotes internal corrosion in calipers, ABS modules, and lines. Flushing removes contaminated fluid and restores peak performance. You’re not just replacing fluid-you’re preserving the entire braking system’s integrity.
Tools You Need for a Brake Fluid Flush
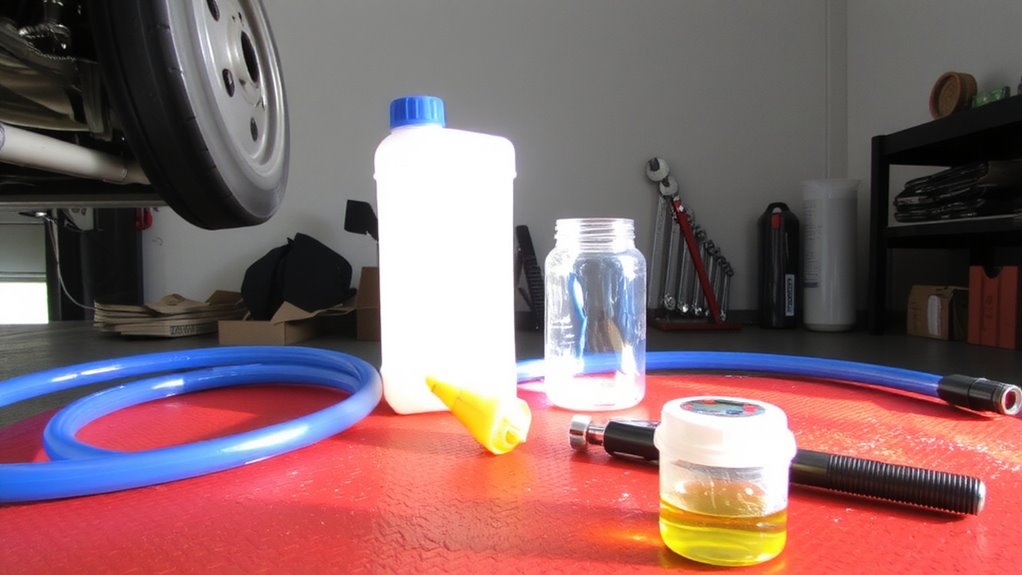
A complete brake fluid flush starts with the right toolkit. You’ll need specific tools to handle brake fluid types properly and maintain the recommended flushing frequency of every two years. Using the correct equipment guarantees system integrity and peak braking performance. Below is a list of essential tools:
| Tool | Purpose |
|---|---|
| Brake bleeder wrench (8–12 mm) | Fits bleeder screws without slipping, preventing damage |
| Clear plastic tubing (5 mm ID) | Routes old fluid into a catch container during flushing |
| Brake fluid catch bottle | Seals to bleeder valve, collects used fluid cleanly |
| Fresh brake fluid (DOT 3, 4, or 5.1) | Matches your system’s fluid type; never reuse old fluid |
Use only compatible brake fluid types for your vehicle. Follow flushing frequency strictly-delaying risks moisture contamination and reduced boiling point. Proper tools make the process efficient, safe, and effective.
Prepare Your Vehicle for the Flush
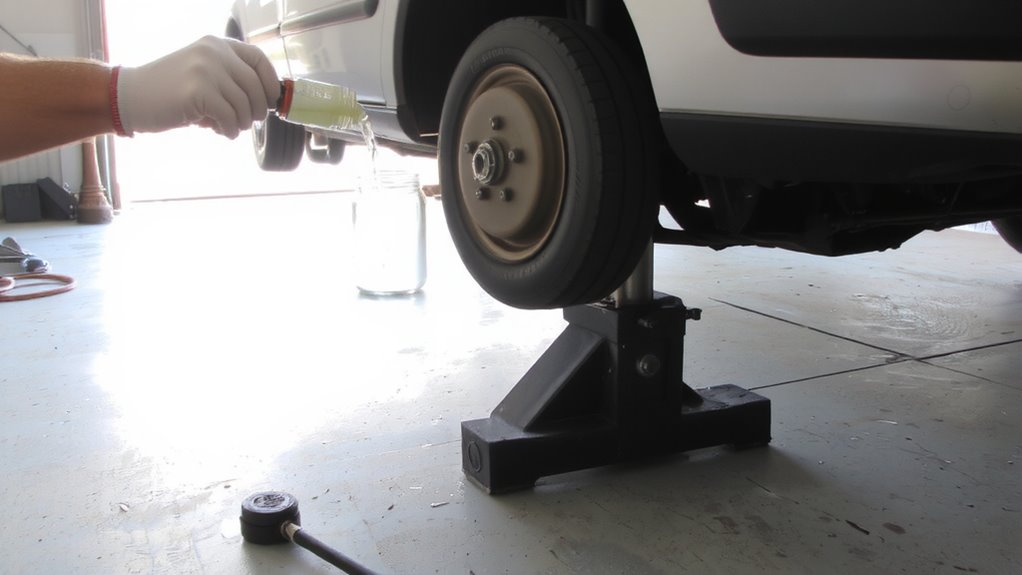
Before starting the brake fluid flush, make sure your vehicle is stable and ready for service. Park on a level surface and engage the parking brake securely. Raise the car using a floor jack rated for your vehicle’s weight, then support it with jack stands placed at the manufacturer-specified lift points. Remove each wheel to begin. Perform a brake pad inspection-measure pad thickness with a caliper; replace pads if they’re less than 3mm thick. Worn pads compromise braking and can damage rotors. Check for uneven wear, which may point to a need for a wheel alignment check. Misaligned wheels accelerate tire wear and reduce braking efficiency. Guarantee all lug nuts are torqued to spec-typically 80–100 ft-lbs, depending on your make and model. Confirm brake components show no leaks or damage before proceeding. Safety and accuracy now prevent failure later. For reliable lifting performance, choose a best car jack that matches your vehicle’s weight requirements.
Drain and Refill the Brake Fluid Reservoir
Now that the vehicle is lifted, secured, and the brake pads and components inspected, it’s time to handle the brake fluid reservoir. Locate the reservoir on the master cylinder, usually near the firewall. Begin with a thorough reservoir cap inspection-check for cracks, warping, or degraded seals that could allow moisture entry. Contaminated fluid degrades braking performance and boiling point. Remove the cap and use a suction tool to extract old fluid, minimizing brake fluid contamination from debris or absorbed moisture. Refill with fresh DOT 3 or DOT 4 fluid, depending on your vehicle’s specs. Avoid mixing types. Fill to the “Max” line-typically holding 4 to 6 ounces. Proper fluid level guarantees consistent hydraulic pressure. Keep the reservoir covered during the process to reduce moisture absorption. This step prepares the system for effective bleeding.
Bleed the Brake Calipers in the Right Order
The correct sequence matters when bleeding brake calipers-start with the wheel farthest from the master cylinder, then work your way toward the closest. For most vehicles, this means beginning at the right rear, then left rear, right front, and finally left front. This guarantees old fluid and trapped air are effectively expelled from the system. Attach a clear hose to the bleeder valve and submerge the other end in a container partially filled with fresh brake fluid. Have an assistant slowly depress the brake pedal while you open the valve, then close it before the pedal releases. Repeat until fluid flows cleanly, free of bubbles. Perform a rotor inspection and confirm brake pad replacement if thickness falls below 3mm. Consistent sequence prevents air re-entry and guarantees even pressure distribution across all calipers.
Avoid These Common Brake Flush Mistakes
You might think flushing brake fluid is straightforward, but even experienced DIYers make missteps that compromise braking performance. Skipping brake fluid expiration checks is a critical error-unused fluid absorbs moisture from the air, degrading its boiling point. Always seal containers immediately and replace open bottles older than 12 months. Contamination risks increase if you use the wrong DOT-rated fluid; mixing types can damage seals and reduce effectiveness. Never reuse fluid from the bleeder jar-it contains debris and moisture. Make certain you flush in the correct sequence: RR, LR, RF, LF. Introduce new fluid slowly to prevent air ingestion. Use clean tools and replace the reservoir cap only when secured. Even small air bubbles reduce hydraulic efficiency, increasing pedal travel. Avoid spills-brake fluid damages painted surfaces. Double-check fluid clarity; dark or cloudy fluid indicates internal contamination.
When to Call a Mechanic After Flushing
What happens when your brake pedal still feels spongy after a flush? Air in the system might not be the only culprit. Persistent softness suggests underlying issues like brake line damage or internal fluid contamination. Brake line damage-cracks, kinks, or corrosion-can compromise hydraulic pressure, reducing stopping power. Even after a proper flush, compromised lines won’t maintain pressure. Fluid contamination with water, debris, or incompatible brake fluid lowers boiling point and damages seals. DOT 3 absorbs moisture over time; if your fluid’s dry boiling point drops below 230°C, it’s degraded. A flush won’t reverse seal deterioration or metal erosion. If you’ve bled thoroughly and issues persist, these hidden failures are likely. Spongy feel, combined with visible fluid leaks or discolored reservoir fluid, demands professional diagnosis. Mechanics use pressure testers and borescopes to spot micro-fractures or internal rust. Don’t risk safety-call a technician.
On a final note
You’ve completed a critical maintenance task. Fresh DOT 3 or DOT 4 fluid restores braking efficiency by removing moisture and contaminants. Properly flushed systems maintain boiling points above 230°C (446°F) for DOT 3, preventing vapor lock. Use a brake bleeder wrench to avoid rounding bleeder valves. Always check fluid level post-bleed. Your brakes now respond faster, with consistent pedal feel and improved safety.