DIY Guide to Replacing Alternators: A Common Task That Can Prevent Electrical System Malfunction Due to Improper Charging Capacities and Extend Battery Lifespan Through Proper Maintenance Practices
You can diagnose alternator failure by checking for dimming headlights at idle or a battery that won’t hold a charge after jump-starts. A healthy battery shows 12.6 volts when off; when running, system voltage should be 13.8–14.4 volts. Use a multimeter to confirm output and inspect the drive belt for proper tension-1/2 inch deflection under 20 lbs pressure. Disconnect the battery ground first, then remove mounting bolts and electrical connections. Install the new unit, align the pulley, and torque the bolts to 25–35 ft-lbs. Recheck voltage under load to verify performance. You’ll soon see how proper installation guarantees long-term reliability.
Notable Insights
- Test battery voltage before and after engine start to confirm alternator charging performance.
- Disconnect the battery ground first to prevent electrical shorts during alternator replacement.
- Loosen the drive belt and remove mounting bolts to safely extract the old alternator.
- Align the new alternator pulley properly and set belt tension to 90–120 lbs for optimal operation.
- Inspect wiring and clean terminals regularly to maintain charging efficiency and extend battery life.
Diagnose Alternator Failure First
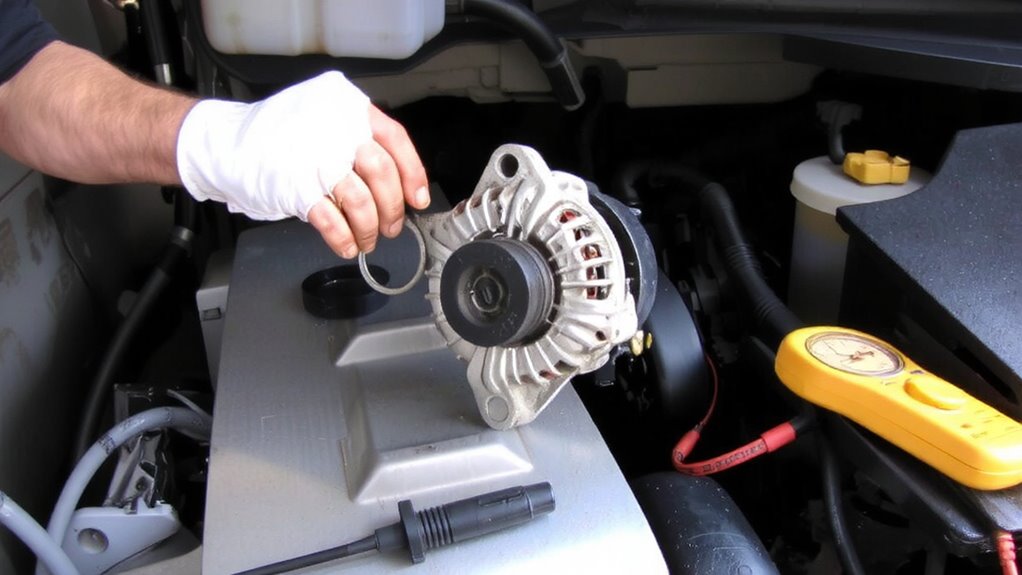
How can you tell if it’s really the alternator? Alternator symptoms often mimic battery failure, but distinct clues point to the source. If your headlights dim at idle or electrical accessories falter under load, the charging system is suspect. A dead battery after jump-starts suggests insufficient recharging. You’ll need voltage testing to confirm. With the engine off, a fully charged battery should read 12.6 volts. Start the engine; now, check again. A healthy alternator outputs 13.8 to 14.4 volts at idle. Anything below 13.5 volts indicates undercharging. Sustained voltage above 15 volts risks damaging electronics. Use a digital multimeter on the battery terminals for accuracy. Voltage testing rules out false diagnostics. Ignoring alternator symptoms jeopardizes battery lifespan and onboard electronics. Confirm the fault before replacing parts. This step saves time, money, and prevents unnecessary part swaps. Diagnosis first guarantees precision repair.
Gather Tools and Work Safely
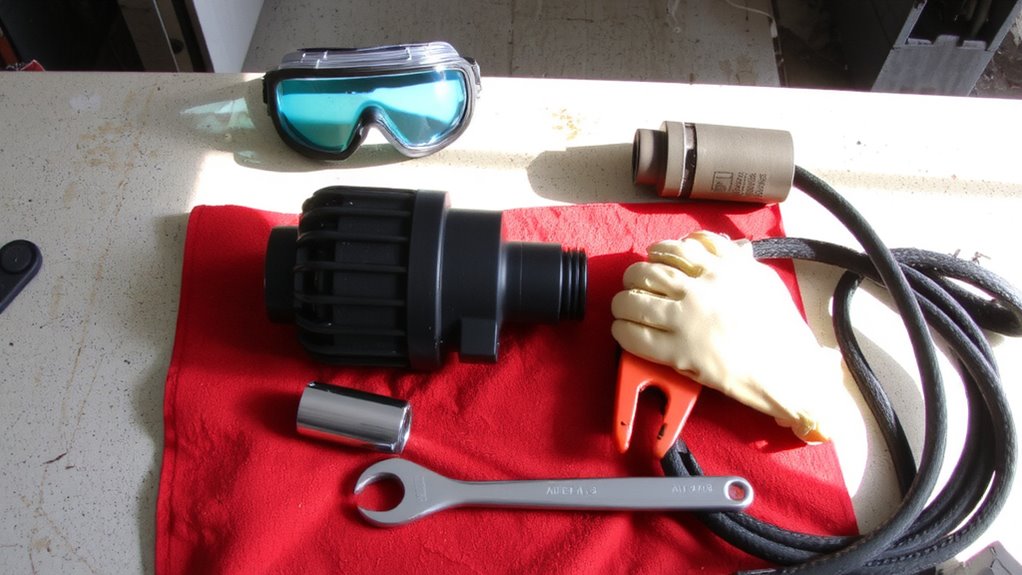
Start by assembling the right tools and prioritizing safety to avoid injury or damage. Wear work gloves to protect your hands from sharp edges and hot surfaces. Always use eye protection to shield against debris or battery acid splashes. You’ll need a 3/8-inch drive ratchet, 10mm to 15mm socket set, adjustable wrench, and a multimeter for testing connections. A torque wrench guarantees proper bolt tension-alternator mounting bolts typically require 35–45 lb-ft. Insulated tools prevent accidental shorts. Disconnect the battery ground first to eliminate electrical hazards. Work in a dry, well-lit area. Lift batteries carefully; they weigh 30–40 lbs and contain sulfuric acid. Treat all wiring as live unless confirmed dead with a voltmeter. Safe practices reduce risks of shock, burns, or tool slippage that could damage components. Preparation prevents mistakes. A quality car maintenance kit can provide all essential tools in one organized, portable set.
Remove the Old Alternator
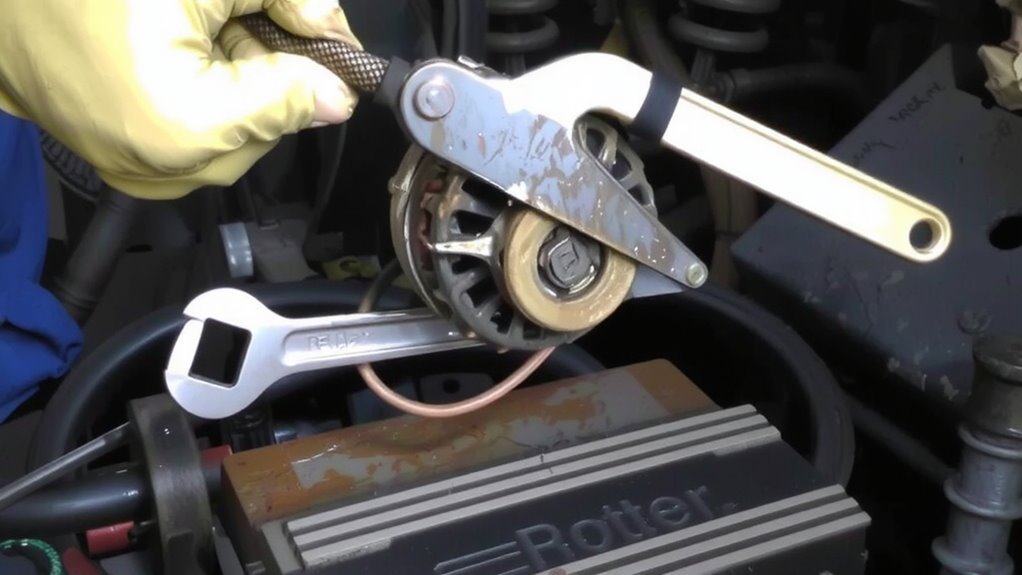
Once the battery is disconnected and safety measures are confirmed, begin by loosening the drive belt to release tension on the alternator. Reducing belt tension prevents damage to the pulley and allows easy removal. Use a wrench or tensioner tool on the adjustment bracket-most systems require ½-inch drive ratchets. After slackening the belt, slide it off the pulley. Next, locate the alternator’s mounting bolts-usually two or three, 10mm to 14mm in size. Remove each bolt systematically, noting their positions for reassembly. Electrical connectors, including the B+ terminal and pigtail harness, must be unfastened before full removal. Support the alternator with one hand while loosening the final bolt to avoid dropping it. Most units weigh 10–15 lbs. Carefully pull the alternator straight out, avoiding force on nearby hoses or wiring. Keep all hardware organized.
Install the New Alternator
While aligning the new alternator into position, make sure the mounting bracket and bolt holes match up cleanly with the engine block-misalignment could indicate a wrong fitment or damaged bracket. Proper alternator alignment guarantees the pulley sits flush with the belt path, preventing premature wear. Secure the mounting bolts snugly, but don’t fully torque them yet. This allows slight movement for belt tension adjustment. Once the belt is in place, apply the correct belt tension-typically 90 to 120 pounds of force, depending on the manufacturer’s specs. Use a belt tension gauge for accuracy. Over-tightening strains bearings; under-tightening causes slippage and insufficient charging. Align the drive belt precisely with the pulley grooves to avoid lateral stress. Final torque should follow OEM specifications, usually between 25–35 ft-lbs for mounting bolts. Recheck alignment after tightening.
Test the Charging System
How do you know the new alternator is working like it should? You test the charging system. With the engine off, measure the battery voltage-expect around 12.6V. Start the engine and check the charging voltage at the battery terminals. A healthy system reads between 13.8V and 14.4V. Low or high readings suggest issues with voltage regulation or belt tension.
| Condition | Voltage (V) | Notes |
|---|---|---|
| Engine Off | 12.6 | Full battery charge |
| Engine Running | 13.8–14.4 | Normal charging voltage |
| Under Load | ≥13.5 | Verify belt tension and output |
Proper belt tension guarantees efficient power transfer. A loose belt slips, reducing alternator efficiency. Use a multimeter for accuracy. Confirm all connections are tight. This test confirms your alternator sustains proper charging voltage and supports long-term battery health.
Avoid Common Replacement Mistakes
If you’re not careful, even a straightforward alternator replacement can go wrong due to avoidable errors. Always verify wiring polarity before reconnecting cables-reversing positive and negative leads can destroy the alternator’s diode trio and damage the vehicle’s ECU. Use a multimeter to confirm terminal identities if markings are unclear. Incorrect belt tension is another frequent mistake. Too loose, and the belt slips, reducing charging efficiency; too tight, and it overloads the alternator’s bearings and risks premature failure. Most manufacturers specify 1/2 inch of deflection under 20 pounds of pressure. Refer to the vehicle’s service manual for exact tension specs and routing diagrams. Align the pulleys properly to prevent belt drift. Double-check mounting bolts for correct torque, typically 20–25 ft-lbs. These steps guarantee reliable operation without collateral damage.
Extend Alternator and Battery Life
A little routine maintenance goes a long way in keeping your alternator and battery working efficiently for years. Proper ventilation prevents overheating, which can degrade internal components and shorten lifespan. You should perform a regular inspection every 3,000 miles to check for wear, loose belts, or corrosion. Clean terminals and secure connections improve conductivity and charging efficiency. Avoid short trips when possible-frequent engine starts reduce charge recovery time.
| Task | Frequency | Purpose |
|---|---|---|
| Check belt tension | Every 3,000 miles | Prevent slippage and power loss |
| Inspect wiring | Every 6,000 miles | Detect fraying or corrosion |
| Test output voltage | Annually | Guarantee 13.8–14.4V range |
| Clean battery terminals | Every 3,000 miles | Reduce resistance |
| Confirm airflow | During inspections | Guarantee proper ventilation |
On a final note
You’ve confirmed proper charging with a multimeter-output should read 13.8–14.4 volts at idle. The serpentine belt tensioner is set to 100–110 inch-pounds torque. Your new alternator, rated for 120 amps at 6,000 RPM, matches OEM specifications. This prevents undercharging, which can degrade a 12V AGM battery over time. Correct installation guarantees efficient power delivery. Maintain clean terminals and inspect belts every 6,000 miles.