DIY Guide to Replacing Fuel Injectors: A Common Task That Can Prevent Engine Malfunction Due to Improper Fuel Delivery Rates and Extend Its Lifespan Through Proper Maintenance Practices
You can prevent engine misfires and poor fuel economy by replacing faulty fuel injectors. Start by removing the fuel pump fuse and cranking the engine to relieve fuel pressure. Use a fuel injector puller to safely remove each unit, matching new injectors by flow rate and resistance. Install with new O-rings and torque rail bolts to spec. Prime the system, check for leaks at 35–60 psi, and clear any P0300 codes. Proper maintenance, including PEA-based cleaners every 30,000 miles, guarantees long-term performance. There’s more to optimizing results than just replacement.
Notable Insights
- Relieve fuel system pressure by removing the fuel pump fuse and cranking the engine to prevent leaks or accidents.
- Use a fuel injector puller to safely remove injectors without damaging seals or fuel rail ports.
- Install compatible injectors with matching flow rate, resistance, and fitment to ensure proper fuel delivery.
- Prime the fuel system and check for leaks before starting the engine to confirm secure connections.
- Perform routine maintenance, including fuel system cleanings every 30,000 miles with PEA-based cleaners, to extend injector life.
Spot Fuel Injector Problems: Misfires, Stalling, and Poor MPG
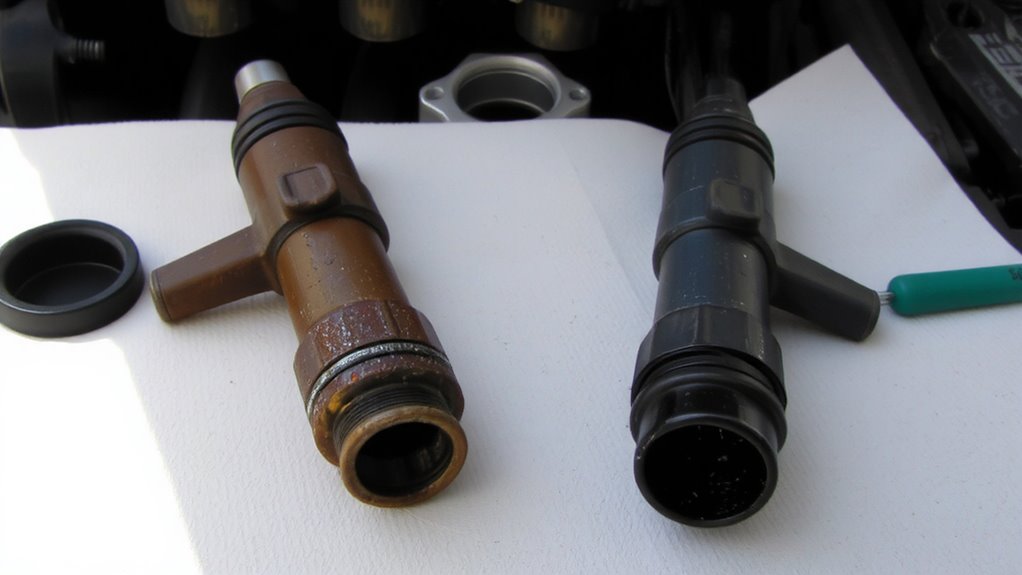
A blinking check engine changes from a simple alert to a serious signal when paired with engine misfires. You’ll notice rough idling or stalling, especially at low speeds, due to uneven fuel delivery. Poor fuel economy follows-MPG drops by 10–20% when injectors spray inconsistently. Faulty injectors disrupt air-fuel ratios, skewing combustion efficiency. Bad fuel quality accelerates clogging, especially in high-mileage engines, introducing contaminants that block fine injector nozzles. Over time, delayed or mistimed fuel sprays interfere with ignition timing, causing cylinders to misfire. You might detect hesitation during acceleration or power loss uphill. These symptoms reflect incorrect fuel atomization, directly impacting cylinder pressure and combustion stability. Ignition timing relies on precise fuel delivery; when injectors lag or leak, timing calibration fails. Consistent misfires logged in OBD-II codes like P0300 confirm the link. Monitoring these signs early helps avoid catalytic converter damage or long-term performance decline. Using a high-quality fuel injector cleaner can help prevent buildup and maintain optimal spray patterns in Honda Civic fuel systems.
Gather Tools and Correct Injector Replacements
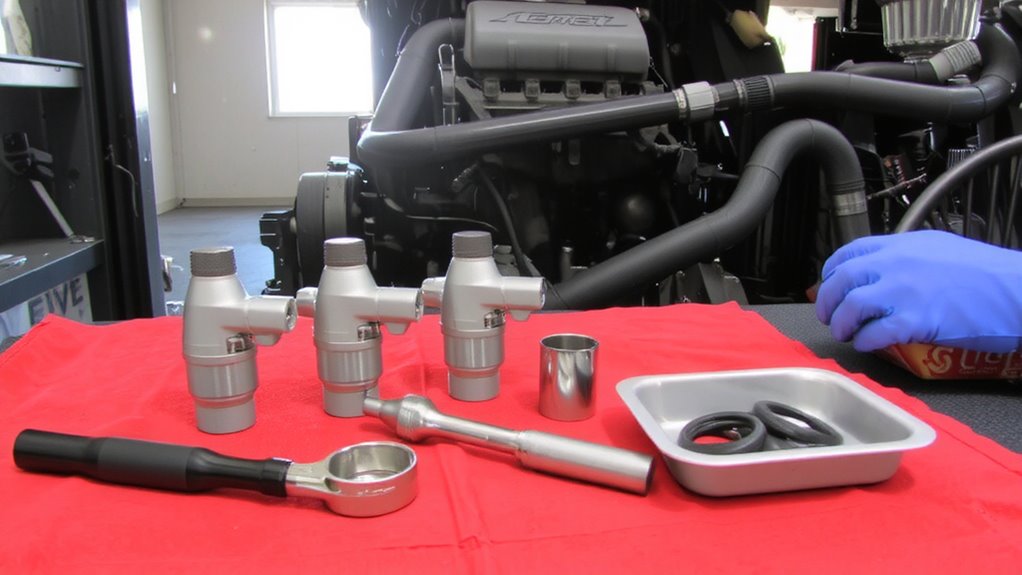
Start by collecting the essential tools and matching the replacement injectors to your engine’s exact specifications. Injector compatibility is critical-using the wrong model disrupts fuel delivery and harms performance. Confirm flow rate (lbs/hr), electrical resistance (ohms), and fitment for your make and model. Always follow factory torque specifications when reinstalling components to prevent warping or leaks.
| Tool/Item | Purpose |
|---|---|
| OBD2 scanner | Verify no pending codes post-install |
| Fuel injector puller | Safely remove old injectors |
| Torque wrench | Guarantee accurate torque specifications |
| Compatible injectors | Guarantee injector compatibility |
Use OEM or certified aftermarket units. Label wiring harnesses to avoid confusion. Double-check connector types and pintle caps. Precision here ensures proper operation and avoids costly mistakes.
Safely Relieve Fuel System Pressure
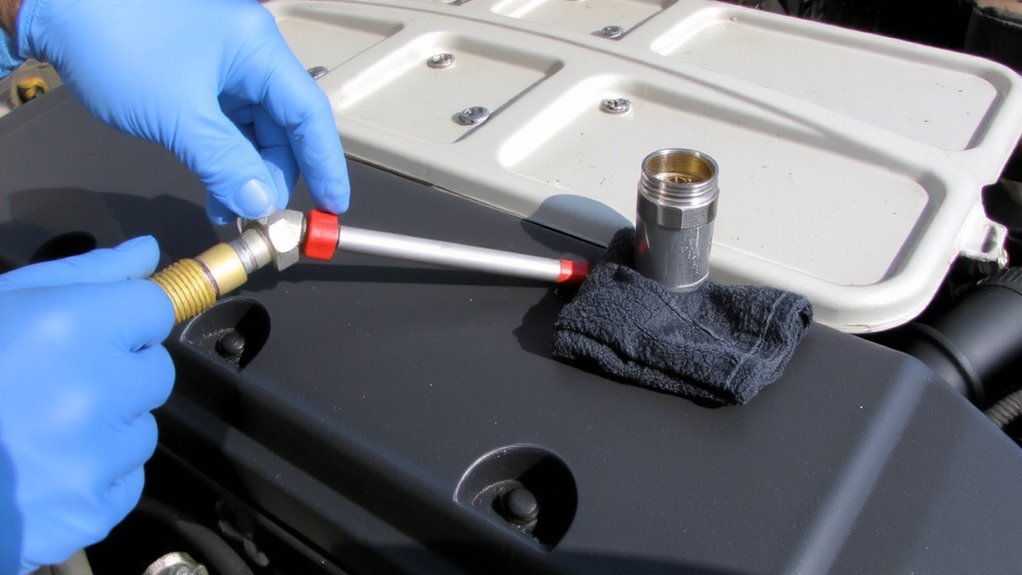
Before you crack open the fuel system, you’ve got to relieve the built-up pressure-otherwise, you’re asking for a dangerous spray of gasoline. Start by turning off the engine and removing the fuel pump fuse or relay. Crank the engine for 5–10 seconds to drain residual pressure from the fuel rails. Most modern systems operate at 35–60 psi, so releasing this safely is essential. Open the fuel tank cap to guarantee proper fuel tank ventilation, preventing vacuum lock and allowing pressure to equalize. Never skip this step-failure risks fuel spillage, fire, or injury. Though ignition timing adjustment isn’t directly involved here, a stabilized engine shutdown ensures no misfires during decompression. Use a fuel pressure gauge on the Schrader valve (if equipped) to confirm 0 psi before proceeding. Always work in a well-vent fetch airflow and keep a fire extinguisher nearby. Safety first-pressure relief is non-negotiable.
Remove and Replace Each Fuel Injector
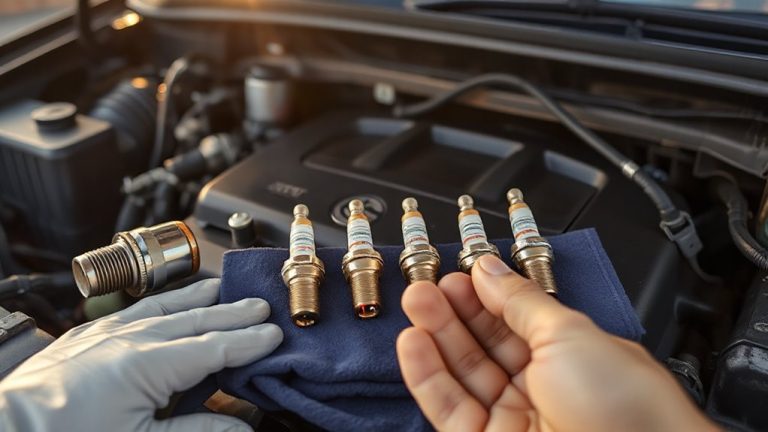
How do you guarantee each fuel injector comes out cleanly without damaging critical components? Use a dedicated fuel injector puller to apply even pressure, preventing tears in the injector seals or damage to the port. Label each injector and its position to maintain proper fuel injector orientation during reinstallation. Incorrect orientation can restrict fuel spray patterns and reduce combustion efficiency. Before removing the electrical connector, clean it thoroughly to avoid introducing debris. Guarantee precise electrical connector alignment when installing new injectors to prevent signal disruption and poor engine performance. For optimal long-term performance, consider using a top-rated fuel injector cleaner to prevent carbon buildup and maintain consistent fuel delivery.
Test for Leaks and Restart the Engine
With the new fuel injectors seated and their connectors securely fastened, it’s time to verify the integrity of your work before bringing the engine back to life. Turn the ignition to the “on” position without starting the engine. This primes the fuel system and establishes proper fuel flow. Inspect all injector O-rings, fuel rail connections, and lines for leaks. Even a small drip can indicate a faulty seal or misalignment. If no leaks are present, proceed to start the engine. Listen for smooth cranking and stable idle. Proper ignition timing is critical; modern ECUs automatically adjust, but deviations can cause rough running or misfires. Let the engine run for several minutes while monitoring for hesitation or unusual noises. Make certain fuel pressure stays within the manufacturer’s specified range-typically 35–60 psi, depending on your vehicle. Confirm consistent performance before closing the hood. For preventive maintenance, consider using a high-quality fuel injector cleaning kit to help maintain optimal fuel delivery and prevent future clogs.
Fix Common Issues After Injector Replacement
What happens when the engine runs but doesn’t feel right after replacing the injectors? You may have skipped a critical post-installation check. First, check electrical connections at each injector-loose or improperly seated connectors cause misfires and poor fuel metering. Use a multimeter to confirm 12V supply and ground continuity. Then, verify idle stability using a scan tool to monitor RPM and long-term fuel trims. A steady idle should hold within ±50 RPM of manufacturer specs, typically 650–750 RPM for most engines. Erratic idle or high fuel trims suggest air leaks, incorrect injector seating, or faulty O-rings. If vibration or hesitation persists, reseat the injectors and guarantee fuel rail alignment. Never assume new parts function perfectly-defective injectors or mismatched flow rates can disrupt engine performance. Address these issues now to restore proper combustion efficiency and drivability.
Keep Fuel Injectors Clean for Long-Term Performance
A smooth-running engine depends on more than fresh injectors-it demands ongoing cleanliness to maintain peak efficiency. Dirty injectors disrupt spray patterns, reducing fuel efficiency by up to 20% and increasing emissions. Deposits from low-quality fuel restrict flow and alter air-fuel ratios, forcing the engine to work harder. For ideal performance, use fuel with detergent additives rated by ASTM D5598 and D6201. Injectors operate at precise pressures-typically 40–70 psi in port systems and over 2,000 psi in direct injection-so even minor clogs impair atomization. Perform cleaning every 30,000 miles using EPA-approved injector cleaners containing polyetheramine (PEA). Avoid solvent flushes unless flow tests show a 10% drop from manufacturer specs. Clean injectors support consistent combustion, directly enhancing engine longevity. Proper maintenance prevents carbon buildup in chambers and valves, extending service intervals and preserving warranty-level performance.
On a final note
You’ve successfully replaced your fuel injectors, restoring ideal fuel delivery and engine performance. Each new injector operates within 1–2% flow variance, ensuring balanced combustion. Proper installation torque (12–15 ft-lbs) prevents leaks and damage. With the fuel system repressurized and no leaks detected, your engine runs smoothly. Clean fuel and routine inspections every 30,000 miles maintain peak injector efficiency and extend engine life.