How to Replace a Faulty Coolant Temperature Sensor and Bleed Air
Disconnect the battery and remove the coolant temperature sensor near the thermostat housing using a 19mm socket. Install the new sensor with dielectric grease on the O-ring and torque to 18–22 ft-lbs. Refill with 50/50 ethylene glycol coolant, then bleed air by opening the bleed valve or raising the vehicle’s front end. Monitor temperature via OBD2 to confirm stability and prevent overheating risks. Further details on verification follow.
Notable Insights
- Ensure the engine is cool and disconnect the coolant temperature sensor’s electrical connector before removal.
- Remove the sensor using a 19mm wrench and replace it with a new one, applying dielectric grease to the O-ring.
- Torque the new sensor to 18–22 ft-lbs and reconnect the electrical connector securely.
- Refill the cooling system with a 50/50 coolant mixture and bleed air by opening the bleed valve or raising the vehicle’s front.
- Verify proper operation by checking resistance with a multimeter and monitoring temperature via OBD2 scanner.
Common Symptoms of a Failing Coolant Temperature Sensor
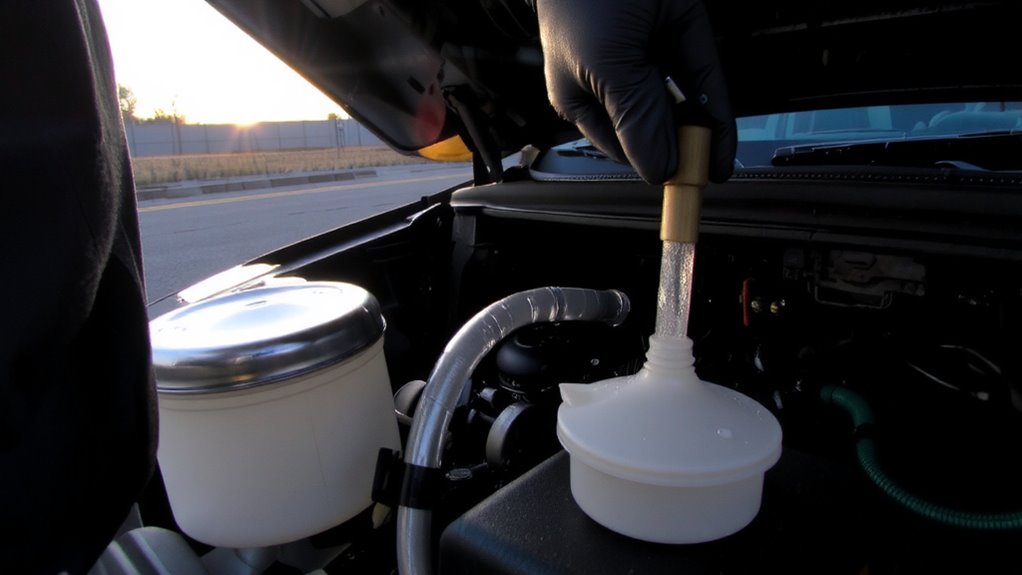
While your car’s coolant temperature sensor might seem like a small part, a failing one can disrupt engine performance and fuel efficiency. It sends real-time coolant temperature data to the engine control unit (ECU), which adjusts fuel injection and ignition timing. If it sends incorrect readings, you’ll notice poor fuel economy because the ECU may enrich the fuel mixture unnecessarily. A faulty sensor can also cause engine overheating-since the ECU might delay triggering the cooling fan or temperature warning. You may see the check engine light illuminate with codes like P0115 to P0119. Cold-start stalling or rough idling often occurs as the ECU misjudges engine warmth. Inaccurate readings disrupt air-fuel ratios, reducing combustion efficiency. Though not immediately catastrophic, prolonged failure stresses engine components. Early detection prevents long-term damage and maintains peak performance under varying thermal loads.
How to Test the Coolant Temperature Sensor With a Multimeter
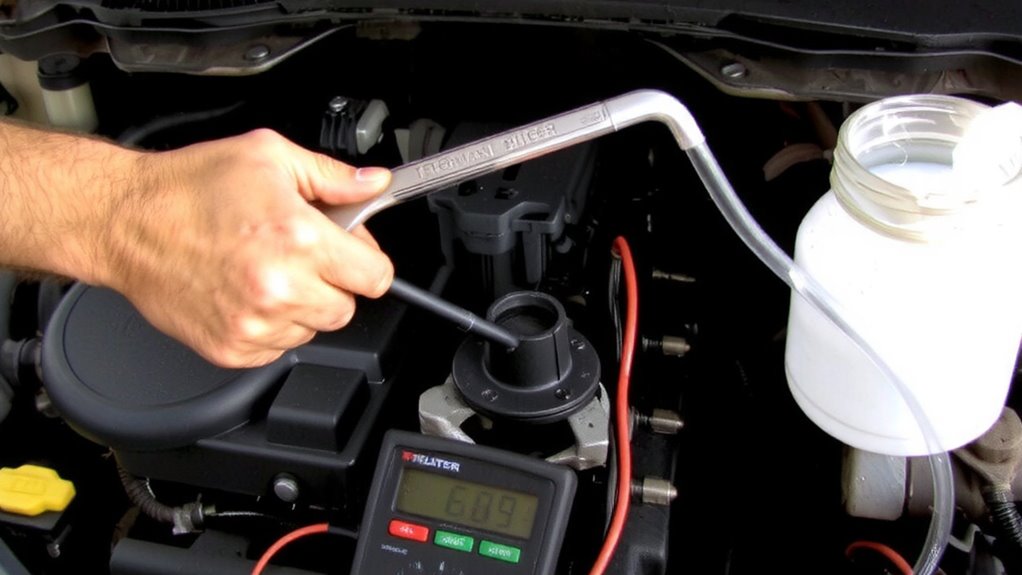
You can confirm a suspect coolant temperature sensor is faulty by testing it with a multimeter. Start by disconnecting the sensor’s electrical connector and removing it from the engine. Set your multimeter to measure ohms (Ω) to check electrical resistance. At room temperature-about 20°C (68°F)-a healthy sensor typically reads between 2,000 and 3,000 ohms. Compare your reading to the manufacturer’s specifications, as resistance varies by model and temperature. As temperature increases, resistance decreases; this inverse relationship is critical for accurate sensor calibration. If the reading is wildly off or the resistance doesn’t change when the sensor is heated (using hot water or a heat gun), the sensor is faulty. A consistent open or short circuit reading indicates internal failure. Always test under controlled conditions to avoid false conclusions.
Tools Needed to Replace the Coolant Temperature Sensor
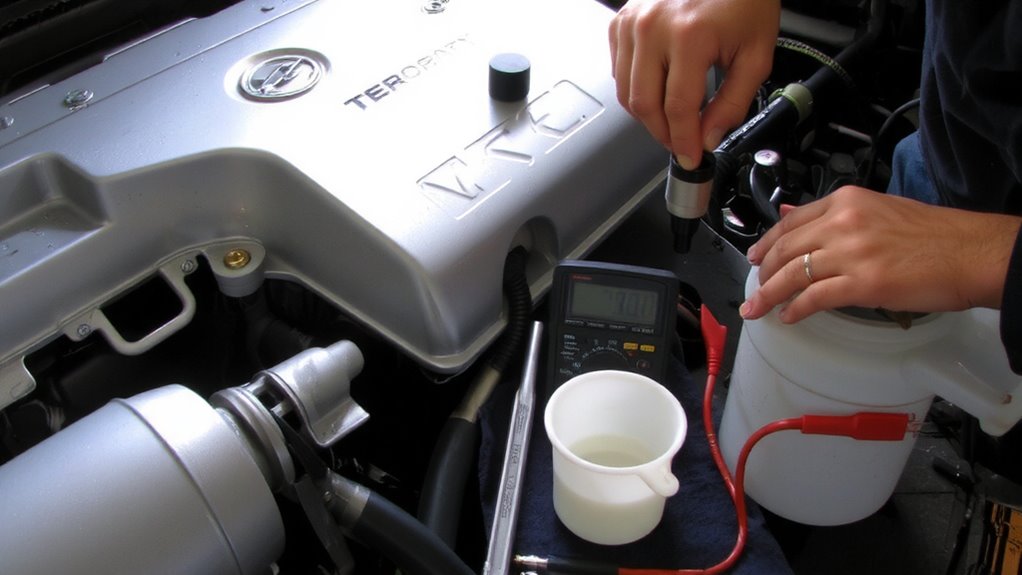
A basic set of hand tools forms the foundation of this repair. You’ll need a socket wrench for loosening fasteners around the sensor housing, typically a 10mm or 13mm socket depending on your vehicle’s make. A coolant flush is recommended before sensor replacement to guarantee system cleanliness and accurate temperature readings. Use a digital multimeter to verify the new sensor’s resistance, though testing occurs after installation.
| Tool | Purpose | Specification |
|---|---|---|
| Socket wrench | Remove mounting bolts | 3/8-inch drive, 10–14mm sockets |
| Coolant funnel | Refill coolant safely | Spill-proof, 1-liter capacity |
| Torque wrench | Tighten sensor securely | 10–25 Nm range |
| Drain pan | Catch old coolant during flush | 2-gallon minimum |
Step-by-Step: Replace the Sensor and Bleed the Cooling System
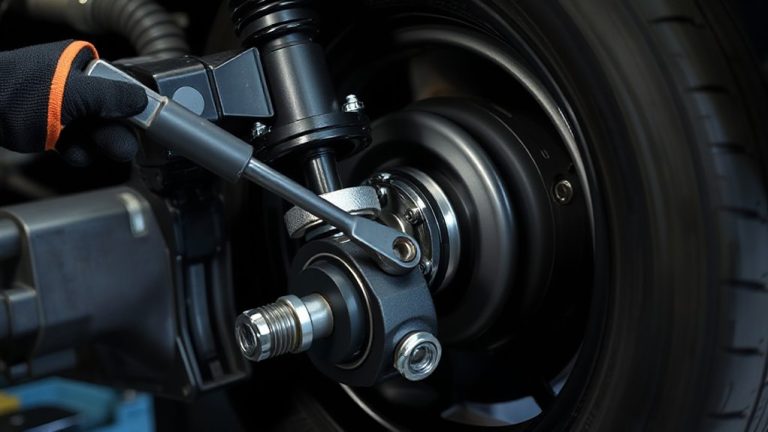
Start by making certain the engine is completely cool to prevent burns from residual pressure or hot coolant. Relieve system pressure by loosening the radiator cap only when the engine is cold. Locate the coolant temperature sensor-usually near the thermostat housing-and disconnect the electrical connector. For sensor removal, use a 19mm wrench or socket, turning counterclockwise. Apply dielectric grease to the new sensor’s O-ring before installation to make certain a proper seal and prevent leakage. Torque to 18–22 ft-lbs. If performing a cooling flush, open the radiator valve and drain old coolant, then refill with a 50/50 ethylene glycol mix. Bleed air by loosening the bleed valve or raising the front of the vehicle. Run the engine with the radiator cap off until the thermostat opens and coolant circulates without bubbles.
Test Engine Temperature and Avoid Air Pocket Mistakes
Why trust a dashboard gauge alone when verifying proper engine temperature? It can give false readings due to air pockets or sensor calibration issues. After bleeding the system, start the engine and let it reach operating temperature-typically 195°F to 220°F. Use an infrared thermometer or OBD2 scanner to cross-check. Air trapped in the coolant system causes fluctuating temperatures and risks engine overheating.
| Condition | Coolant Temp (°F) | Risk Level |
|---|---|---|
| Normal Operation | 195–220 | Low |
| Air Pocket Present | Erratic / False Readings | High |
| Engine Overheating | >240 | Critical |
Verify readings once the thermostat opens-usually around 195°F. Persistent false readings suggest incomplete bleeding or a faulty installation. Always recheck bleeder valve tightness and coolant level after cooling.
On a final note
You’ve now replaced the coolant temperature sensor and properly bled the system. A functional sensor guarantees accurate ECT readings, typically ranging from -40°C to 130°C. Air pockets compromise cooling efficiency and can trigger false overheating. Always torque the sensor to 15–20 ft-lbs. Refill coolant to the mark on the reservoir. Verify operation with a scan tool or dashboard gauge. Correct bleeding prevents vapor locks, maintaining thermal stability.