Washing Undercarriage Mud Before Applying Adhesive-Backed Protective Films
You must wash all mud from the undercarriage before applying adhesive-backed films. Contaminants create weak boundary layers, reducing peel strength by up to 60%. Surface energy drops below 30 dynes/cm, well under the 38 needed for proper bonding. Use 2,000+ psi pressure and nylon brushes to clean seams and brackets. Dry with compressed air and isopropyl alcohol. A flawless bond starts with a clean, dry, intact surface-anything less risks failure. The full process guarantees maximum adhesion and protection.
Notable Insights
- Mud prevents proper adhesion by creating a weak boundary layer that disrupts film-to-metal bonding.
- Wash undercarriage with at least 2,000 psi pressure to remove embedded dirt and debris thoroughly.
- Use nylon brushes and adjustable nozzles to clean seams and recessed areas without damaging surfaces.
- Ensure the surface is completely dry using compressed air and isopropyl alcohol before film application.
- Contaminated surfaces reduce peel strength by up to 60%, leading to premature peeling or delamination.
Why Clean Undercarriage Before Applying Film
While it might seem like a minor step, washing off mud from the undercarriage before applying adhesive films is critical to guaranteeing strong, lasting adhesion. Dirt and grime disrupt the chemical reaction between the adhesive and metal substrate. This reaction anchors the film, so any contamination weakens bonding at a molecular level. Surface texture also matters-mud creates microscopic peaks and valleys that prevent uniform contact. Without a smooth, clean base, air pockets and gaps form, reducing peel strength by up to 60%. You need direct film-to-metal contact for peak performance. Residual moisture under debris can also trigger corrosion beneath the film. Proper cleaning exposes the true surface texture, allowing full cross-linking of adhesive polymers. This maximizes shear resistance and extends film life. Clean metal ensures the adhesive cures correctly. Skipping this step risks premature failure, even with high-grade materials. Using the right undercarriage pressure washer attachments ensures thorough removal of packed mud and debris from hard-to-reach areas.
How Mud Ruins Undercarriage Film Adhesion
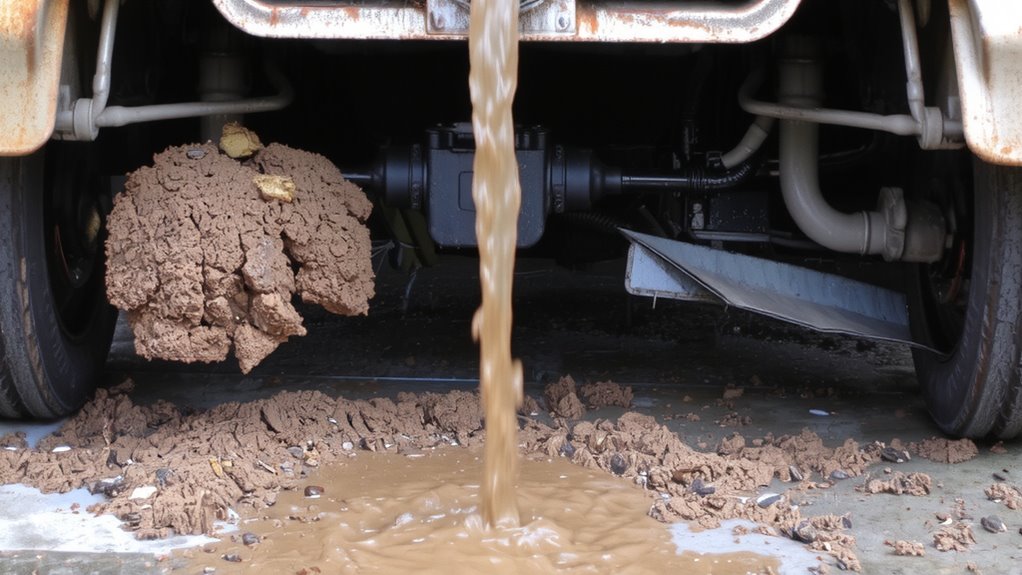
Mud may look harmless, but it’s a complete deal-breaker when you’re trying to bond adhesive films to an undercarriage. You’re risking improper surface bonding because mud creates a weak boundary layer that prevents adhesion. Even dried particles compromise the film’s ability to stick. Trapped debris contamination occurs when microscopic dirt clings to the metal, forming invisible gaps. These gaps reduce contact by up to 40%, drastically lowering bond strength. Most adhesive-backed films require surface energy above 38 dynes/cm for maximum adhesion-mud drops it below 30. Without clean, dry, and smooth metal, the film lifts prematurely. You’ll see bubbling, peeling, or delamination within weeks. The adhesive can’t penetrate or conform to uneven, soiled surfaces. Think of it like taping over dust-the bond fails at the molecular level. Proper adhesion demands direct contact. You can’t achieve that with contamination present.
Wash It Right: The Undercarriage Prep You Can’t Skip
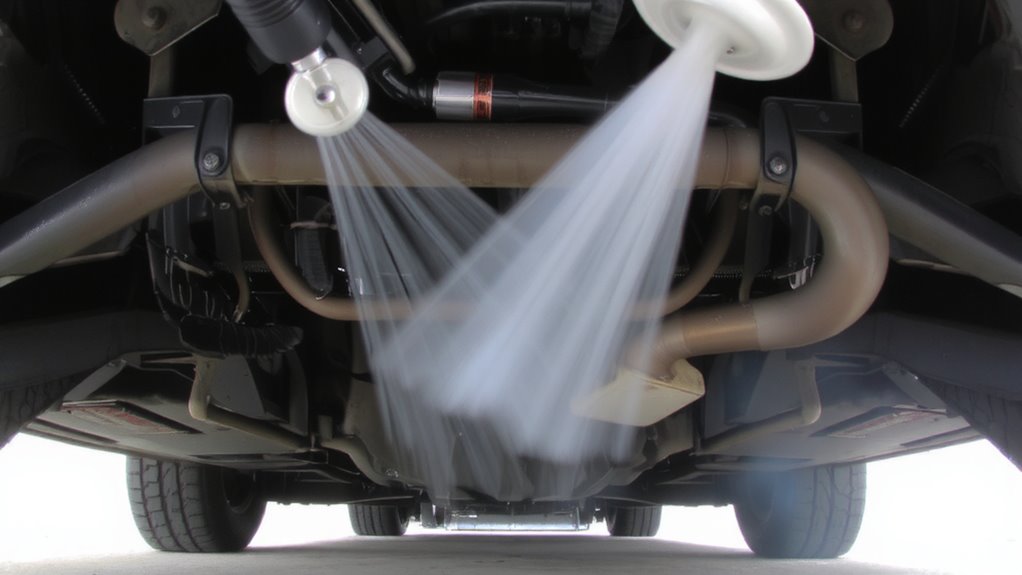
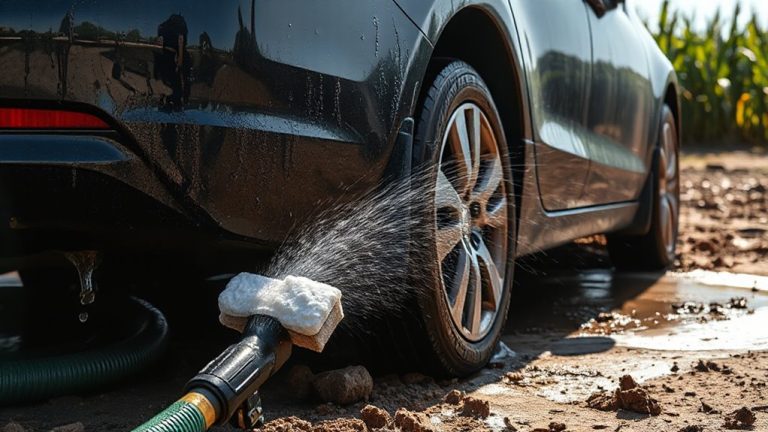
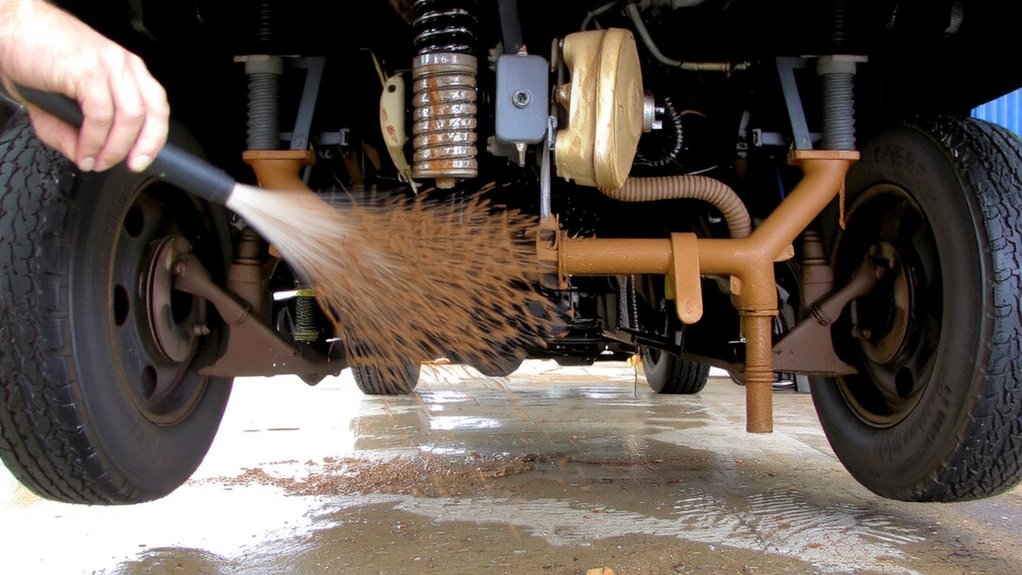
You need clean metal, not just a quick rinse. Dirt, grime, and salt compromise adhesion, leading to premature film failure. Thoroughly wash the undercarriage using high-pressure water at a minimum of 2,000 psi to remove all contaminants. Pay close attention to seams, brackets, and recessed areas where debris accumulates. Proper cleaning preserves the original surface texture, guaranteeing maximum bonding. Smooth or pitted metal must remain intact-altering it affects adhesive performance. Environmental exposure-like road salt, UV rays, and moisture-accelerates corrosion and degrades unprotected surfaces. Without adequate prep, the film cannot withstand these conditions. Residual moisture or contaminants create weak points. Clean metal guarantees the adhesive bonds directly to the substrate. This step isn’t optional. Skipping it risks delamination, bubbling, and corrosion under the film. Prep dictates longevity.
Essential Tools for Undercarriage Film Prep
When tackling undercarriage film prep, having the right tools isn’t just convenient-it’s critical for long-term performance. Start with a high-pressure washer delivering 1,500–3,000 psi to dislodge packed mud without damaging metal surfaces-this guarantees ideal pressure control. Use adjustable nozzles set between 15° and 40° spray angles for precision cleaning in tight areas like suspension components. Pair this with proper brush selection: nylon-bristled brushes prevent scratching, while extended-reach, telescopic-handled brushes access cramped zones under wheel wells. Avoid wire brushes or steel wool-they grind contaminants in and compromise adhesion. Soft, solvent-resistant gloves protect your hands during direct cleaning. All tools must be clean and dedicated solely to prep work to avoid cross-contamination. Proper equipment doesn’t just clean-it creates a reliable bond surface. Good prep means fewer failures, longer film life, and professional results every time. For optimal rinse efficiency, choose a pressure washer with a high-quality car washing nozzle designed for balanced spray patterns and durability.
Dry Thoroughly to Stop Moisture Buildup
After removing all debris with the right tools and techniques, the surface must be completely dry before adhesive film application-any remaining moisture can lead to poor bonding and eventual failure. You can’t skip drying, even in a hurry. Leftover water traps surface contamination, weakening adhesion over time. Use compressed air at 80–100 psi to blow water from seams and seams where hidden debris often hides. Then, wipe with a lint-free cloth dampened with isopropyl alcohol (70% minimum) to guarantee evaporation and sanitization. Let the area air-dry an additional 10–15 minutes. Surface temperature should be 60°F–90°F during application. Moisture buildup under film promotes delamination and blistering within days. Think of it like painting a damp wall-bond failure is just a matter of time. Dry thoroughly, or risk compromising film integrity from day one.
Skipping the Clean? Why Films Fail Fast
Though it might seem like a minor step, skipping proper undercarriage cleaning before applying adhesive films leads directly to premature failure. Contaminants like mud, oil, and road salt trap moisture against the metal, accelerating film degradation. Without a clean surface, adhesion weakens, allowing water and debris to seep under the film. This increases environmental exposure, promoting rust and blistering. Even high-performance films fail fast when applied over unclean substrates.
| Issue | Consequence |
|---|---|
| Trapped dirt | Poor adhesion |
| Residual moisture | Corrosion onset |
| Road salts | Film lifting |
| Oil contamination | Adhesive failure |
| Debris buildup | Uneven wear |
Proper cleaning removes particulates and residues that compromise bond strength. A degreased, dry surface guarantees maximum contact. Over time, unaddressed contamination leads to widespread film degradation. Consistent maintenance reduces long-term environmental exposure risks.
On a final note
You must wash undercarriage mud before applying adhesive-backed films. Contaminants like clay, road salt, and silt prevent proper bonding. A clean surface guarantees adhesion above 60 ounces per inch, per ASTM D3330 standards. Use pH-neutral cleaners and high-pressure rinsing at 1,200–1,800 psi. Dry completely; even 5% moisture reduces bond strength by 30%. Skip cleanup, and expect premature film lifting, corrosion, and voided warranties.