Using Laser Alignment Tools to Center Calipers Over Rotors Post-Installation
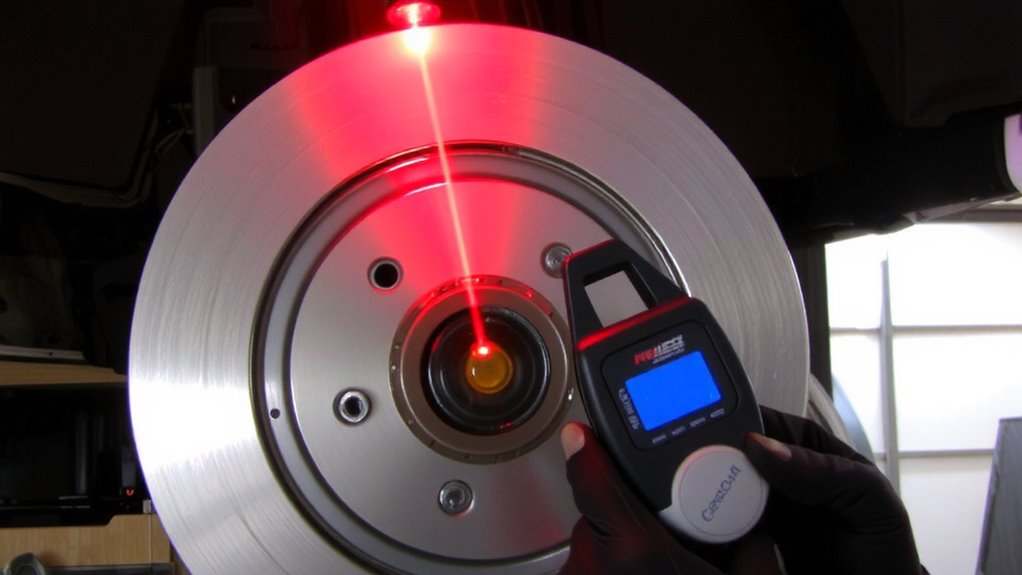
You can center calipers over rotors with a laser alignment tool that projects a beam within 0.002 inches of the rotor’s centerline. The Class II laser mounts magnetically to the caliper and targets the rotor face, detecting misalignment down to 0.5mm. This precision prevents uneven pad wear, drag, and rotor warping from excessive heat. Proper setup avoids debris or warpage that skews results. A durable, self-leveling aluminum tool guarantees repeatable accuracy-key for post-installation verification. You’ll see how small errors impact performance over time.
Notable Insights
- Mount a laser alignment tool inside the caliper to project a beam onto the rotor face for precise centering.
- Ensure the laser beam aligns within 0.002 inches of the rotor’s centerline to achieve proper caliper positioning.
- Use a Class II laser with 0.001″ accuracy for safe, visible, and precise alignment up to 30 feet.
- Clean mounting surfaces and rotor faces to prevent debris or warpage from distorting laser readings.
- Secure the tool with a magnetic base to maintain consistent, tilt-free alignment during post-installation verification.
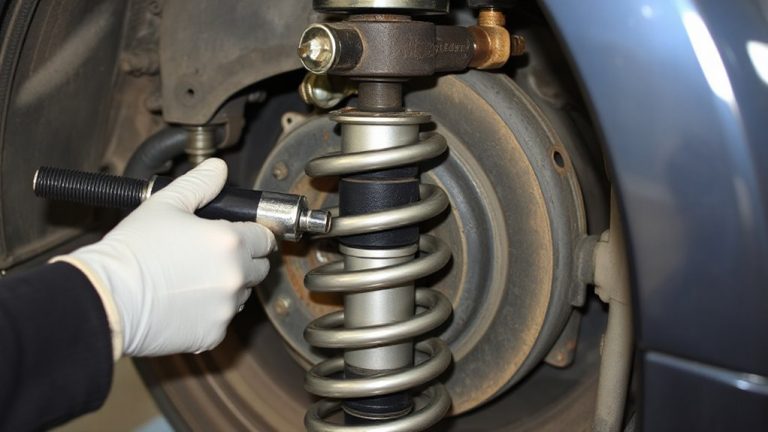
Center Calipers With a Laser: Step-by-Step
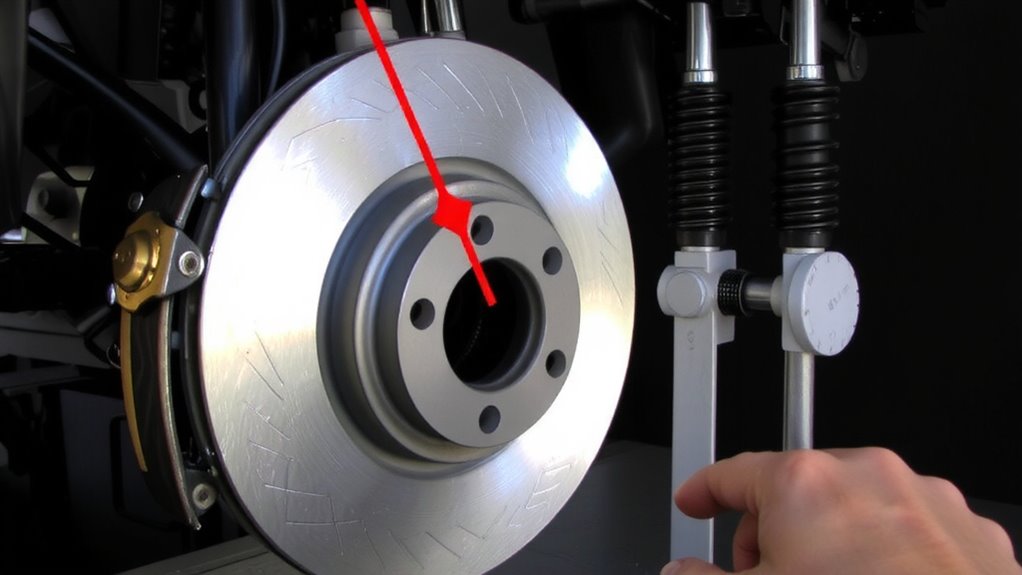
While some may rely on trial and error, using a laser alignment tool guarantees your center calipers are perfectly positioned the first time. You achieve laser precision by mounting the tool inside the caliper body, projecting a beam onto the rotor face. The beam must align within 0.002 inches of the rotor’s centerline to guarantee proper fit. This accuracy directly enhances brake symmetry, reducing pad wear and improving stopping power. You’ll measure the gap on both sides with feel gauges, adjusting the caliper until both sides read within 0.003 inches of each other. Even pressure distribution prevents drag and overheating. The process takes under 10 minutes and requires no disassembly once done. Using laser precision eliminates human error, much like a CNC machine versus hand filing. Proper alignment guarantees maximum contact, boosting safety and performance. Always verify alignment after installation-you can’t afford guesswork when braking.
Why Crooked Calipers Ruin New Brakes
If you install new brake pads and rotors only to find uneven wear or reduced stopping power, a crooked caliper could be the culprit. Misaligned calipers apply pressure unevenly across the rotor surface. This causes asymmetric pad wear, where one pad degrades faster than the other. You’ll spot this as thickness differences in as little as 5,000 miles. Uneven clamping force also generates excessive heat on one rotor section. That localized heat promotes rotor warping, typically above 650°F, distorting the rotor’s flatness by more than 0.002 inches. A warped rotor gives inconsistent contact, pulsing the brake pedal and reducing control. Even high-quality components fail prematurely under these conditions. Proper alignment guarantees full pad-to-rotor contact, distributing heat and force evenly. Without it, you’re sacrificing performance, safety, and component lifespan-all avoidable with precise caliper positioning.
How a $20 Laser Saves Your Brake Job
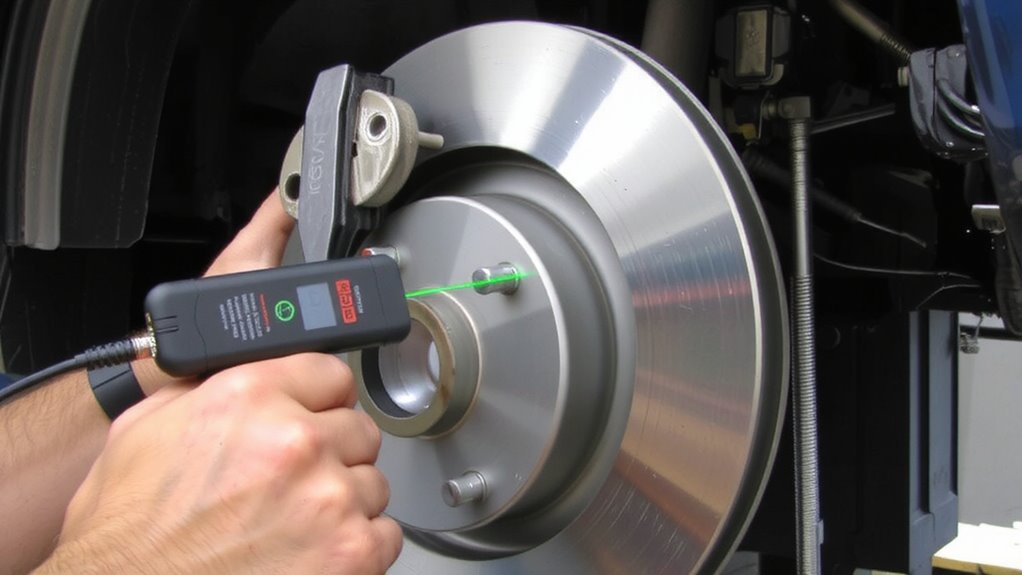
How do you guarantee perfect caliper alignment without costly tools? A $20 laser alignment tool gives you precision typically reserved for professional shops. You mount it to the hub like a rotor, then check where the beam strikes the caliper mounts. Proper alignment guarantees even rotor contact, meaning both inner and outer brake pads engage simultaneously. Uneven pressure causes uneven brake pad wear, leading to noise, reduced stopping power, and premature pad replacement. The laser detects misalignment as small as 0.5mm, well within the 1mm tolerance most manufacturers specify. With accurate feedback, you adjust caliper position until the beam aligns symmetrically across mounting points. This guarantees the caliper straddles the rotor evenly. You eliminate drag and hotspots. It’s not guesswork-it’s measurement. That small investment prevents costly comebacks, saves brake components, and guarantees every brake job performs to spec.
Common Mistakes That Skew Laser Alignment
Even small errors in setup can throw off your laser alignment, leading to inaccurate caliper positioning and compromised brake performance. You must guarantee the laser tool mounts securely and squarely to the hub. Uneven mounting surfaces distort alignment by shifting the laser’s central axis. Even 0.5mm of warpage in the rotor or hub flange can cause misalignment beyond OEM tolerance, which is typically ±0.05 inches. Dust, rust, or debris on the mounting face contributes to this condition. Laser reflection errors occur when the target surface is dirty, scratched, or non-reflective. A degraded reflection scatters the beam, making the projected line appear wider or offset. Always clean the rotor face and caliper mounting bracket before setup. Use alignment tools with a Class II laser (≤1mW output) for accurate beam focus. Verify beam consistency at 12 inches from the rotor. These precautions eliminate avoidable inaccuracies, guaranteeing proper caliper centering and peak brake function.
Best Laser Tool Features for Brakes
What makes a laser tool truly effective for brake work? Laser precision guarantees accurate caliper centering, reducing pad wear and vibration. Tool durability matters when working in harsh shop environments. Look for rugged housing and shock-resistant construction. You need consistent performance across multiple vehicles.
| Feature | Benefit |
|---|---|
| Class II laser | Safe, visible beam up to 30 ft |
| 0.001″ accuracy | Delivers true laser precision |
| Aluminum housing | Maximizes tool durability |
| Magnetic base | Secure attachment to steel components |
| Self-leveling head | Guarantees accurate alignment without tilt |
You’ll save time and avoid comebacks with precise measurements. High-quality optics maintain calibration. This tool pays for itself through repeat reliability and exact alignment, guaranteeing peak brake function every time.
How Often to Recheck Laser Alignment
Regularly rechecking laser alignment guarantees consistent accuracy and prevents costly mistakes. You should verify alignment every 3,000 to 5,000 miles, especially after aggressive driving or heavy braking. Caliper drift can occur over time due to vibration and thermal expansion, shifting the caliper up to 0.030 inches off-center. Even minor misalignment increases pad wear and reduces braking efficiency. Rotor warping, often caused by uneven heat distribution, becomes more likely when alignment isn’t maintained. A warped rotor as little as 0.003 inches out of flat can cause noticeable pulsation. Rechecking with a Class II laser tool, accurate to ±0.001 inches, guarantees the caliper remains centered within 0.005 inches of ideal position. This precision extends rotor life and maintains peak pad contact. After any suspension work or wheel impact, immediate recheck is critical. Prevention beats correction-routine verification saves parts and guarantees safety.
On a final note
You must center calipers precisely to prevent pad drag and uneven wear. A $20 laser alignment tool projects a 635nm red beam with ±1mm accuracy across 10cm, verifying caliper symmetry over the rotor. Misalignment over 0.5mm causes noise and reduced braking efficiency. Check alignment after mounting and torquing the bracket. Recheck annually or after suspension work. Proper alignment extends pad life by up to 30% and guarantees peak brake performance.