How to Replace a Distributor Cap and Rotor in Older Vehicles
Disconnect the battery and remove the old distributor cap and rotor, noting the rotor’s position relative to the #1 cylinder. Replace with an OEM-spec rotor, aligning the tab snugly with the shaft slot, and install the new cap securely. Check for carbon tracking, rotor erosion over 0.030 inches, and guarantee the air gap is 0.020–0.030 inches. Confirm spark plug wires are tight and follow the correct firing order. A precise installation guarantees reliable spark delivery and prevents misfires-key for peak engine performance on every drive.
Notable Insights
- Disconnect the battery and remove the old distributor cap and rotor, noting the rotor’s position for proper alignment.
- Inspect the distributor shaft and cap terminals for wear, corrosion, or damage before installing new components.
- Install the new rotor by aligning its tab with the distributor shaft and press it fully into place.
- Seat the new distributor cap securely and fasten it with hold-down clips or bolts to prevent arcing.
- Reconnect spark plug wires in the correct firing order using a wiring diagram to ensure engine performance.
Replace the Distributor Cap and Rotor in 5 Steps
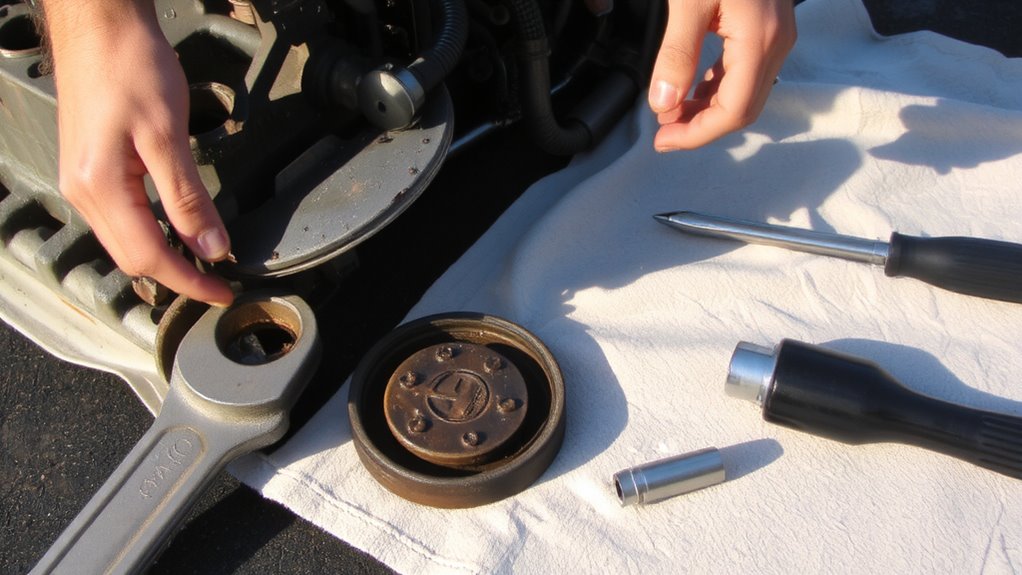
One mistake during replacement can lead to engine misfires or long-term ignition damage-so follow these five steps carefully. First, disconnect the battery to prevent accidental shocks. Remove the old distributor cap by unscrewing its retaining clips or bolts. Carefully pull out the rotor, noting its position-this is critical for distributor alignment. Replace it with a matching OEM-spec rotor, making sure the tab aligns with the distributor shaft. Install the new distributor cap, securing it firmly. Reconnect spark plug wires in the correct firing order. Proper ignition timing depends on rotor-to-cap electrode spacing, typically 0.250 inches. Misalignment causes timing delays, reducing efficiency. Use a timing light to verify ignition timing after installation-adjust if necessary per manufacturer specs. Maintain original spark path geometry and verify all connections are tight to guarantee reliable operation and prevent voltage leaks.
Inspect for Wear Before Installing New Parts
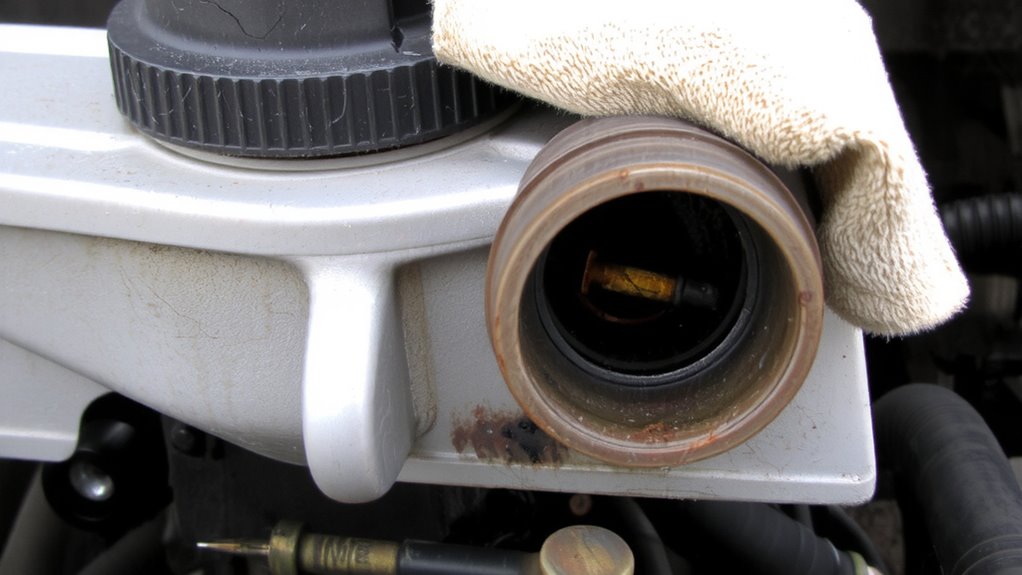
Before installing new components, take a moment to inspect the entire ignition system-hidden wear can undermine even the best replacement parts. Check the distributor shaft for lateral movement; excessive play affects distributor alignment and disrupts ignition timing. Inspect the rotor tip for erosion or pitting-greater than 0.030 inches of material loss degrades spark transfer. Examine the distributor cap’s interior terminals for carbon tracking or corrosion, which increases electrical resistance. Verify the hold-down clips are intact and provide secure contact. A misaligned distributor cap can shift position under vibration, altering ignition timing by several degrees. Confirm the timing marks on the harmonic balancer are visible and undamaged for accurate timing adjustments later. Even slight wear in the distributor base or camshaft gear can cause timing drift. Address these issues now-proper inspection guarantees new parts function as designed and maintain precise ignition timing for peak engine performance.
Install the New Cap and Rotor Correctly
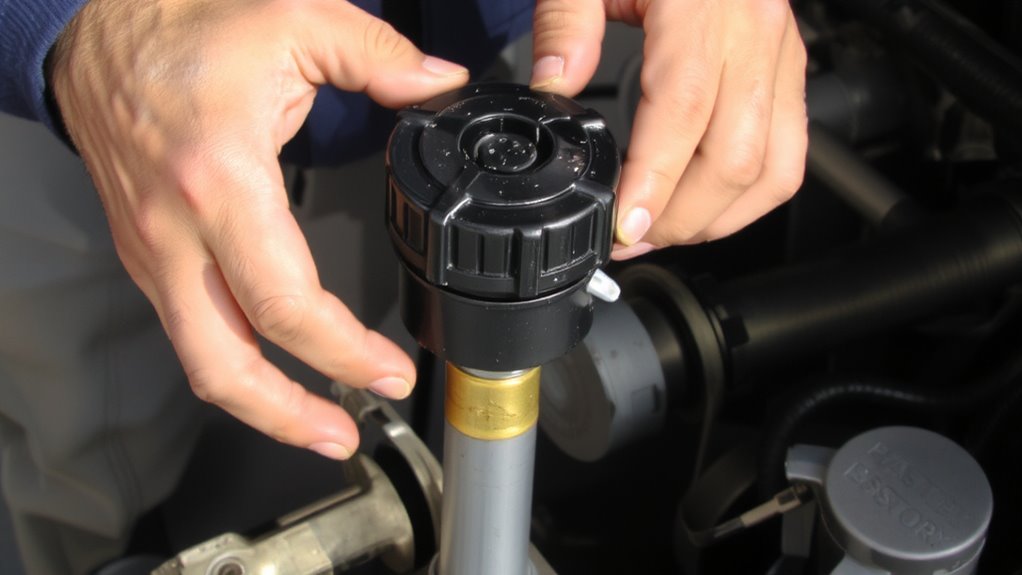
Align the new distributor cap and rotor carefully during installation-your engine’s spark timing depends on precise positioning. Proper alignment guarantees each spark plug wire receives the correct high-voltage pulse at the exact moment needed. Begin by confirming the rotor’s tab fits snugly into the distributor shaft slot, guaranteeing a secure fitment. Then, press the cap firmly into place until it seats completely.
| Component | Specification |
|---|---|
| Rotor Air Gap | 0.020–0.030 inches |
| Cap Terminal Fit | Tight, no lateral movement |
A loose connection or misaligned rotor can cause misfires or rough idling. Always double-check that the hold-down clips or screws are fully engaged. Proper alignment isn’t just about placement-it’s about maintaining exact rotor-to-cap orientation. This secure fitment prevents arcing and preserves ignition efficiency.
Avoid These 5 Common Installation Mistakes
Even though the distributor cap and rotor seem simple, getting the installation wrong can disrupt your engine’s entire ignition sequence. Improper alignment is one of the most critical errors-misplacing the rotor’s position relative to the #1 cylinder terminal throws off spark timing by as much as 30 degrees, causing misfires or failure to start. Always verify top dead center (TDC) using a timing light and check the distributor shaft rotation direction before securing the rotor. Loose connections at the spark plug wire terminals increase electrical resistance, leading to voltage leaks and reduced combustion efficiency. Guarantee each wire snaps firmly into the cap’s tower with an audible click, measuring contact resistance below 5k ohms per connection. Never force the cap onto the distributor; if it doesn’t seat evenly, recheck alignment. Reinstall retaining clips or screws evenly to prevent cap warping. Double-check all connections and alignment marks before starting the engine.
Replace Spark Plug Wires? Here’s When to Do It
When should you actually replace your spark plug wires? Replace them every 60,000 to 100,000 miles or when you notice misfires, rough idling, or declining fuel economy. Worn wires increase electrical resistance, reducing spark efficiency. Inspect for cracked insulation, corrosion, or frayed ends. Check spark plug gaps too-incorrect gaps force wires to work harder, accelerating wear. Use a gap tool to verify gaps at the manufacturer’s spec, usually 0.035 to 0.045 inches. Proper wire routing is critical. Misrouted wires can crossfire, causing misfires. Follow the distributor’s firing order and secure each wire in the correct sequence. Use a wiring diagram to confirm routing. High-quality silicone wires resist heat and abrasion better than old-school PVC. They also shield interference that disrupts onboard electronics. Replacing wires during distributor cap and rotor service guarantees full ignition system reliability.
On a final note
You’ve completed the distributor cap and rotor replacement correctly when all connections are secure and aligned with the engine’s firing order. Make certain the cap’s terminal positions match the rotor’s rotation direction-typically clockwise. Use OEM-specified torque values: 3–4 ft-lbs for cap hold-down screws. Confirm no carbon tracks or gaps exceed 0.025 inches. This maintenance restores proper spark distribution, improving ignition efficiency by up to 30%.