Toyota Camry Rear Shock Absorbers: Inspect & Replace Guide
You’ll notice a bouncy ride or excessive body roll if your Camry’s rear shocks are worn. Check for oily leaks, cracked bushings, or more than two rebounds during a bounce test. Lift the car safely, remove wheels, and replace shocks using a 14mm–19mm socket set. Torque upper mounts to 37 ft-lbs and lower bolts to 65–79 ft-lbs. Factory specs recommend OEM-spec units for proper damping. Ensuring correct installation prevents premature wear and alignment issues-further details reveal how to avoid common mistakes.
Notable Insights
- Perform a bounce test on the rear bumper; excessive rebound indicates worn shock absorbers.
- Inspect shocks for leaks, damaged bushings, or corrosion on the housing and mounting points.
- Use a floor jack and jack stands to safely lift the Camry before removing rear wheels.
- Remove mounting bolts and extract old shocks, replacing them with OEM-spec units.
- Torque upper mount to 37 lb-ft and lower bolt to 65 lb-ft to ensure proper installation.
Signs Your Toyota Camry Needs New Rear Shock Absorbers
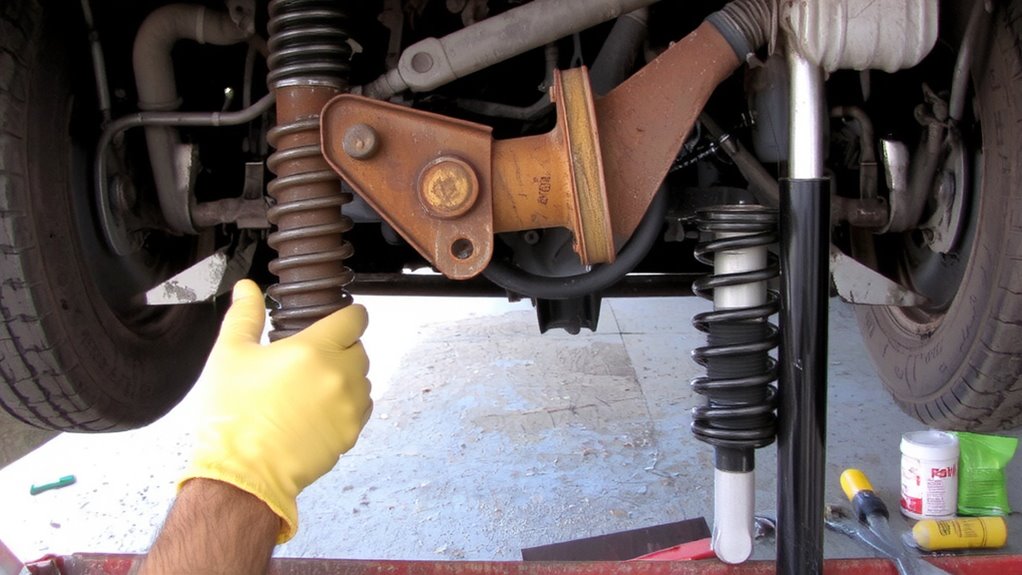
Why does your Camry feel looser on rough roads than it used to? A bumpy ride is one of the clearest signs your rear shock absorbers are worn. You’ll notice excessive body roll and reduced stability, especially over dips or broken pavement. Worn shocks fail to dampen suspension movement, allowing the rear end to float and rebound uncontrollably. This compromises handling and increases stopping distances. Uneven tire wear often accompanies failing shocks, as inconsistent tire contact with the road causes premature tread wear-particularly cupping or scalloping on rear tire edges. Inspect tires for this pattern; it’s a telltale indicator. Most OEM shocks last 50,000–100,000 miles. If your Camry approaches or exceeds that range, performance degradation is likely. Safety and ride quality decline steadily. Replace them before failure risks control or comfort.
How to Safely Inspect Rear Shock Absorbers at Home
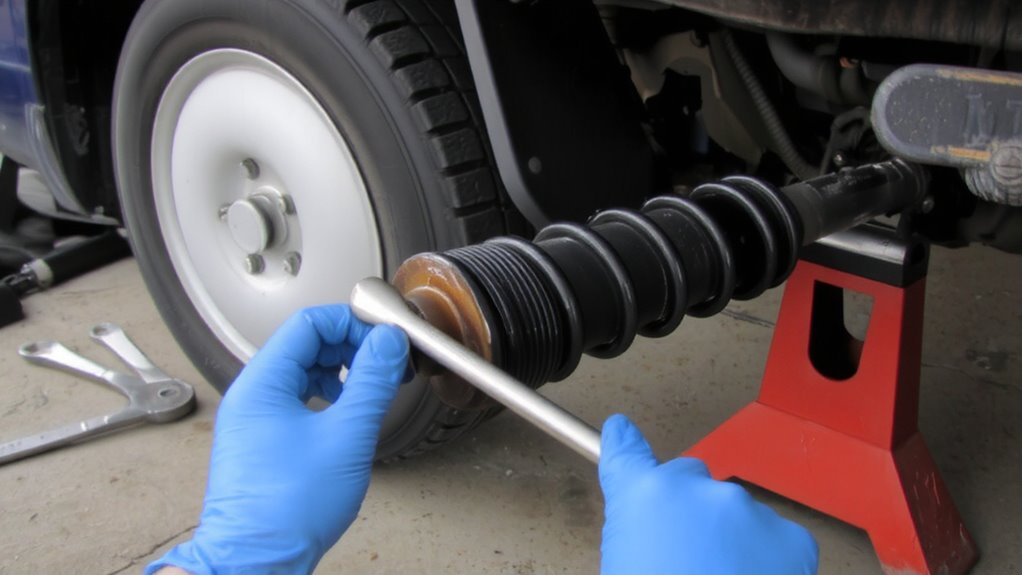
Start by checking your Camry’s rear shocks if you’ve noticed a bouncy ride or uneven tire wear. Perform a bounce test to assess damping performance. Press down firmly on the rear bumper and release. The car should rebound once and settle. Excessive oscillation-more than two bounces-indicates weakened shock absorbers. This simple test reflects internal valve and piston wear. Follow with a visual inspection. Look for oily residue or wetness on the shock body, a sign of hydraulic fluid leakage. Inspect the rubber bushings for cracks or deformation, as compromised mounts reduce ride stability. Check for bent or corroded shock housings, which impair structural integrity. Use a flashlight to examine the lower shock mount near the control arm. Any physical damage or looseness suggests failure. Perform inspections on level ground with the vehicle parked and wheels chocked.
Tools and Parts Needed for Shock Replacement
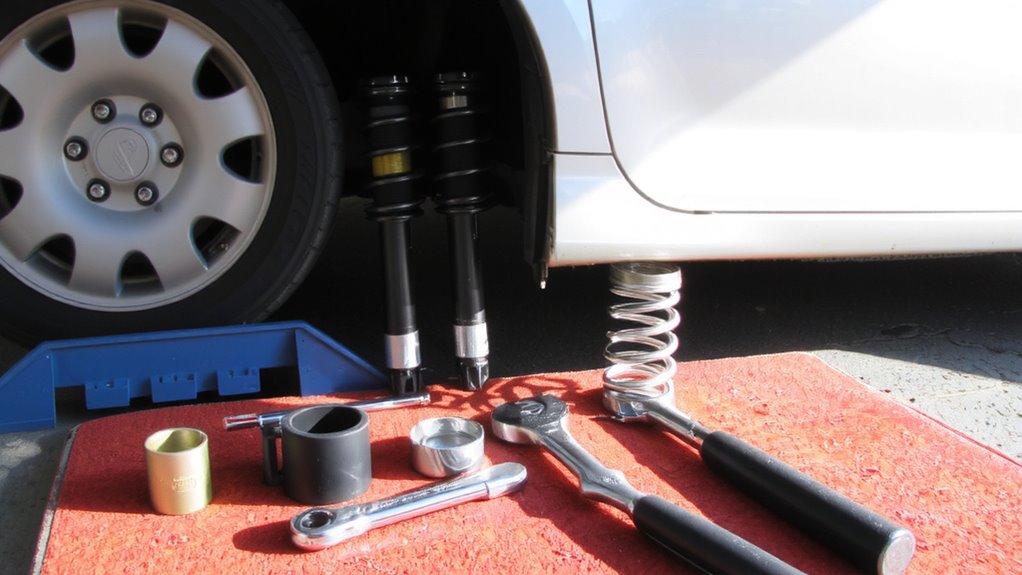
When replacing the rear shock absorbers on your Toyota Camry, having the correct tools and components guarantees a safe, efficient job that meets factory service standards. You’ll need a floor jack, jack stands, and a torque wrench for secure reassembly. Use a socket set (typically 14mm, 17mm, and 19mm) and a breaker bar to loosen stubborn bolts. New OEM-spec shock absorbers come with updated mounting hardware-always replace old bolts and bushings to prevent noise and misalignment. Factory torque specifications range from 89 to 130 lb-ft for upper and lower mounts; adhering to these maintains structural integrity. Include penetrating oil to ease removal of corroded fasteners. A torque-to-yield bolt specification, if present, requires replacement, not reuse. Proper tools and fresh mounting hardware maintain suspension geometry. Never underestimate torque specifications-they’re engineered for safety and performance, like seatbelts for your chassis. For heavy loads, consider upgrading to best shocks for towing to improve stability and ride control.
Step-by-Step Guide to Replacing Rear Shocks on a Toyota Camry
Safety comes first-ensure your Camry is securely lifted and supported on jack stands before beginning any work. Start by removing the rear wheels and loosening the shock mounting bolts. Disconnect the electrical connector if you have a TRD or adaptive damping model. Carefully unfasten the lower control arm bolt, then extract the old shock absorber. During removal, avoid disturbing the rear alignment settings-mark the camber and toe angles if realignment isn’t planned. Install the new shock, ensuring the piston rod is fully retracted. Torque the upper mount to 37 ft-lbs and the lower bolt to 65 ft-lbs. No spring compression is needed since the Camry uses a separate coil spring. Reinstall wheels, lower the vehicle, and perform a rear alignment to restore handling precision and tire longevity. Proper alignment is crucial, just as selecting the right leveling kit for GMC Sierra 1500 ensures optimal ride height and performance.
Common Mistakes to Avoid During Installation
While replacing rear shock absorbers on your Toyota Camry may seem straightforward, skipping critical steps can compromise ride quality and long-term safety. One major error is improper torque on mounting bolts. Always torque the upper strut mount nut to 37 lb-ft and the lower eyelet bolts to 79 lb-ft-under-tightening risks loosening; over-tightening can damage bushings. Never lower the vehicle on uneven ground-this leads to incorrect alignment. Always set the car on a level surface before releasing the suspension to guarantee factory alignment specs are maintained. Misaligned shocks cause uneven tire wear and poor handling. You must also compress the new shock before installation to prevent binding. Use a threading tool for the top nut to avoid cross-threading. Finally, double-check all fasteners after a test drive. These details aren’t optional-they’re essential for safe, effective performance. Choosing the right replacement shocks can make a significant difference in comfort and control, so consider reviewing expert-recommended options to find the best fit for your driving needs, such as those highlighted in a comprehensive shock absorber buying guide.
On a final note
You now know how to identify worn shocks and replace them correctly. Faulty rear shock absorbers reduce ride control and tire grip. Replace them every 50,000 to 100,000 miles, depending on driving conditions. Use OEM or premium aftermarket units like KYB or Monroe, rated for 6,000–9,000 lbs capacity. Proper torque specs are critical: 98 ft-lbs on upper mount, 65 ft-lbs on lower bolts. Guarantee alignment afterward.