Step-by-Step Guide to Installing Center Channel Speakers in Dash
Choose a center channel speaker with 4 ohm impedance, 88–92 dB sensitivity, and 80 Hz–20 kHz frequency response for best performance. Use polypropylene cones and aluminum or titanium tweeters for clear dialogue and crisp highs. Remove the dash panel with plastic tools to avoid damage, starting at the edges and releasing clips evenly. Disconnect the battery before working near airbags. Verify the speaker’s mounting depth is under 3 inches. Use 16 or 14 AWG wiring with crimp connectors for secure, low-resistance connections. Test with a vocal-heavy track, check polarity, and confirm no distortion at up to 50W RMS. Calibrate using your AV receiver’s auto-setup mic at the primary seat, set crossover to 80 Hz, and adjust level to 75 dB with an SPL meter for precise sound imaging. Further refinements await.
Notable Insights
- Choose a center channel speaker with 4 ohm impedance, 87+ dB sensitivity, and clear dialogue reproduction for optimal dash installation.
- Safely remove the dash panel using plastic tools, starting at the edges, and disconnect the battery before handling wiring or airbag zones.
- Verify speaker dimensions, ensuring mounting depth is under 3 inches to fit securely in the dash opening without interference.
- Connect speaker wires using 16 or 14 AWG gauge and crimp connectors, confirming polarity and impedance compatibility with the amplifier.
- Test audio with a vocal-focused track, check for distortion, and calibrate the receiver using a microphone for balanced, centered sound.
Choose the Right Center Channel Speaker
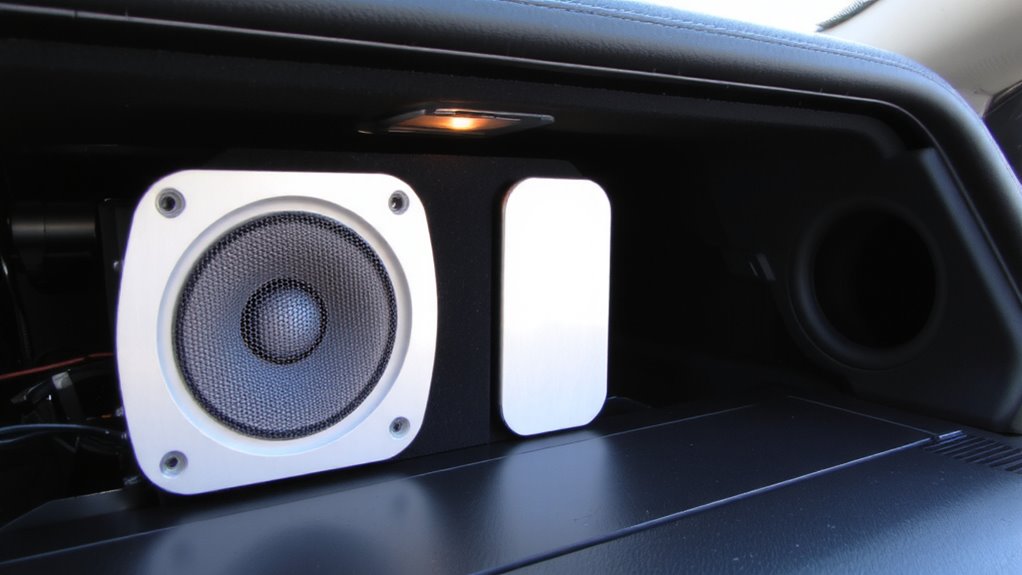
A good center channel speaker makes or breaks your home theater’s sound. You need clear dialogue replication, especially for movies and TV. Focus on speaker materials-aluminum or titanium domes offer crisp highs, while polypropylene cones deliver balanced mids and bass. Cheap plastics degrade sound and durability. Size matters: most dash installations fit 4- to 6-inch drivers, but measure your space first. Sensitivity should be at least 87 dB to match factory head units. Impedance usually runs at 4 ohms, ensuring compatibility with aftermarket amps. Brand reputation helps narrow choices-firms like JBL, Focal, and Morel consistently meet performance benchmarks. They publish full spec sheets, including frequency response (aim for 80 Hz–20 kHz) and power handling (50–100 watts RMS). Don’t guess-verify technical details before buying.
Remove Your Dash Panel Safely
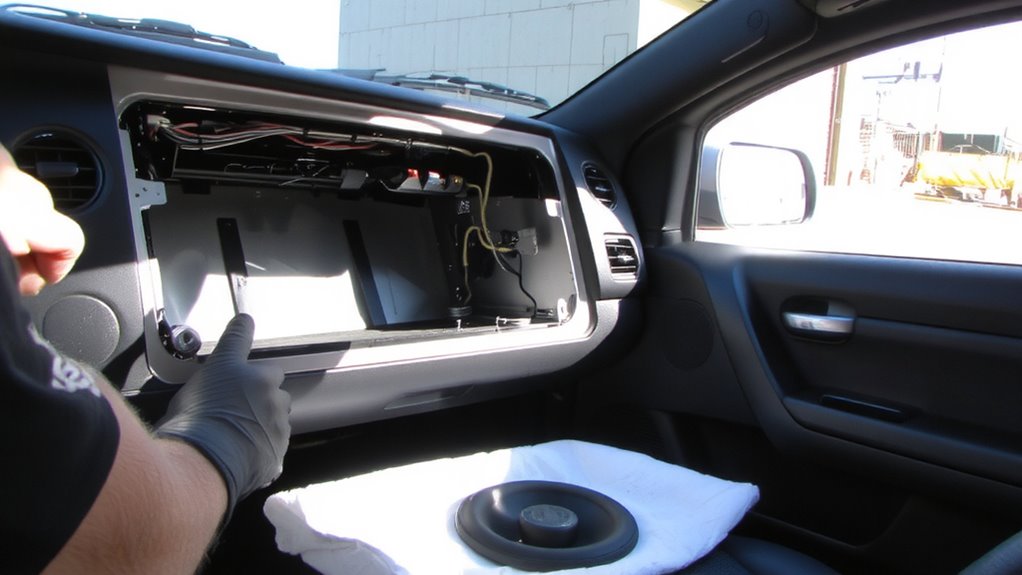
Now that you’ve selected the right center channel speaker based on material quality, size, sensitivity, and impedance, it’s time to access the installation location by removing your dash panel. Use plastic dash removal tools to avoid scratching trim or damaging clips. Start at the outer edges and apply even pressure to release hidden fasteners. Different vehicles require specific panel detachment techniques-some use snap-in clips, others have screws behind trim covers. Consult your vehicle’s service manual for exact mounting details. Disconnect the battery before prying near airbags or electrical connections. Work slowly; excessive force cracks brittle plastic. Most dash panels have labeled access points matching factory tool shapes. If resistance occurs, recheck for missed screws. Proper technique guarantees a clean removal and easier reassembly. Always label removed parts and store hardware in a secure container.
Install and Wire the Center Speaker
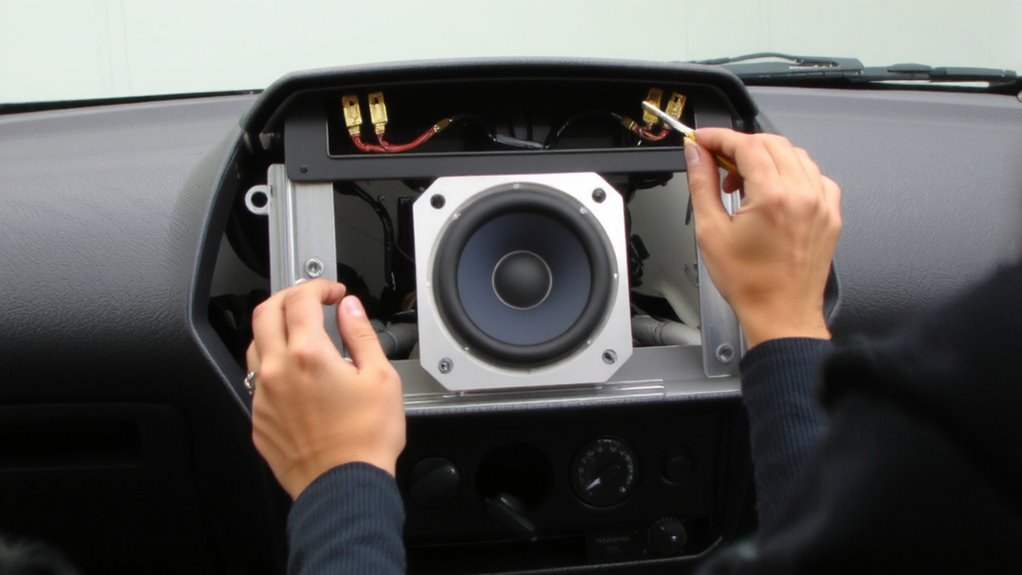
| Component | Specification | Purpose |
|---|---|---|
| Speaker Impedance | 4 ohms | Matches amp compatibility |
| Wiring Gauge | 16 or 14 AWG | Minimizes resistance |
| Mounting Depth | <3 inches | Fits most dash cavities |
| Sensitivity Rating | 88–92 dB | Guarantees efficient output |
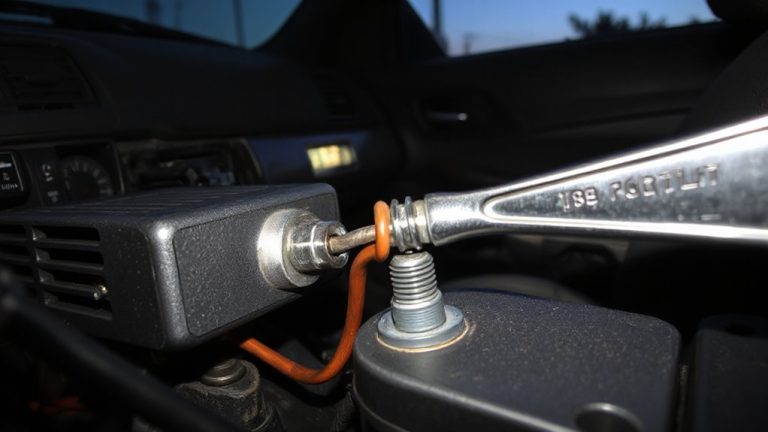
Connect wires using crimp connectors for reliability.
Test the Speaker and Fix Common Issues
With the center channel speaker installed and wiring secured using crimp connectors for a stable connection, the next step is verifying proper operation. Power on the system and play a vocal-heavy test track to check output. If you notice audio distortion, reduce the gain or check amplifier settings-distortion often results from overdriving the speaker beyond its 50W RMS rating. Inspect all polarity connections to guarantee correct phase alignment; reversed polarity causes cancellations that weaken midrange clarity. Use a phase test tone or multimeter to confirm positive and negative leads match across channels. Verify the speaker’s impedance is 4 ohms, matching your amplifier’s output specification. Loose connections or ground loops can also introduce noise or weak performance. Recheck crimp connections and grounding points. Address any issues immediately to maintain sonic accuracy and system integrity. For accurate testing, consider using one of the best car multimeters to ensure reliable voltage and continuity readings.
Adjust Settings for Clear, Centered Sound
Why does the dialogue in movies sometimes feel like it’s coming from the sides instead of the screen? Because your center channel isn’t properly aligned. You need precise sound calibration to anchor audio to the screen. Most AV receivers offer auto-setup with a built-in microphone to measure speaker distances and levels. Run this process in a quiet room, placing the mic at your primary seating position. It adjusts timing and volume so sound arrives evenly. Audio balancing guarantees the center channel isn’t too loud or weak. Manually fine-tune the level using an SPL meter; set it to 75 dB at your seat. Match the crossover to 80 Hz unless your speaker specifies otherwise. This keeps dialogue clear and centered. Proper calibration fixes phase issues. The result? Voices sound like they originate from the screen, not the walls. You’re not just hearing-you’re experiencing accurate audio imaging.
On a final note
You’ve installed a center channel speaker correctly when sound anchors to the front dash. Use a 6.5-inch coaxial driver with 80 watts RMS handling for balanced output. Aim the speaker at ear level, 30 degrees upward. Wire with 16-gauge oxygen-free copper. Set crossover to 80 Hz. Measure frequency response: it should hit 70–20,000 Hz ±3 dB. Calibration guarantees dialog clarity. Proper placement reduces stereo spread, like a focal point in imaging. Test with pink noise. Adjust gain to match front channels.