Detecting Previous Wet Sanding Through Reflection Analysis in Paint Inspection
You can spot prior wet sanding by analyzing how light reflects off the paint under controlled conditions. Use two 5,000K LED panels at 45-degree angles in a darkened room. Look for waviness, streaking, or fish-scale patterns instead of a smooth mirror reflection. These distortions occur because wet sanding leaves micro-ridges that scatter light. A digital paint thickness gauge showing values below 80 microns confirms material loss. What comes next reveals how to distinguish this from other defects with precision tools.
Notable Insights
- Wet sanding creates micro-ridges that scatter light, disrupting mirror-like reflections on painted surfaces.
- Use 5,000K LED lights at 45-degree angles to reveal waviness or streaking in reflected light patterns.
- Inspect for fish-scale or linear patterns in reflections, indicating abrasive action from prior wet sanding.
- Combine reflection analysis with paint thickness measurements below 80 microns to confirm sanding history.
- Clean the surface with clay and isopropyl solution to remove residues that could mask sanding-induced texture flaws.
What Is Wet Sanding and Why It Matters
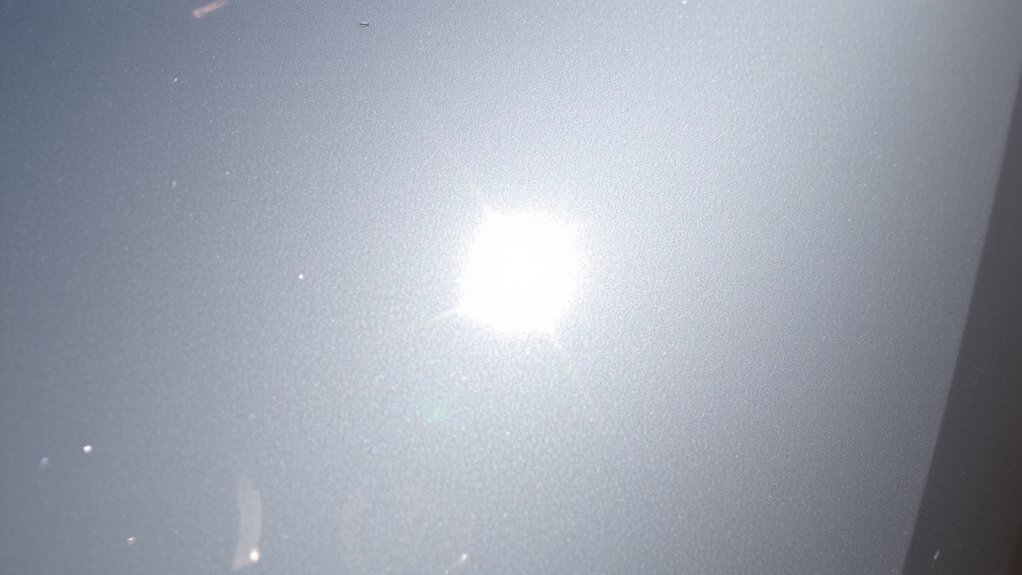
When smoothing surfaces during automotive or wood finishing work, wet sanding is a technique you’ll likely encounter. This method involves using water as a lubricant while sanding with waterproof abrasives, typically silicon carbide paper ranging from 1000 to 3000 grit. You’ll notice it produces a uniform surface texture by minimizing clogging and heat buildup. Unlike dry sanding, water flushes away particles, reducing scratches and achieving a finer finish. It’s especially effective on clear coats and high-gloss finishes. Because water suspends debris, the risk of introducing deep imperfections decreases markedly. However, if not rinsed properly, chemical residue from contaminants or polishing agents can remain, compromising adhesion or clarity. This makes thorough post-sanding cleaning essential. You’ll find wet sanding critical when preparing surfaces for refinishing or inspection, where even subtle inconsistencies affect outcomes. Proper technique guarantees ideal smoothness and material integrity, directly influencing final appearance and performance.
How Reflection Analysis Exposes Hidden Wet Sanding
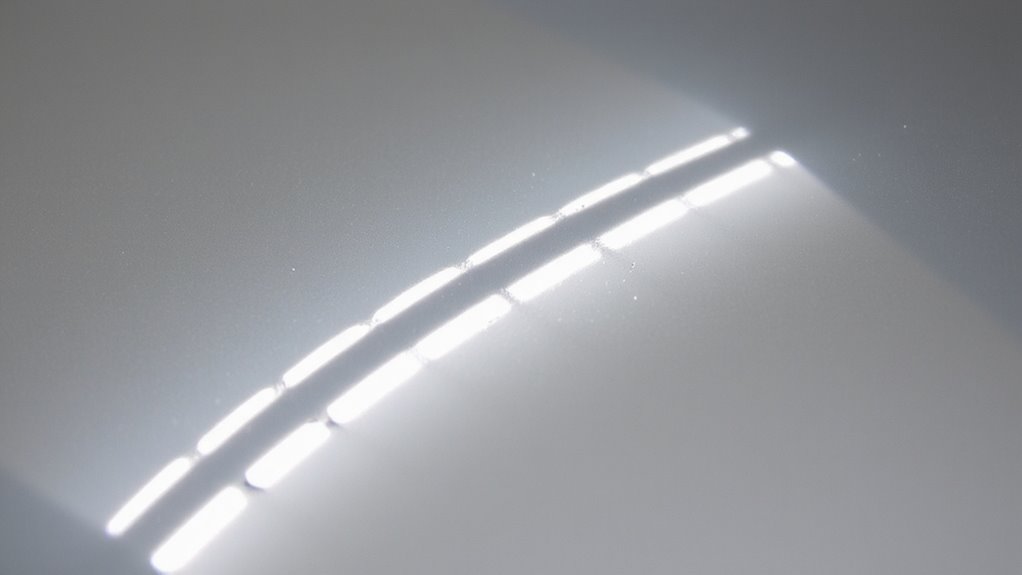
Reflection analysis reveals what the naked eye often misses-subtle surface distortions left behind by wet sanding. You see, when someone wets sands a paint surface, they alter the paint texture unevenly, creating shallow depressions and ridges. These surface anomalies disrupt light reflection in predictable patterns. Under controlled angles, a 150-watt linear light source highlights these irregularities as light bands that curve or distort across the panel. Smooth, factory-applied clear coats reflect light uniformly; however, post-sanding surfaces scatter light due to inconsistent scratch depth and compounding residue. You’ll observe these variations most clearly at a 15–30 degree viewing angle. The presence of repetitive linear waves or fish-scale patterns indicates abrasion beyond standard polishing. Detecting these flaws confirms prior remediation, giving you objective evidence of non-original finish conditions without destructive testing.
How to Set Up Lighting for Paint Inspection
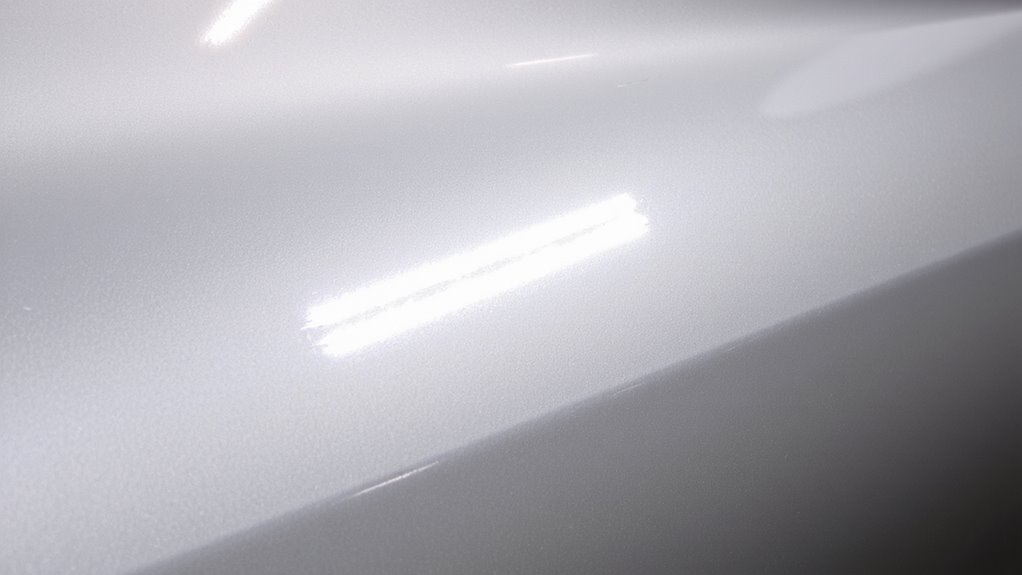
How do you reveal flaws invisible under ordinary light? Use controlled lighting to expose surface imperfections. Position two 5,000K LED panels at 45-degree angles on either side of the panel. This setup guarantees even light distribution, minimizing hotspots and glare. Proper shadow balance helps distinguish subtle texture changes caused by prior work. Use a 120cm linear bar light for long panels to maintain consistency. For curved surfaces, add a ring light with dimmable output to adjust intensity based on reflectivity. Ambient light must be eliminated-inspect in a darkened room. Uneven light distribution masks defects; precise shadow balance reveals them. The contrast between light and shadow highlights irregularities. Distance matters: keep lights 30–50cm from the surface. Too close creates harsh gradients; too far reduces resolution. Accurate setup gives you reliable data-no guesswork. You’re not just looking at paint. You’re analyzing its history.
Spotting Wet Sanding in Paint Reflections
What gives away a paint job that’s been wet sanded? You’ll notice irregular surface texture when light passes across the panel. Wet sanding often leaves micro-ridges that disrupt the paint’s optical clarity. These flaws create visible light distortion, especially under controlled lighting at 45 to 90 degrees. Instead of a clean, mirror-like reflection, you’ll see waviness or streaking in the reflected线条. This happens because the abraded surface scatters light unevenly. High-gloss finishes magnify these distortions, making them easier to detect. Use a straight-edged light source to accentuate flaws-consistent reflections should appear unbroken. Any bending or warping in the light line indicates underlying texture changes. Unlike uniform polishing marks, wet sanding patterns are deeper and less consistent. These texture variances aren’t just cosmetic-they compromise gloss retention and depth. You’re not just seeing scratches; you’re seeing altered surface topography affecting how light behaves.
Telling Wet Sanding Apart From Common Flaws
Why do some paint defects look similar to wet sanding but aren’t? Because flaws like orange peel, solvent popping, or dust contamination mimic texture changes seen in sanded areas. But here’s the key difference: wet sanding alters paint thickness uniformly across panels, while most defects don’t affect depth. You’ll see consistent thinning-often below 80 microns-on horizontal surfaces where sanding occurred. Common flaws leave paint thickness intact, usually above 120 microns. Also, abrasive residue is a telltale sign; microscopic grit embedded near the clear coat’s surface points directly to sanding. You won’t find that with flaws caused by poor spray technique or environmental factors. Reflection analysis reveals these variations in smoothness and depth. Always verify with paint thickness readings and surface residue checks. Combining these measurements with visual patterns helps you avoid misdiagnosing contamination or texture issues as prior sanding.
Best Tools for Paint Reflection Analysis
Where do you begin when evaluating paint finish integrity through reflection? Start with a high-intensity LED inspection light, ideally 5,000 to 6,500 Kelvin, to reveal subtle distortions in surface texture. A 12-inch flexible goose-neck model provides ideal angling for detecting waviness. Next, use a paint depth gauge: consistent readings across panels suggest uniform finish consistency, while variances may signal prior intervention. A borescope with a 4mm lens and 1080p resolution lets you inspect tight areas under trim with precision. Pair it with a digital contour map app that visualizes reflection flow. Professional detailers also rely on a gloss meter measuring in GU (gloss units); values below 85 on a 60-degree angle indicate disrupted surface texture. These tools combined deliver objective data, turning subjective observation into quantifiable analysis-like a microscope for car paint. For optimal illumination, consider a best car detailing light with adjustable brightness and color temperature to enhance reflection accuracy.
Inspecting Used Cars for Wet Sanding
Start your inspection by scanning the car’s surfaces under direct, high-intensity light, just like the one you’d use for reflection analysis. Look for inconsistent reflections-wet-sanded areas often show wavy or distorted patterns due to uneven material removal. Check paint thickness with a calibrated digital gauge; factory coatings typically measure 80–120 microns, while sanded zones may drop below 60. Significant deviations indicate prior correction work. Surface contamination like embedded iron particles or polish residue can obscure readings, so decontaminate the panel first using a clay bar and isopropyl solution. Perform measurements across multiple points per panel, noting any irregular gradients. Flat or curved surfaces should have uniform readings. Reflection flaws combined with low paint thickness confirm past wet sanding. This data helps assess repair history and predict finish longevity. Always document findings for accuracy. For effective decontamination, consider using a clay bar kit that includes all necessary components for thorough surface preparation.
On a final note
You can detect prior wet sanding through reflection analysis. Surface distortions scatter light predictably. A 1200–2000 grit scratch pattern breaks specular reflection, visible under controlled 45-degree fluorescent lighting. Use a Daavlin 48-inch UV/visible combo lamp with 5000K color temperature. Scratches appear as fine, parallel micro-lines disrupting reflection continuity. Distinguish from orange peel by directional consistency. Inspection reveals if paint depth, measured via PosiTector 6000, drops below OEM 80–120 micron tolerance.