Custom Fabricating Mounts for Inline Booster Fuel Pumps
Mount your booster pump within 12 inches of the fuel tank to minimize suction lift and improve startup reliability. Use steel for maximum strength or 6061 aluminum for lighter weight, insulating dissimilar metals to prevent corrosion. Design brackets with gussets and 0.188-inch steel for vibration resistance up to 320 Hz. Keep fuel lines straight, supported every 18–24 inches, and away from heat. Test pressure at 43–47 psi under load and maintain voltage above 13.5V-fine-tuning these factors activates peak system performance.
Notable Insights
- Mount the booster pump within 12 inches of the fuel tank to minimize suction lift and improve priming.
- Position the pump below fuel level when possible to utilize gravity assist during startup.
- Use steel or aluminum 6061 mounts with insulation to prevent galvanic corrosion and accommodate thermal expansion.
- Design brackets with gussets and triangulation to resist vibration, using TIG welding for structural integrity.
- Support fuel lines every 18–24 inches with insulated clamps and maintain clearance from heat and moving parts.
Choose the Best Spot for Your Booster Pump
Where should you mount your booster pump for best performance? Pump placement directly impacts flow efficiency and system reliability. Mount the pump as close to the fuel tank as possible, ideally within 12 inches, to minimize suction lift. Excessive distance increases vapor lock risk and reduces prime retention. Guarantee the location allows for a straight, uninterrupted fuel line to maintain consistent pressure. Avoid sharp bends or kinks-these disrupt laminar flow and decrease flow efficiency by up to 15%. Position the pump below fuel level when possible, guaranteeing gravity assist during startup. Use rubber isolators to dampen vibration, preventing line fatigue. Keep it away from exhaust components-heat degrades fuel and damages pump windings. Proper pump placement guarantees maximum delivery, reduces cavitation, and extends pump life. Aim for accessibility, too-you’ll need room for maintenance.
Use Steel or Aluminum for a Reliable Mount
A sturdy mount made from steel or aluminum guarantees your booster pump stays secure under high-vibration conditions. Steel offers superior strength, with tensile strength up to 58,000 psi, making it ideal for high-stress environments. Aluminum, while lighter, maintains adequate durability at about 35,000 psi tensile strength. You must consider material compatibility-avoid joining aluminum mounts to stainless steel bolts without insulating washers to prevent galvanic corrosion. Thermal expansion also affects performance; aluminum expands 2.3 times more than steel under heat, so clearance holes are critical. Use oversized mounting holes or slotted brackets to accommodate movement. Both materials resist fuel degradation, ensuring long-term reliability. Proper fastener torque-typically 18–22 ft-lbs for 1/4-inch hardware-maintains clamping force. Select based on weight needs and environmental exposure, ensuring structural integrity across temperature cycles.
Build a Vibration-Resistant Fuel Pump Bracket
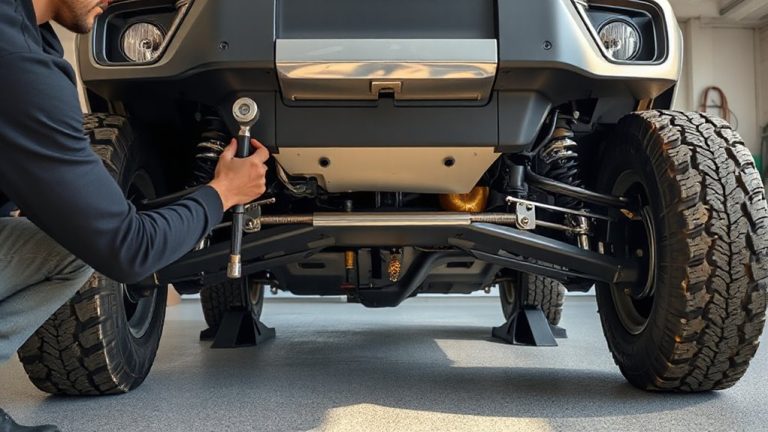
You’ve selected the right material-steel or aluminum-for strength and compatibility, but that’s only half the battle. Vibration resistance hinges on design and weld integrity. Poor mounting leads to material fatigue, especially in high-pulse environments. Use gussets and triangulation to stiffen the bracket. Keep fastener holes undersized by 0.005″ for a snug fit, reducing oscillation.
| Material | Thickness (in) | Max Vibration Dampening (Hz) |
|---|---|---|
| Steel | 0.125 | 250 |
| Aluminum 6061 | 0.188 | 180 |
| Steel | 0.188 | 320 |
| Aluminum 6061 | 0.250 | 210 |
| Custom Alloys | 0.125 | 290 |
Proper TIG welding guarantees weld integrity-avoid cold joints. Heat distribution must be even to prevent warping. A well-built bracket resists material fatigue for over 10,000 engine hours.
Route Fuel Lines for Easy Access
How do you guarantee fuel lines stay accessible without compromising safety or performance? Smart line routing and careful access planning are essential. Use rigid steel lines or reinforced braided hoses rated for high fuel pressure-typically 100+ psi for booster systems. Maintain at least 2 inches of clearance from sharp edges, moving parts, and heat sources like exhaust manifolds. Support lines every 18–24 inches using insulated clamps to prevent chafing and vibration fatigue. Position junctions and fittings in open areas, avoiding tight corners or buried runs. Think ahead: service points like filters and regulators should sit within easy reach. Use quick-disconnect fittings where frequent access is needed. Avoid sharp bends; maintain a minimum bend radius of 3x the hose diameter to preserve flow. Good access planning means faster diagnostics and simpler repairs-without sacrificing reliability.
Test Your Custom Booster Pump Setup
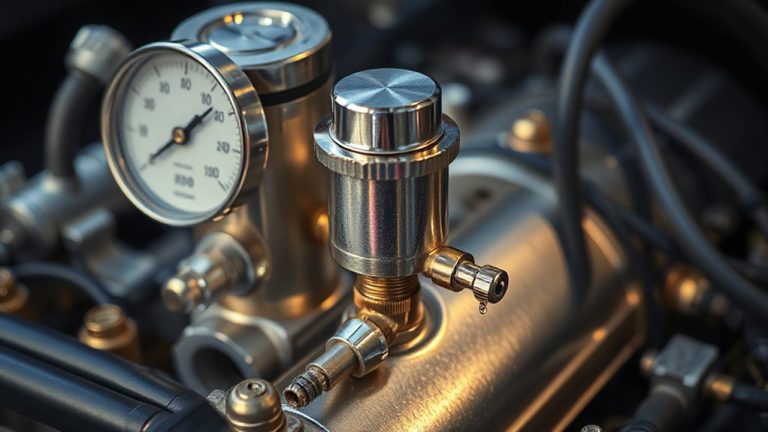
What good is a high-output booster pump if it can’t deliver consistent pressure under load? You must verify booster efficiency under real-world conditions. Begin by running the engine at idle, then progressively increase RPM while monitoring fuel pressure. Your target range should stay within ±1 psi of the specified operating pressure, typically 43–47 psi for most forced-induction setups. Use a calibrated pressure gauge, not just the ECU reading. Improper pump calibration leads to lean conditions or wasted power. Confirm flow rate at peak demand-usually 80–100% throttle-using a flow meter. Any drop below required volume indicates restriction or insufficient booster efficiency. Recheck electrical supply; voltage below 13.5V under load reduces pump output. Test for at least 15 minutes to catch thermal or endurance issues. A stable, calibrated system guarantees safety and performance.
Fix Common Mount & Pressure Issues
Even with precise testing, real-world performance can falter if mounts and fuel pressure aren’t properly maintained. Loose mounts cause pump vibration, leading to premature wear and fuel leakage at hose connections. Secure your pump with reinforced metal brackets spaced no more than 6 inches from each end to minimize movement. Check fuel pressure regularly; most inline boosters operate most effectively between 58–62 psi. Use a calibrated gauge to verify output-pressure drops indicate clogs or worn impellers. Monitor electrical connectivity at the relay and harness; corroded or loose terminals disrupt power, causing erratic pump speed. Make certain all grounds are clean and torqued to 75 inch-pounds. Silicone-insulated wiring resists underhood heat, maintaining consistent flow. Address issues early; a 0.5 psi fluctuation over time can skew air/fuel ratios. Tight mounts and stable pressure preserve long-term reliability and prevent system failure.
On a final note
You’ve secured a reliable booster pump install. Mount it in a dry, accessible location away from heat sources. Use 6061-T6 aluminum or 1020 steel for durability. Design the bracket with rubber grommets to dampen vibrations. Route fuel lines with -8 AN fittings for compatibility and minimal restriction. Test at 60+ psi to confirm integrity. Address leaks immediately. A well-built mount guarantees consistent fuel delivery and protects your investment.