Foam Cannon Attachment Settings Ideal for Even Iron Remover Distribution
Set your foam cannon to a 3:1 water-to-iron remover dilution for ideal decontamination. Use a 1.15mm to 1.3mm mesh screen to generate dense, shaving cream-like foam. Apply with a wide-foam nozzle at a 65–80 degree fan angle and 1,100–1,800 PSI for uniform coverage. Keep the spray at low pressure (300–500 PSI) from 12 inches away to prevent splashback. Rinse completely after 5 minutes with lukewarm water. Proper setup guarantees maximum adhesion, coverage, and reaction efficiency-there’s more to getting it right than just mixing and spraying.
Notable Insights
- Use a foam cannon mesh screen of 1.15mm to 1.3mm for optimal foam consistency and even iron remover distribution.
- Mix iron remover with water at a 3:1 dilution ratio to achieve effective decontamination without surface damage.
- Apply solution with a wide-foam nozzle set to a 65–80 degree fan angle for uniform coverage.
- Calibrate nozzle to operate between 1,100–1,800 PSI to maintain proper foam density and output consistency.
- Use low pressure (300–500 PSI) at a 12-inch distance to ensure safe, even foam adhesion and minimize splashback.
Dilute Iron Remover 3:1 for Maximum Decontamination
One part iron remover mixed with three parts water delivers ideal decontamination without risking surface damage. This 3:1 dilution guarantees peak chemical concentration for breaking down ferrous contaminants while protecting paint and clear coat. Too strong a mix risks etching; too weak reduces effectiveness. You’ll achieve a rich foam consistency that clings long enough to react-typically 3–5 minutes-without drying prematurely. The foam should resemble shaving cream, not bubbles, guaranteeing even coverage and prolonged dwell time. Your foam cannon’s mesh screen, usually 1.15mm to 1.3mm, must match this chemical concentration to generate proper expansion. Lower ratios create runny foam; higher ones clog nozzles. Always pre-rinse the vehicle to remove loose grit before application. This dilution works with most pH-balanced iron removers, activating on contact to turn purple as it lifts metal particles. Proper mixing is essential-use graduated containers for accuracy.
Use a Wide-Foam Nozzle for Better Coverage
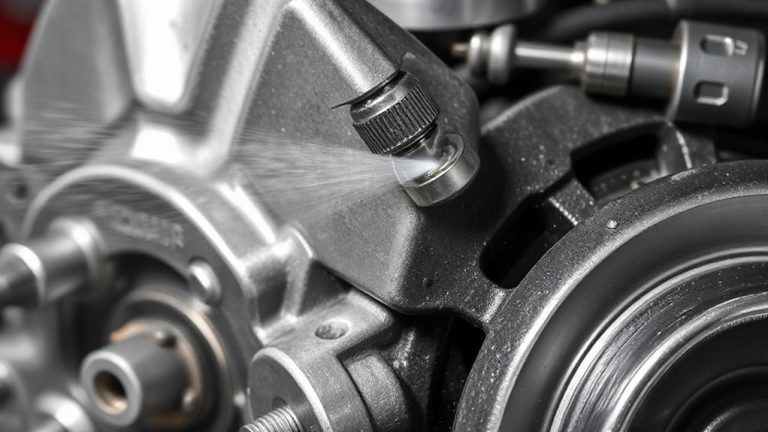
You’ll get the most even coverage by using a wide-foam nozzle designed to spread detergent across large surface areas quickly. These nozzles typically have a fan angle of 65–80 degrees, allowing iron remover foam to blanket panels uniformly. Foam density is critical-too thin, and it won’t cling; too thick, and it may run off. The wide-foam nozzle optimizes density by mixing air and solution at a 6:1 ratio, promoting adhesion without excessive pooling. Nozzle calibration guarantees consistent output; adjust the dial to match your pressure washer’s PSI, usually between 1,100 and 1,800. An improperly calibrated nozzle reduces foam stability and coverage. This setting supports complete chemical activation by maintaining prolonged surface contact. You’ll notice fewer missed spots and reduced reapplication. Think of it like spray painting-consistent overlap prevents streaks. Proper calibration and nozzle selection directly impact decontamination efficiency, saving time and product. For optimal results, consider pairing your nozzle with one of the best car foam cannons recommended for high-efficiency foam generation.
Pre-Rinse Wheels First for Faster Reaction
Pre-rinse your wheels before applying iron remover to maximize reaction speed and decontamination effectiveness. Cold water reduces brake dust activation, slowing chemical reactions. Use warm water-ideally between 70–90°F (21–32°C)-to enhance solubility and improve cleaning efficiency. A medium-pressure pre-rinse (500–1,200 PSI) removes loose debris, allowing the iron remover to bond directly with ferrous contaminants. This step prevents neutralization from dirt saturation and accelerates the chemical reaction. Water temperature directly impacts dwell time; warmer surfaces reduce activation time by up to 40%. Apply iron remover immediately after rinsing while the wheel is still damp. Damp surfaces promote even dispersion through capillary action, increasing surface contact. You’ll see faster purple reduction, confirming iron extraction. Skipping pre-rinse can decrease cleaning efficiency by over 30%, especially on heavily soiled alloys. Always pre-rinse for maximum safety and performance. For optimal results, use a high-quality foam cannon attachment that ensures consistent foam coverage and chemical distribution.
Spray One Panel at a Time to Avoid Drying
While applying iron remover, work in small sections by spraying one panel at a time to prevent premature drying and guarantee full chemical effectiveness. Proper panel timing secures the product dwell time stays within the manufacturer’s recommended 3–5 minutes. If you spray too many areas at once, especially in direct sunlight or high heat, the solution dries too fast, reducing its ability to dissolve embedded iron particles. Maintain consistent foam consistency across each panel-thick, shaving cream-like foam clings longer and provides even coverage. Thin foam evaporates quickly and leaves gaps in treatment. Apply the iron remover in the shade or during cooler times of day to extend wet time. Focus on one panel until complete before moving on-this includes fenders, doors, and quarter panels. Proper technique secures maximum decontamination without risk of residue or surface damage.
Use Low Pressure at 12-Inch Distance
Maintain ideal coverage and surface safety by using low pressure-between 300 and 500 psi-at a consistent 12-inch nozzle-to-surface distance. This minimizes splashback and prevents damage to sensitive paint finishes. Low pressure optimizes foam density, guaranteeing a thick, uniform layer that clings effectively. High pressure breaks down foam structure, reducing coverage and weakening surface adhesion. At 12 inches, the spray pattern balances dispersion and concentration, maximizing contact time. Foam density directly affects how well the iron remover bonds to contaminants. Proper surface adhesion allows the chemical reaction to occur without premature runoff. Holding the nozzle too close causes pooling; too far reduces foam cohesion. Consistent distance guarantees even distribution across each panel. This technique supports controlled dwell without overspray. You’ll achieve reliable decontamination while preserving finish integrity. Precision in pressure and distance delivers repeatable, professional-grade results every time.
Rinse Completely After 5-Minute Dwell Time
Once the foam has had time to work, it’s time to rinse. You must remove all residue after the 5-minute dwell period to prevent surface damage. Use lukewarm water with a temperature between 60–75°F (15–24°C) for best results. Water that’s too cold increases surface tension, reducing runoff efficiency. Excessive heat can dry the product prematurely, leaving stains. Surface tension affects how water sheets off the vehicle, impacting rinsing accuracy and coverage. Hold your hose or pressure washer at a consistent 45-degree angle, starting from the roof down. Maintain a distance of 18–24 inches to avoid forcing water under trim. Guarantee complete coverage-no trace of discolored foam should remain. A full rinse takes approximately 2–3 minutes on average. Confirm cleanliness by checking wheels and lower panels, where iron remover tends to pool due to higher surface contact.
On a final note
You achieve best decontamination by applying iron remover at a precise 3:1 water-to-concentrate ratio. Use a wide-foam nozzle to generate dense, evenly distributed foam. Pre-rinse wheels to initiate faster chemical reaction. Apply one panel at a time to prevent premature drying. Maintain a consistent 12-inch spray distance at low pressure (40–60 psi). Allow a full 5-minute dwell time, then rinse thoroughly. This method guarantees complete contamination removal without surface risk.