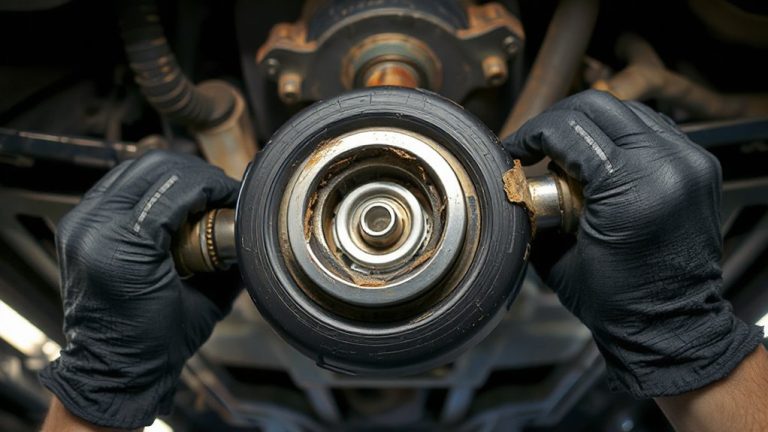
Step-by-Step: Applying Rust Inhibitor to Suspension Arms
You must address rust on suspension arms immediately-structural failure can occur with just 20% metal loss. Clean the area with isopropyl alcohol and inspect for pitting over 0.5mm. Use a wire brush or 120-grit sander to create a 1.5–3 mil anchor profile. Apply a 92% zinc-rich primer, then a high-bond rust encapsulator. Coat all seams and pivot points. Keep adjacent parts shielded. Proper application extends service life by years, especially in harsh environments-next steps guarantee lasting protection.
Notable Insights
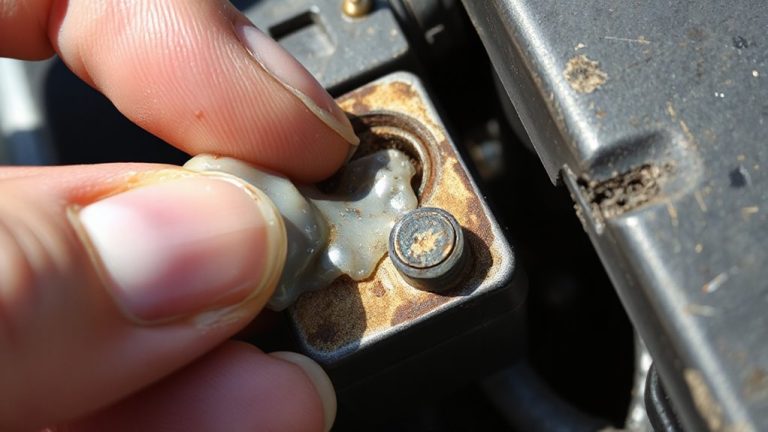
- Inspect suspension arms with a bright light and magnifying glass to identify surface rust and pitting before treatment.
- Remove rust using a wire brush or dual-action sander to create a 1.5–3 mil anchor profile for inhibitor adhesion.
- Apply phosphoric acid-based rust converter to stubborn areas, letting it dwell 15–20 minutes before rinsing and drying.
- Clean the surface with 90% isopropyl alcohol and lint-free cloth to remove contaminants prior to inhibitor application.
- Spray or brush on zinc-rich rust inhibitor primer, ensuring full coverage, especially on weld seams and pivot points.
Why Rust on Suspension Arms Is Dangerous
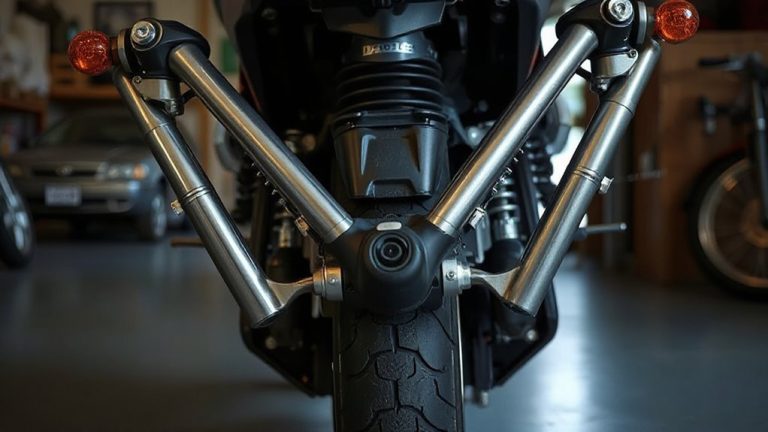
While rust might seem like a superficial issue at first glance, when it takes hold on suspension arms, it undermines critical structural integrity. You’re dealing with load-bearing components designed to withstand forces up to 10,000 psi; corrosion progression eats away at metal thickness, reducing yield strength. A 20% reduction in cross-sectional area can decrease load capacity by nearly half. Structural integrity isn’t just about cracks-it’s about material loss that compromises rigidity and alignment. Once corrosion starts, it spreads beneath paint and coatings, often invisible to the naked eye. You can’t rely on appearances; even minor surface rust signals active degradation. Suspension arms operate under constant stress and vibration, making them prone to fatigue failure when weakened by rust. You need to act before pitting reaches 0.5mm depth, as deeper corrosion drastically reduces service life. Preventing corrosion progression isn’t optional-it’s essential for safety and performance. Effective treatment includes using a top-rated car rust remover to eliminate existing corrosion before applying a rust inhibitor.
Gather Tools and Supplies for Rust Treatment
You’ll need the right tools and materials to effectively treat rust on suspension arms and restore component integrity. Begin with rust identification using a bright flashlight and magnifying glass to spot red oxide, pitting, or flaking-early signs of corrosion compromise strength. For surface cleaning, gather a wire brush (8-inch hand-held, stainless steel bristles), 80-grit sandpaper, and a dual-action sander with 120-grit discs. Include isopropyl alcohol (90% concentration) and lint-free cloths to degrease after abrasion. Wear nitrile gloves and ANSI-approved safety glasses for protection. Use a rust inhibitor primer like cold galvanizing compound with 92% zinc content for maximum conductivity and protection. A high-quality rust encapsulator can provide long-term protection by sealing out moisture and preventing future corrosion. Store supplies in a ventilated workspace. Keep all chemicals in original containers with GHS-compliant labels. Prepare before proceeding to guarantee treatment continuity.
Remove Surface Rust Completely
After identifying rust-affected zones, start by removing surface corrosion to prevent further degradation. Use abrasive blasting with 40–80 mesh aluminum oxide at 80–100 psi to strip loose rust and old coatings. This method exposes clean, anchor-profiled metal-ideal for adhesion-typically achieving a 1.5–3 mil surface profile. For areas unreachable by blasting, apply chemical etching using a phosphoric acid-based rust converter. These solutions react with iron oxide, transforming it into stable iron phosphate, which passivates the surface. Allow the etching agent to dwell for 15–20 minutes before rinsing with clean water. Never leave it on longer than recommended, as overexposure can promote flash rusting. Both techniques eliminate visible rust while preparing the substrate. Complete removal guarantees the inhibitor bonds properly. Surface cleanliness is critical-any residue compromises protection. Always wear PPE during both processes.
Prep the Suspension Arms for Protection
A clean, properly prepped surface is essential before applying any rust inhibitor to suspension arms. Wipe away dust, grease, and debris using a lint-free cloth dampened with isopropyl alcohol. This guarantees a clean surface that allows maximum adhesion and effectiveness. Inspect all fasteners, bushings, and joints-verify that components are intact and correctly seated. Loose parts compromise protection and performance. Tighten bolts to factory torque specs, typically 65–85 ft-lbs, depending on vehicle make. Secure components prevent movement during application and beyond. Use compressed air to blow out crevices where moisture and grime hide. Protect adjacent brake lines and control arms with tape or plastic shields. Never skip cleaning-even microscopic contaminants create weak spots. A properly prepped arm resists corrosion longer. Prep isn’t optional; it’s what separates a lasting barrier from temporary cover. Upgrading your vehicle’s airflow system can also contribute to overall performance, and choosing the best air intakes ensures optimal engine efficiency and durability.
Apply Rust Inhibitor Correctly
When applying rust inhibitor to suspension arms, precision and technique determine long-term corrosion resistance. Use a clean, dry brush or aerosol spray for even surface coating, ensuring full coverage without drips. Apply in thin, uniform layers-each no thicker than 2–3 mils-to avoid trapping moisture. Focus on joints, seams, and recessed areas where corrosion starts. A second coat may be applied after 30 minutes if specified by the manufacturer. Confirm compatibility with your suspension arm material, typically steel or cast iron. The inhibitor should contain active rust prevention agents like calcium sulfonate or modified tannic acid. Maintain proper ventilation and skin protection during application. Proper technique enhances adhesion and durability. Think of it like painting a circuit board-accuracy prevents failure. A correct surface coating blocks oxygen and moisture, forming a protective barrier essential for effective rust prevention.
Maintain Long-Term Rust Protection
You’ve applied the rust inhibitor with precision-now sustaining that protection over time demands consistent maintenance and environmental awareness. Perform regular inspections every three months to detect early signs of coating degradation or moisture buildup. Focus on high-stress zones like pivot points and weld seams, where corrosion often starts. If you notice chipping or thinning, reapply the inhibitor immediately using the original spray or brush method for full coverage. Avoid abrasive cleaners that strip protective layers. For vehicles in coastal or winter-road regions, inspections should occur monthly due to increased salt exposure. Store your vehicle in a climate-controlled, dry environment whenever possible. Proper storage reduces humidity-induced oxidation by up to 70%. Park indoors or use breathable, moisture-resistant covers. Limit exposure to standing water and extreme temperature swings. These steps preserve coating integrity, extending rust protection beyond five years.
On a final note
You’ve protected your suspension arms from corrosion. Complete rust removal guarantees proper adhesion. Apply a rust inhibitor with at least 90% zinc content for maximum galvanic protection. A 2-millimeter even coat penetrates micro-pits. These coatings withstand temperatures from -40°C to 150°C. Reapply every 24 months or after undercarriage washes. Maintenance extends component life by up to 60%. Proper care prevents premature fatigue. Structural integrity remains intact under dynamic loads.