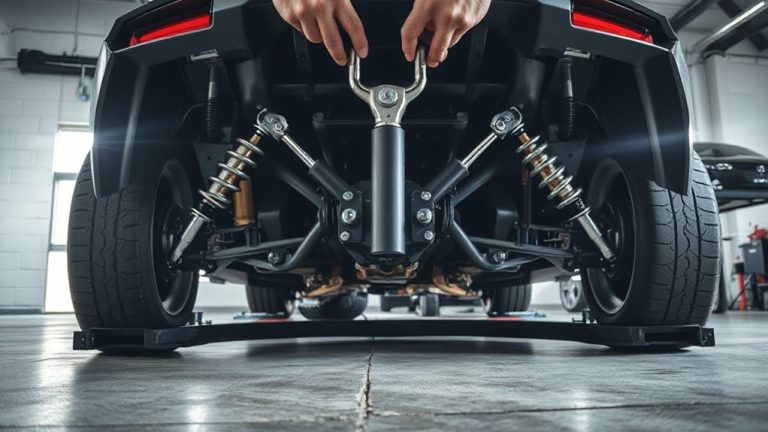
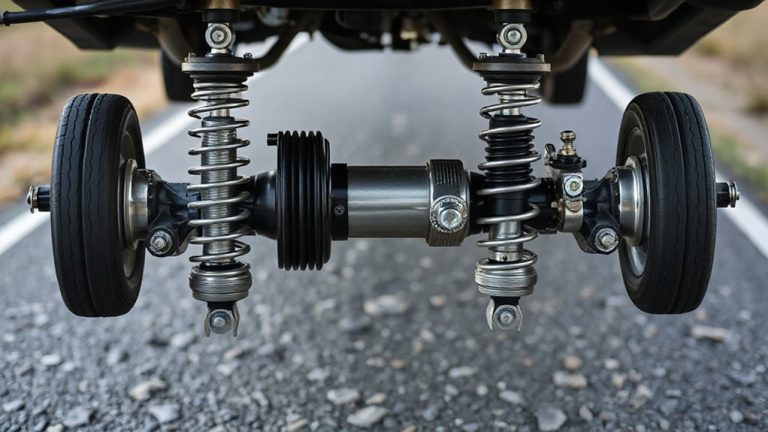
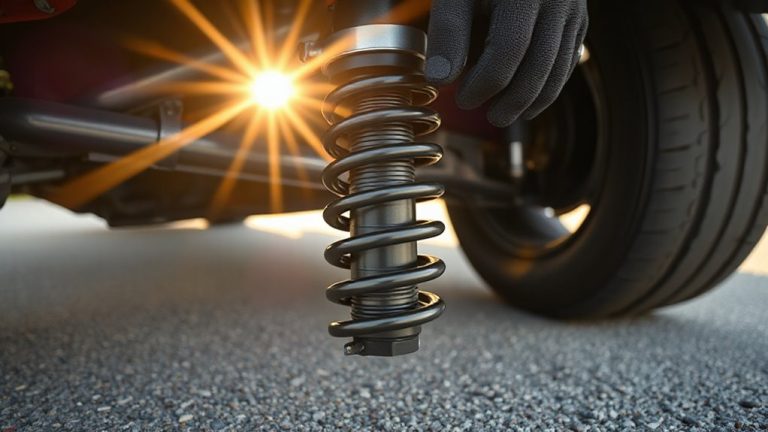
Assessing Shocks and Struts Post-Storage for Fluid Leakage and Seal Degradation
After storage, check your shocks for oily streaks or droplets near the shaft seal-fluid leakage above 5% reduces damping efficiency. Prolonged inactivity causes seals to swell from moisture absorption, losing elasticity. Inspect for cracks or dry rot, which appear as fine webbing from plasticizer loss. Swollen or cracked seals can’t maintain pressure or keep contaminants out. OEM units hold 150–250 ml of fluid; consistent leakage means internal failure. A bounce test revealing excessive oscillation confirms wear. Corrosion, bent shafts, or cracked bushings indicate hidden damage. Worn struts can’t be rebuilt-replacement is required. Modern monotube or nitrogen-charged designs offer up to 30% better response and longer service life. Stopping distances may increase 25% on wet roads if delayed. Further evaluation reveals how mounting wear and seal material breakdown impact long-term reliability.
Notable Insights
- Prolonged storage can cause seal swelling and fluid leaks due to moisture absorption and pressure imbalances.
- Swollen or cracked seals fail to maintain compression, leading to visible oil streaks or droplets near the piston rod.
- Dry rot and cracking in rubber seals indicate irreversible degradation, commonly occurring after 3–5 years.
- Perform a bounce test to detect fluid loss or wear; continuous oscillation suggests shock failure.
- Inspect for corrosion, bushing damage, and bent shafts, as hidden damage affects performance and safety.
Inspect for Fluid Leaks After Storage
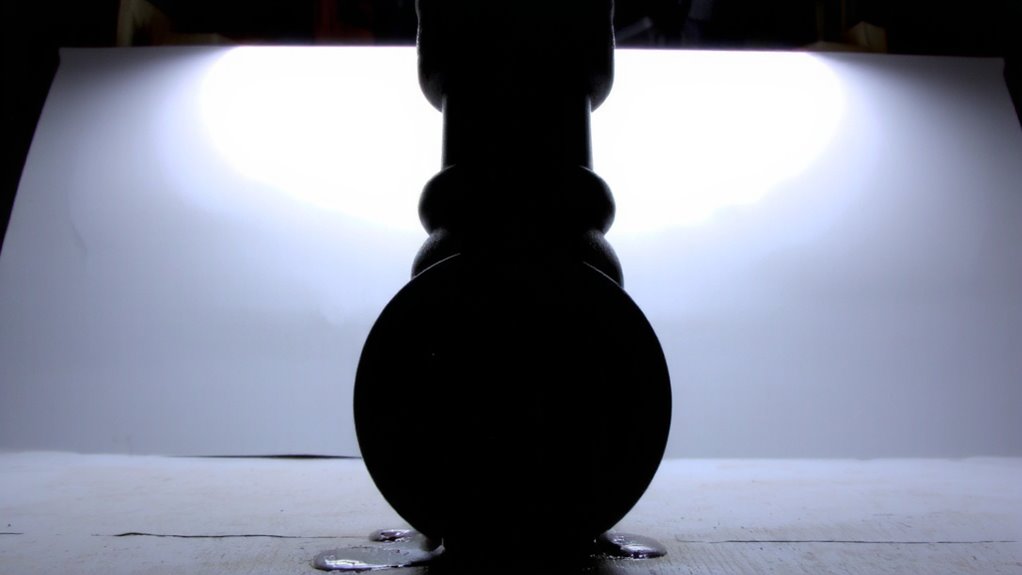
Why might your shocks or struts leak fluid after sitting in storage? Prolonged inactivity can cause internal pressure imbalances and seal swelling due to absorbed moisture. As seals swell, they lose elasticity and fail to maintain a tight seal around the piston rod. This compromised seal allows damping fluid to escape, leaving visible fluid residue on the exterior. Fluid residue typically appears as oily streaks or droplets near the shaft seal. Standard hydraulic fluid volume loss beyond 5% markedly reduces damping efficiency. Even minor leaks degrade performance over time. Most OEM shocks contain 150–250 ml of specialized hydraulic fluid; consistent leakage indicates internal failure. Seal swelling often results from incompatible fluids or environmental exposure. You should inspect each unit thoroughly. Persistent fluid residue means internal damage has likely occurred. Replacement is usually necessary when leaks are evident post-storage.
Check Seals for Cracking and Dry Rot
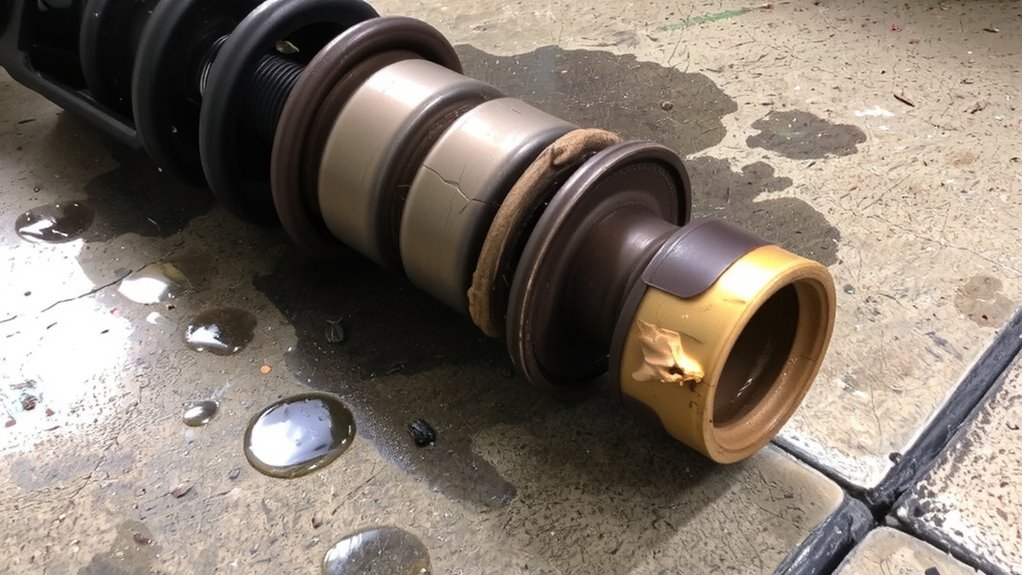
After confirming whether fluid leakage occurred during storage, your next step is inspecting the condition of the rubber seals. Examine each seal closely for visible cracks, splits, or signs of dry rot. Seal material degrades over time, especially when exposed to temperature extremes and UV radiation. Even if shocks weren’t used, age effects can compromise flexibility and integrity. Cracked seals can’t maintain proper internal pressure or prevent contamination. Dry rot appears as a webbing of small fissures, indicating the rubber has lost plasticizers and become brittle. This deterioration often starts within 3–5 years, depending on formulation and storage conditions. Replace any unit showing advanced dry rot. Don’t rely on appearance alone-consider the storage duration and original manufacture date. Properly degraded seal material won’t recover, making replacement necessary for safety and performance.
Test Your Shocks With the Bounce Method
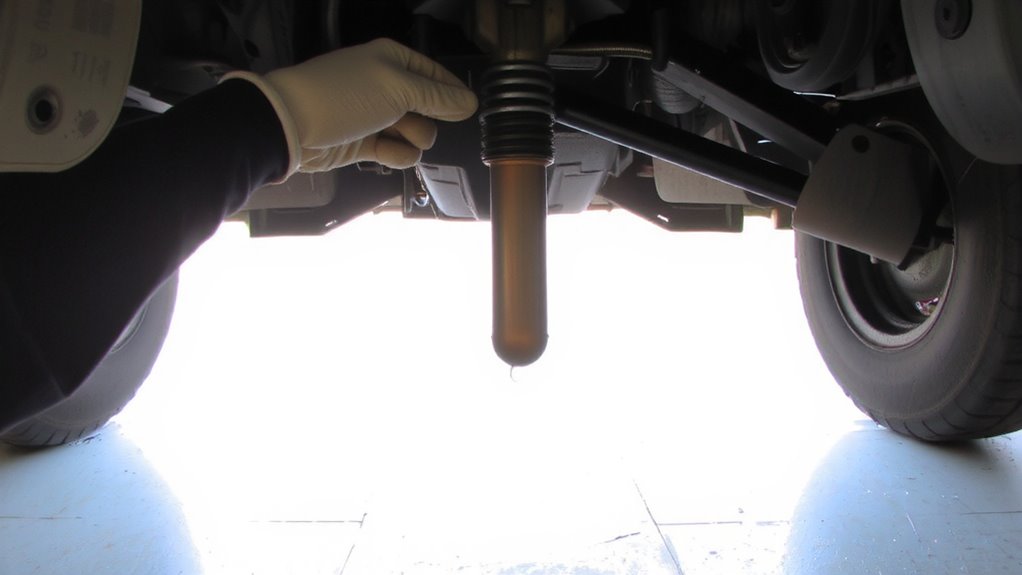
While visual inspections can reveal much, they won’t tell you how well your shocks perform under load-so it’s time to test them dynamically using the bounce method. Perform the bounce test by pressing down firmly on each corner of the vehicle and releasing. A healthy suspension rebound should settle after one or two oscillations. If the corner continues to bounce, the shock is likely worn or fluid-compromised. Effective damping depends on internal hydraulic pressure and valve integrity-damaged seals or low fluid reduce control. You should feel immediate resistance during compression and smooth return without chatter. Excessive rebound indicates gas buildup or failed internal components. Conduct the test at all four wheels, comparing responses side to side. Differences in behavior suggest uneven wear or failure. This simple check assesses functional performance where visual inspection falls short, confirming whether shocks maintain damping efficiency after storage. For reliable performance, consider replacing worn components with top-tier options from best strut brands.
Watch for Hidden Damage Signs
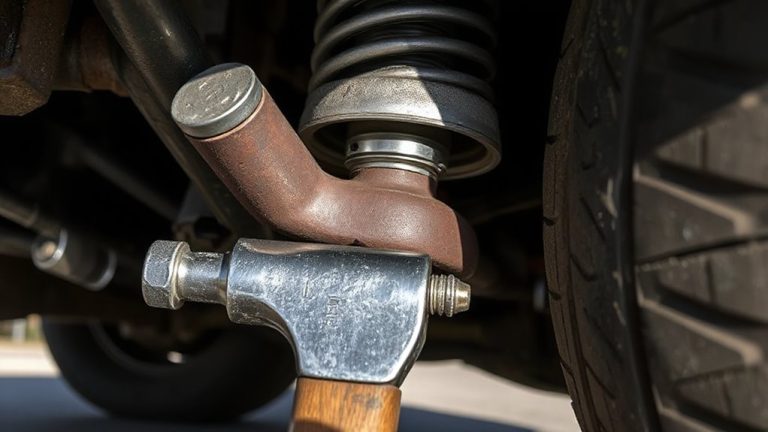
Your vehicle’s suspension can hide damage in places that aren’t visible during a standard inspection. Look closely for corrosion spots on shock bodies and strut housings-these weaken structural integrity over time. Mounting wear at the top strut mounts or lower control arm connections can lead to alignment issues and premature tire wear. Always check rubber bushings for cracking or hardening, as they degrade with age and exposure. Upgrading to high-performance Best Shocks for 4×4 can significantly improve ride quality and durability, especially for heavy-duty applications like the F350 Super Duty diesel.
| Sign | What to Check |
|---|---|
| Corrosion spots | Metal surfaces, especially near welds |
| Mounting wear | Bolts, brackets, and bushings |
| Fluid residue | Oil film near seals or dust boots |
| Bent shafts | Misalignment or impact damage |
| Loose hardware | Mounting points and fasteners |
Even minor wear can compromise ride control. Inspect thoroughly before returning the vehicle to regular use.
Can You Drive With Worn Struts?
Finding corrosion or worn bushings during inspection raises a critical question: can you safely drive with compromised struts? The short answer is no-doing so introduces serious safety risks. Worn struts reduce tire contact with the road, increasing stopping distances by up to 20% and impairing steering response. They degrade ride comfort by allowing excessive body roll, nose dive during braking, and road vibrations to transfer into the cabin. Struts support 30–40% of a vehicle’s damping control; once they weaken, suspension balance fails. This accelerates wear on tires, ball joints, and control arm bushings. Manufacturers typically rate struts for 50,000 to 100,000 miles-beyond that, performance declines. Even minor leaks or pitting reduce damping efficiency. Driving with worn struts compromises vehicle stability, especially in wet or emergency conditions. For safety and ride comfort, do not delay replacement. Upgrading to the best shocks for every ride can significantly improve handling, durability, and overall driving experience.
Replace or Repair: Making the Call
Since worn struts can’t be repaired-only replaced-your decision comes down to choosing the right replacement and acting promptly. Replacement struts typically cost $50 to $150 each, making cost comparison essential for budgeting. Factory originals offer precise fitment; aftermarket performance units may improve damping by 20–30% with monotube designs. Always review warranty options-reputable brands offer 3- to 10-year limited coverage, often transferable. Units with twin-tube hydraulic systems last 50,000–70,000 miles under normal loads. Nitrogen-charged struts reduce cavitation, maintaining consistent response. Measure stroke length and mounting alignment to guarantee compatibility. Delaying replacement raises stopping distance by up to 25% on wet pavement. Faulty struts also accelerate tire wear, costing hundreds more long-term. Immediate, informed action guarantees safety, control, and value.
On a final note
You must inspect stored shocks and struts before reuse. Fluid leakage indicates internal pressure loss, compromising damping efficiency. Check seals for cracks or dry rot-degraded rubber fails to retain hydraulic fluid. Use the bounce test: if the vehicle rebounds more than once, damping is insufficient. Metal fatigue or corrosion weakens structural integrity. Replace damaged units; repairs aren’t feasible. OEM specifications demand precise valving; aftermarket replacements must match original performance data.