How to Diagnose a No-Charge Condition in a Modern Vehicle
You’re dealing with a charging issue, not just a dead battery. Test alternator output with a multimeter: connect red to the output terminal, black to ground, engine at 2,000 RPM. A healthy alternator shows 13.8–14.7 volts. Check for blown fuses or faulty relays in the alternator circuit. Inspect the serpentine belt for tension and alignment-½ inch deflection max. Scan for OBD2 codes like P0562. Voltage below 13.8 volts signals a problem. There’s more to uncover if the issue persists.
Notable Insights
- Check battery voltage with the engine running; below 13.8 volts indicates a charging problem.
- Inspect the engine-to-chassis ground strap for corrosion or damage and ensure resistance is under 0.1 ohms.
- Test alternator output at the terminal while running at 2,000 RPM; expect 13.8 to 14.7 volts.
- Examine fuses and relays linked to the alternator circuit using a multimeter for continuity and proper operation.
- Scan for OBD2 codes like P0562 or P0563 to identify voltage regulation issues detected by the PCM.
Check for a No-Charge Issue (Not Just a Dead Battery)
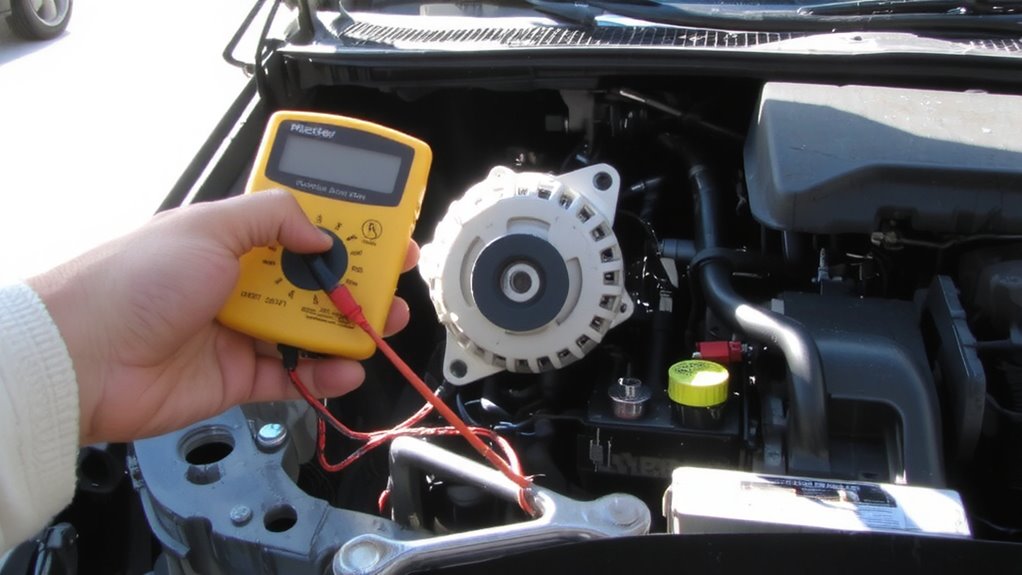
While a dead battery might seem like the obvious culprit when your engine won’t crank, don’t jump to conclusions-what looks like a failed battery could actually be a no-charge condition caused by a malfunctioning charging system. A weak ground connection can severely limit current flow, creating a significant voltage drop across the circuit. This restricts the alternator’s ability to recharge the battery, even if it’s mechanically sound. Check the ground strap between the engine block and chassis; resistance greater than 0.1 ohms indicates a problem. Poor connections increase resistance, causing voltage drop that mimics battery failure. Measure voltage at the battery terminals with the engine running; a reading below 13.8 volts suggests insufficient charging. Always verify the integrity of the ground connection before replacing components. A solid ground guarantees efficient power transfer and accurate diagnostic results, preventing unnecessary repairs.
Test the Alternator Output With a Multimeter
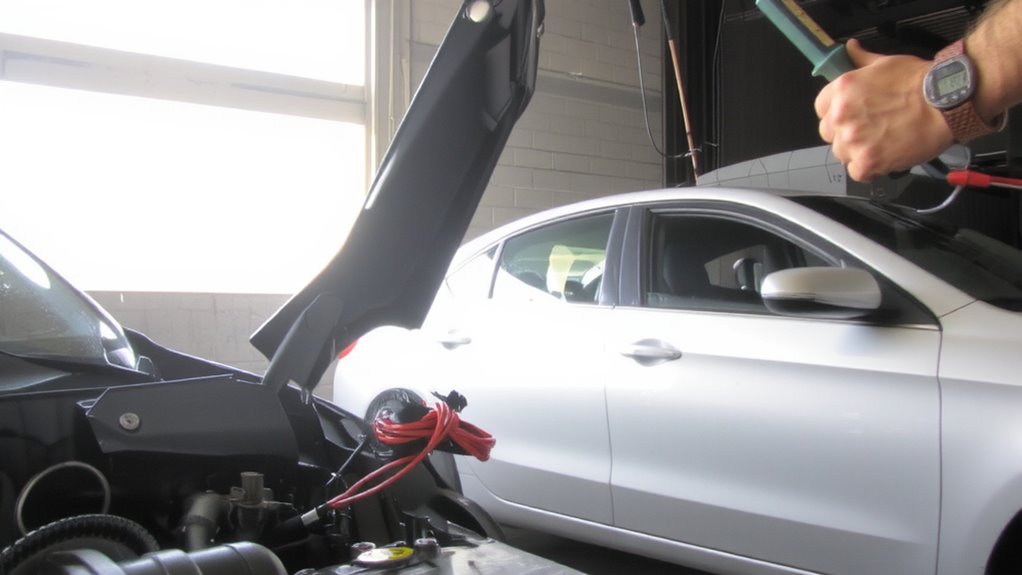
If your voltage checks at the battery were low with the engine running, it’s time to directly assess the alternator’s output using a digital multimeter. Set your multimeter to DC voltage. Connect the red probe to the alternator’s output terminal and the black probe to a solid ground. Start the engine and let it run at 2,000 RPM. A healthy alternator produces 13.8 to 14.7 volts. This range guarantees proper voltage regulation and maximum alternator efficiency. Deviations outside this window suggest faulty internal components. Consistent output within specs confirms the alternator is functioning correctly. Low readings indicate worn brushes or a failing voltage regulator. High readings risk damaging sensitive electronics. You’re not just testing voltage-you’re evaluating the system’s ability to maintain stable voltage regulation under load. Accurate measurement helps pinpoint whether the issue lies within the alternator itself. For reliable results, use one of the best car multimeters designed for accurate DC voltage readings and durability in automotive environments.
Find Blown Fuses or Failed Charging Relays

Since electrical faults can quietly halt charging system operation, checking fuses and relays is a critical step-even when the alternator tests fine. Start by inspecting the Blown fuse locations in your vehicle’s main fuse boxes-both under the hood and inside the cabin. Use your owner’s manual or the fuse box lid diagram to identify circuits tied to the charging system. A blown 10- to 30-amp fuse linked to the alternator’s field circuit or power supply suggests a short. Pull the suspect fuse and check for continuity with a multimeter. For Relay circuit testing, remove the charging relay and test its operation: apply 12V to the coil pins and verify the contacts close, measuring resistance below 0.1 ohms. A failed relay won’t engage the alternator’s charge mode, starving the battery of power even with a healthy alternator.
Inspect the Serpentine Belt and Drive System
A failed fuse or relay might stop the charging system, but even a fully powered alternator can’t function without proper mechanical drive. You rely on the serpentine belt to transfer engine power to the alternator, and if it’s loose, cracked, or glazed, it won’t turn the alternator effectively. Check belt tension: most modern systems use an automatic tensioner with a built-in indicator. The correct tension typically allows ¼ to ½ inch of deflection under finger pressure. Misaligned pulleys cause premature belt wear and slippage. Inspect pulley alignment carefully-a misalignment of more than 0.5 degrees stresses components and reduces efficiency. Use a straightedge or laser tool to verify all pulleys sit in the same plane. Even slight deviations create noise and reduce alternator output. Proper belt tension and pulley alignment are essential for consistent charging performance.
Read OBD2 Codes for Charging System Faults
What can a blinking check engine light or stalling engine tell you about your charging system? It often means voltage regulation has failed. Your vehicle’s OBD2 system logs error messages when it detects abnormal voltage levels. Plug in a scan tool to retrieve these codes-common ones like P0562 (low system voltage) or P0563 (high system voltage) point directly to charging faults. The powertrain control module (PCM) monitors the alternator’s output through the battery voltage sense line. Normal charging voltage should stay between 13.2 and 14.8 volts at idle with electrical loads off. If readings fall outside this range, the system can’t maintain proper voltage regulation. These error messages help pinpoint whether the issue lies in the alternator, PCM, or wiring. Don’t ignore them-diagnosing codes early saves batteries and prevents roadside failures. A high-quality OBD2 scanner for Mercedes-Benz ensures accurate diagnosis of manufacturer-specific codes and live data streaming.
Decide: Repair or Replace the Alternator
Now that you’ve pulled OBD2 codes and confirmed a charging system fault, it’s time to decide whether to repair or replace the alternator. Most modern alternators are sealed and not user-serviceable, making repair impractical. Replacement is often faster, more reliable, and backed by warranty coverage-typically 3 to 5 years for remanufactured units. Consider the core charge, usually $30–$80, refunded when you return your old unit.
| Option | Cost Range | Warranty Coverage |
|---|---|---|
| Rebuild Kit | $40–$60 | None |
| Remanufactured | $120–$200 | 3–5 Years |
| New OEM | $200–$400 | 5 Years |
| Core Charge | $30–$80 (refunded) | Applies to reman and new |
On a final note
You’ve confirmed a no-charge issue, not just a dead battery. Test alternator output: it should read 13.8–14.7 volts at idle with electrical loads on. Check fuses, relays, and the serpentine belt for damage or slippage. Retrieve OBD2 codes to identify circuit faults. If voltage stays low and components are intact, the alternator is faulty. Replace it with a unit rated to your vehicle’s factory amperage, typically 90–150A.