Car Audio Target Curve: Step-by-Step Guide (UMIK-1 Method)
You need a target curve because factory audio systems suffer from tonal imbalances due to cabin acoustics. Use a calibrated mic like the MiniDSP UMIK-1 (20 Hz – 20 kHz ±1 dB) with REW software to measure response. Prep your car by removing clutter, closing windows, and turning off HVAC. Measure at ear level with linear sweeps per channel, capturing at least six positions per seat. Apply a Harman-based target curve or adjust for genre preferences, using parametric EQ to correct deviations within ±3 dB. Fine-tune for road noise above 60 dB by slightly boosting 1–4 kHz. The next steps reveal how to validate and refine these adjustments across real-world conditions.
Notable Insights
- Choose a reference target curve like the Harman in-car curve for balanced sound or adjust for genre preferences.
- Prepare the vehicle by removing noise sources, closing windows, and turning off HVAC and engine.
- Use a calibrated measurement microphone like the MiniDSP UMIK-1 with REW software for accurate frequency response data.
- Capture multiple frequency response sweeps from each speaker at ear level, averaging results for reliability.
- Apply parametric EQ adjustments to achieve ±3 dB tolerance across frequencies, compensating for cabin acoustics and road noise.
Why Your Car Needs a Target Curve
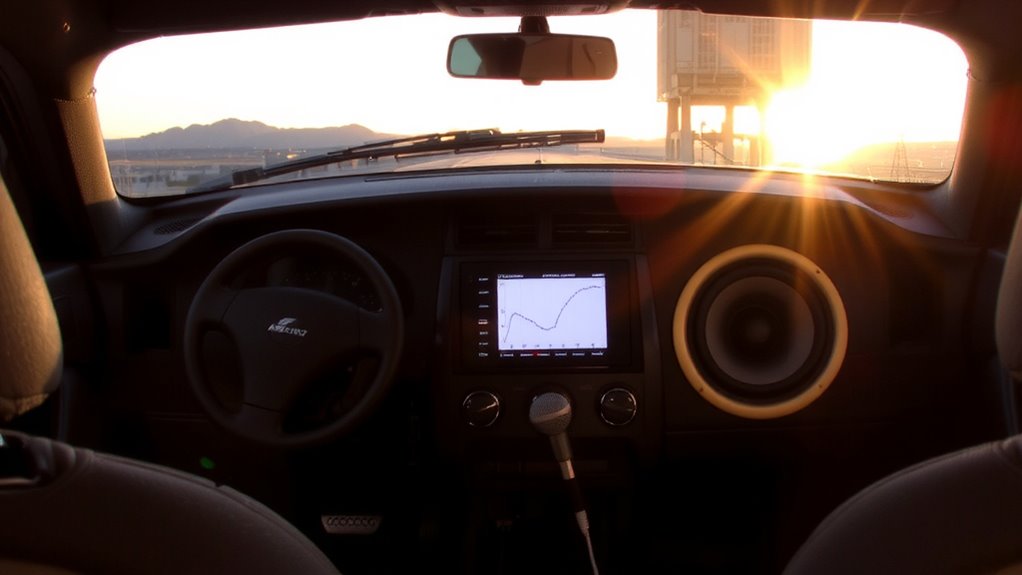
While every car’s interior affects sound differently, you still expect your audio system to deliver accurate, balanced sound. Factory designs rarely meet this standard due to inconsistent acoustics. A target curve tailors frequency response to your vehicle’s unique environment. Sound insulation reduces external noise, but it can’t fix inherent audio imbalances. Without a target curve, bass may overpower mids or highs, distorting vocal clarity. Passive sound insulation lowers road and engine noise by 3–5 dB, yet it doesn’t correct tonal inaccuracies. Active noise cancellation targets low-frequency droning but leaves mid and high frequencies unaddressed. You need precise equalization to align output with an ideal response curve. A properly designed target curve compensates for reflective surfaces, seat materials, and speaker placement. It guarantees 1 kHz remains reference-level flat while adjusting ±3 dB across octaves. This creates a cohesive, realistic listening experience regardless of cabin flaws.
Pick the Best Tools for Measuring Sound
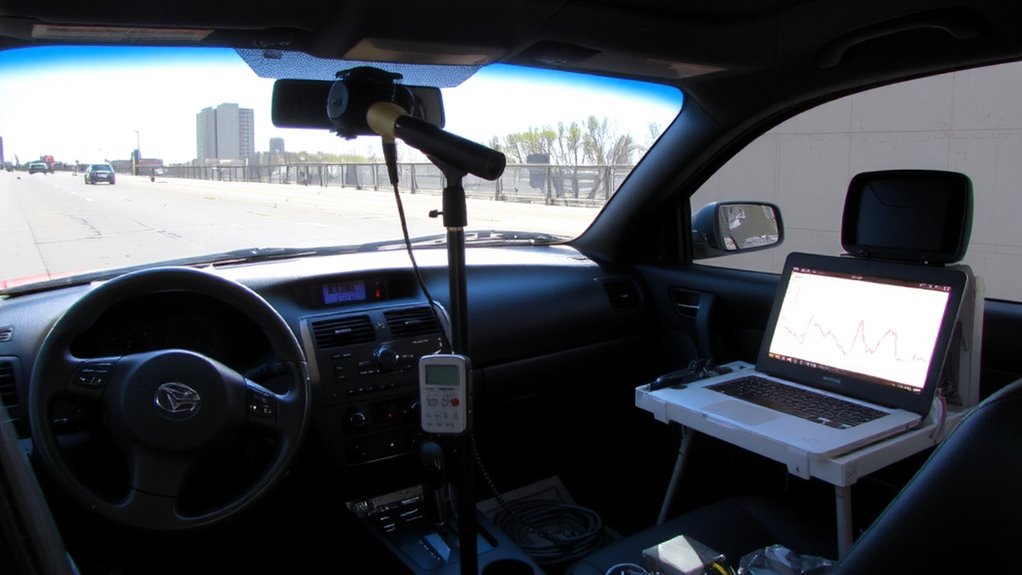
How do you know if your car’s sound system is accurate? You need reliable tools for sound calibration and high measurement accuracy. Consumer-grade microphones often lack precision, while professional gear guarantees trustworthy results. For best performance, use an omnidirectional condenser microphone with a flat frequency response.
| Tool | Frequency Response | Accuracy Level |
|---|---|---|
| Dayton Audio iMEMS | 10 Hz – 20 kHz | Moderate |
| MiniDSP UMIK-1 | 20 Hz – 20 kHz ±1 dB | High |
| AudioControl SA-305 | 15 Hz – 25 kHz ±0.5 dB | Very High |
| Earthworks M30 | 10 Hz – 30 kHz ±1 dB | Studio Grade |
The UMIK-1 is a top pick for most users due to its calibration file and USB power. Always verify your microphone’s calibration certificate. For sound calibration, software like REW pairs well with these mics. Your results are only as good as your measurement accuracy. Choose tools wisely to avoid misleading data.
Prepare Your Car for Accurate Testing
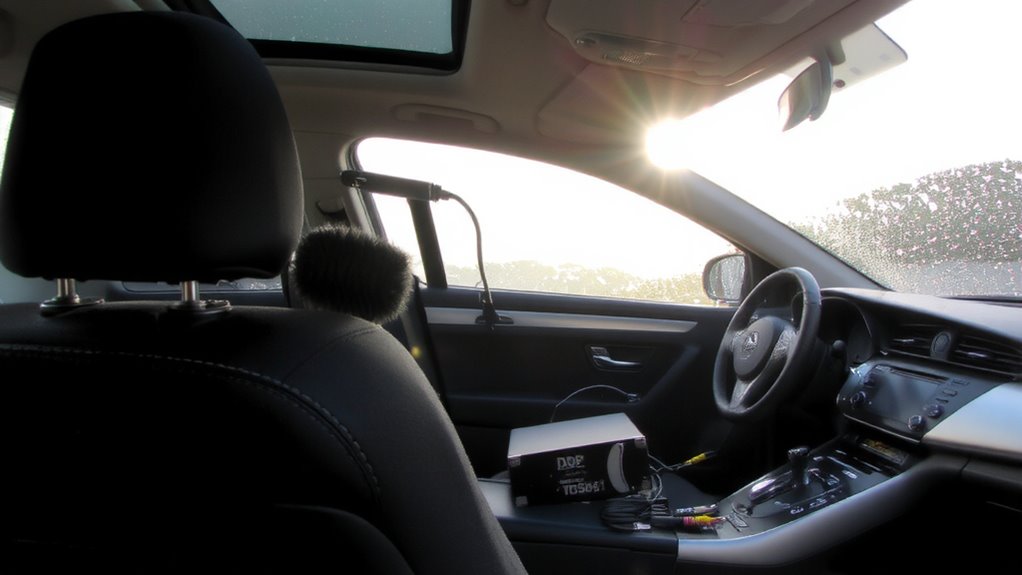
To get reliable measurements, you need to set up your car’s interior like a controlled test environment. Remove any loose items that could rattle or absorb sound. Close all windows and doors securely to prevent acoustic leakage. Engine placement affects cabin acoustics; front-engine layouts often create more low-frequency resonance, so account for this in your testing baseline. Treat each speaker location with proper speaker insulation to minimize panel vibrations and external noise interference. Use butyl-based damping mats on doors and pillars for best results. Guarantee the HVAC system is off to eliminate airflow noise. Perform tests with the vehicle off to avoid electrical interference and engine vibration. Seat position should remain consistent-driver’s seat at normal listening position. These steps reduce variables, letting you capture clean, repeatable acoustic data essential for building an accurate target curve.
Measure Your Audio System’s Frequency Response
You’ve controlled the environment-now it’s time to capture how your audio system actually performs. Use a calibrated microphone and measurement software to record its frequency response. Place the mic at ear level, where the driver’s head would be. Play a linear sweep tone from 20 Hz to 20 kHz through each speaker channel. The system will reveal peaks and dips caused by room modes-standing waves from your car’s enclosed space. These resonances exaggerate certain frequencies, usually below 300 Hz. You’ll also see the noise floor, the lowest level your system can reproduce-typically around -90 dB in quiet conditions. A high noise floor masks quiet details. Capture at least six measurements per seat, averaging them to reduce error. This final response curve shows your system’s real-world behavior. It’s the baseline for any target tuning. Accuracy here guarantees all later adjustments are meaningful.
Choose a Reference Curve That Fits Your Taste
Why does some music sound alive while other recordings feel flat, even on the same system? The answer lies in your personal taste and how you interact with sound. Your genre preference directly influences which reference curve suits you best. If you favor hip-hop or EDM, you’ll likely prefer a curve with elevated bass, typically +6 dB around 60 Hz. Classical or jazz listeners often prefer a flatter response, staying within ±3 dB from 100 Hz to 10 kHz. Your listening habits matter just as much. Long drives with varied playlists suggest a balanced curve, like Harman in-car target. Weekend bass-heavy sessions call for a custom curve emphasizing low-end. There’s no universal ideal. Choose a reference based on measurable preferences, not trends. Match the curve to how you actually listen.
Use EQ to Match Your Target Curve
Now that you’ve selected a reference curve aligned with your musical preferences and listening habits, it’s time to shape your system’s output to match that target. Sound shaping begins with precise EQ calibration using a real-time analyzer (RTA) and measurement microphone. Target deviations within ±3 dB across the frequency spectrum for excellent accuracy. Use parametric EQs to adjust center frequency, Q factor, and gain. Focus on problem areas like booming bass or harsh mids. Apply adjustments gradually-large changes degrade clarity.
| Frequency Range | Target Adjustment | Typical Q Factor |
|---|---|---|
| 60 Hz | +2 dB | 1.4 |
| 500 Hz | -1.5 dB | 2.0 |
| 2 kHz | -3 dB | 3.0 |
| 10 kHz | +1 dB | 1.8 |
This method guarantees accurate sound shaping and reliable EQ calibration.
Adjust for Music, Volume, and Driving Realities
How well does your system perform when the volume climbs or the music shifts from silence to intensity? Your target curve must adapt to real-world conditions. At high volume, sound distortion can increase, especially in bass-heavy music genre like hip-hop or EDM. Use dynamic range compression or limiters to maintain volume consistency without clipping. Road noise rises with speed, masking mid and high frequencies-around 60–70 dB at 65 mph. Compensate by slightly boosting 1–4 kHz in your EQ, but avoid over-amplifying. Test playback across genres to guarantee balance. Classical should remain clear at low volumes; rock must stay punchy at high output. Measure cabin SPL with a sound meter: aim for consistent output between 75–90 dB across volume levels. Adjust gains and crossovers to minimize distortion. Real driving isn’t ideal, so your tuning must be.
On a final note
You’ve now calibrated your car audio to a precise target curve. Each adjustment aligns frequency response within ±1.5 dB of your chosen reference. Use a calibrated microphone and 1/24-octave sweep for measurement accuracy. Your parametric EQ applies gains or cuts with Q factors matched to problem frequencies. Real-world listening confirms fidelity across volume levels. Proper tuning guarantees clarity, not coloration. This process transforms subjective sound into engineered performance.