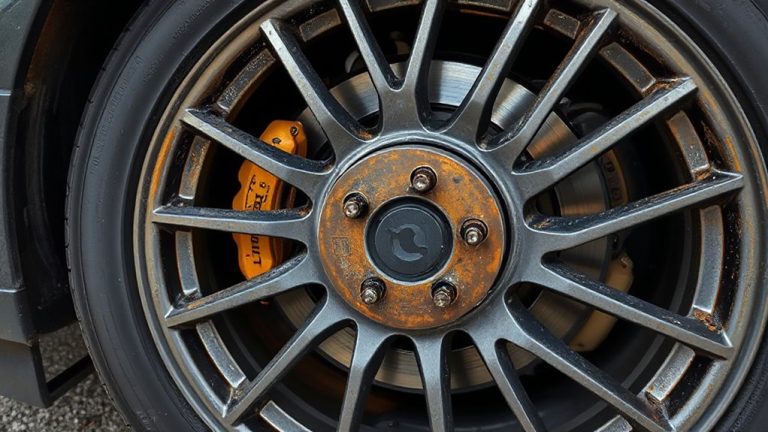
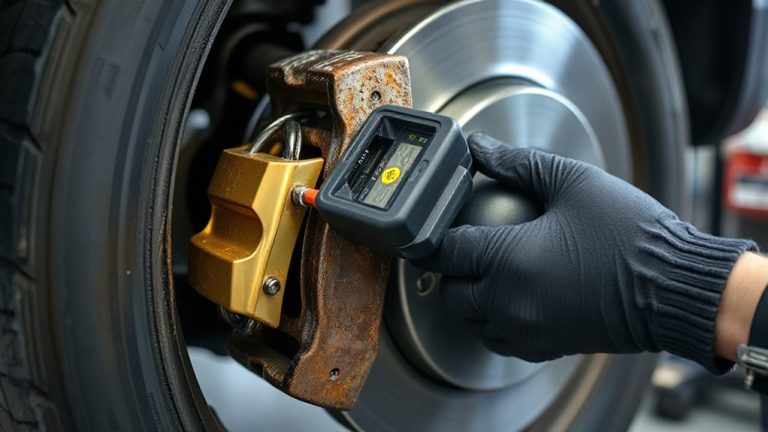
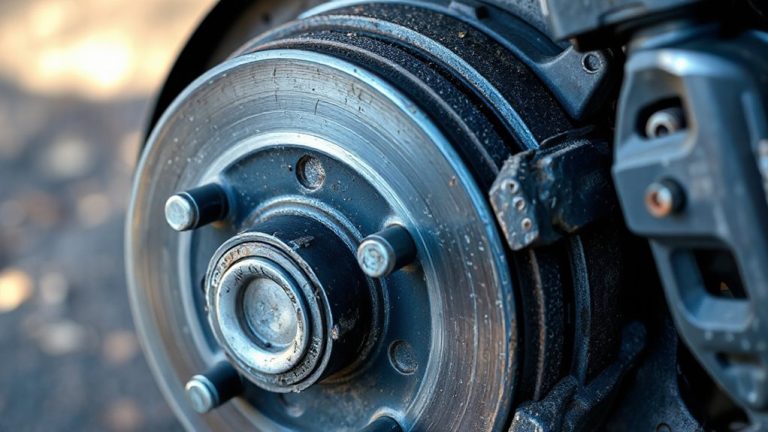
Step-by-Step: Replacing a Clutch in a Manual Transmission SUV
You’ll need to confirm clutch failure first-look for slipping at 5 mm or less friction material, rising RPM without acceleration, or pedal vibration at 30–50% release. Gather a model-specific clutch kit, torque wrench, transmission jack, and alignment tool. Lift the SUV safely using frame rails and secure with 3-ton jack stands. Drain 2.5–3.0 liters of transmission fluid, then remove the driveshaft and disconnect sensors and linkages. Support the transmission, unbolt the bellhousing, and slide it back carefully. Inspect the flywheel for warpage beyond 0.002 inches and resurface to 30–50 microinches Ra if needed. Install the new clutch disc, pressure plate, and release bearing, ensuring proper alignment with the tool. Torque fasteners to factory specs using thread locker where required. Reconnect all components, refill fluid, and test operation through the full pedal range-unexpected noises or resistance mean further inspection awaits.
Notable Insights
- Check for clutch slippage, RPM surges, or pedal vibration to confirm clutch failure before starting the replacement.
- Gather the correct clutch kit, tools, and torque specifications specific to your SUV’s make, model, and transmission type.
- Safely lift and secure the SUV on jack stands, ensuring stability and adequate undercarriage clearance for access.
- Remove the transmission by disconnecting the driveshaft, linkages, and bellhousing bolts, then lower it carefully.
- Inspect and resurface the flywheel if needed, then install the new clutch components with proper alignment and torque.
Check for Symptoms of a Failing Clutch
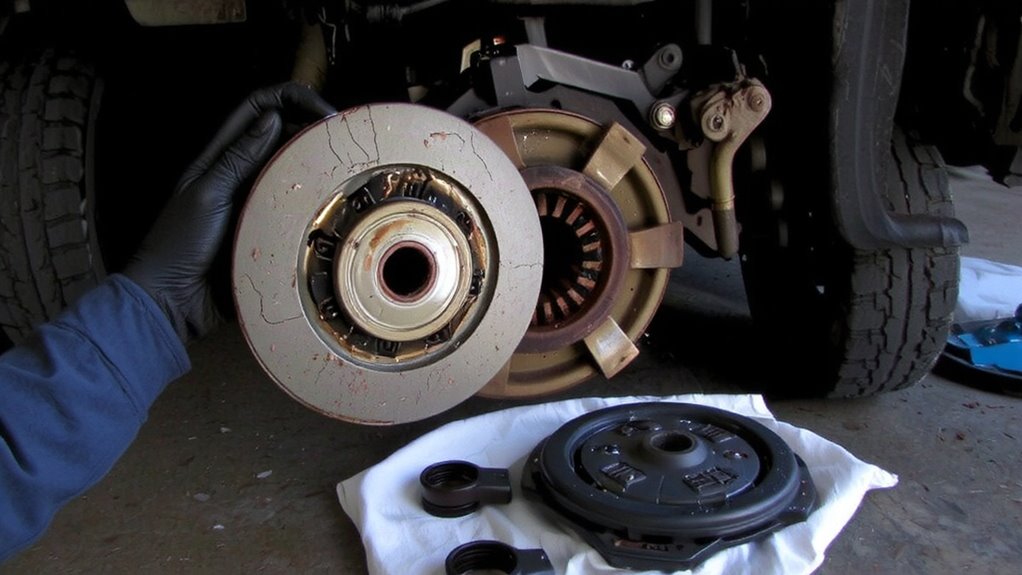
What if your SUV’s clutch were failing without you realizing it? Clutch slippage is a key sign. You’ll notice the engine RPM rises without a corresponding increase in speed, especially under load or uphill. This happens when the clutch disc fails to grip the flywheel properly, often due to worn friction material-typically less than 5 mm thickness. Pedal vibration is another indicator. If you feel unusual shuddering through the clutch pedal during engagement, it may point to a warped pressure plate or misaligned components. The vibration often worsens at partial engagement, around 30–50% pedal release. You might also experience inconsistent take-up points or a spongy pedal feel. These symptoms reduce drivetrain efficiency and, left unaddressed, can damage the transmission, flywheel, or release bearing. Early detection prevents costly repairs. Monitor performance changes closely.
Get These Tools and a Compatible Clutch Kit
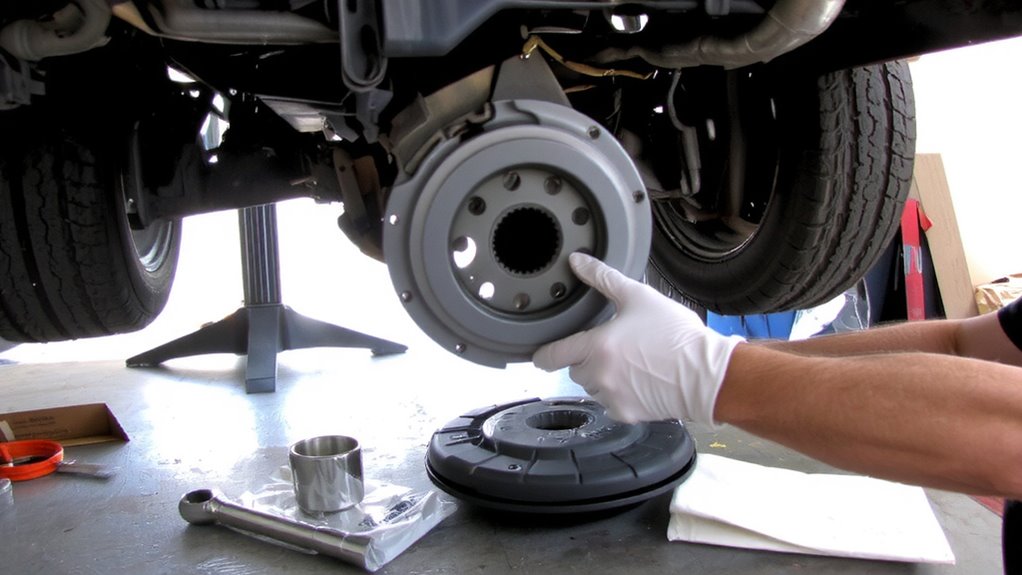
You’ll need the right tools and a properly matched clutch kit before starting the job. A proper clutch inspection guarantees compatibility with your SUV’s make, model, and transmission type. Use a factory service manual to confirm specifications like torque ratings and spline counts. For kit selection, choose an OEM or performance clutch kit that matches your driving needs-standard-duty for daily driving, heavy-duty for towing. The kit should include a pressure plate, clutch disc, release bearing, and alignment tool. You’ll need a torque wrench (¼-inch to ¾-inch drive), socket set, breaker bar, jack stands, transmission jack, and clutch alignment tool. A digital caliper helps verify disc thickness. Never reuse worn components-even if they look functional. Proper kit selection prevents premature failure. Use thread locker on critical fasteners. Meticulous preparation guarantees a smooth, lasting clutch replacement.
Lift and Secure Your SUV Safely
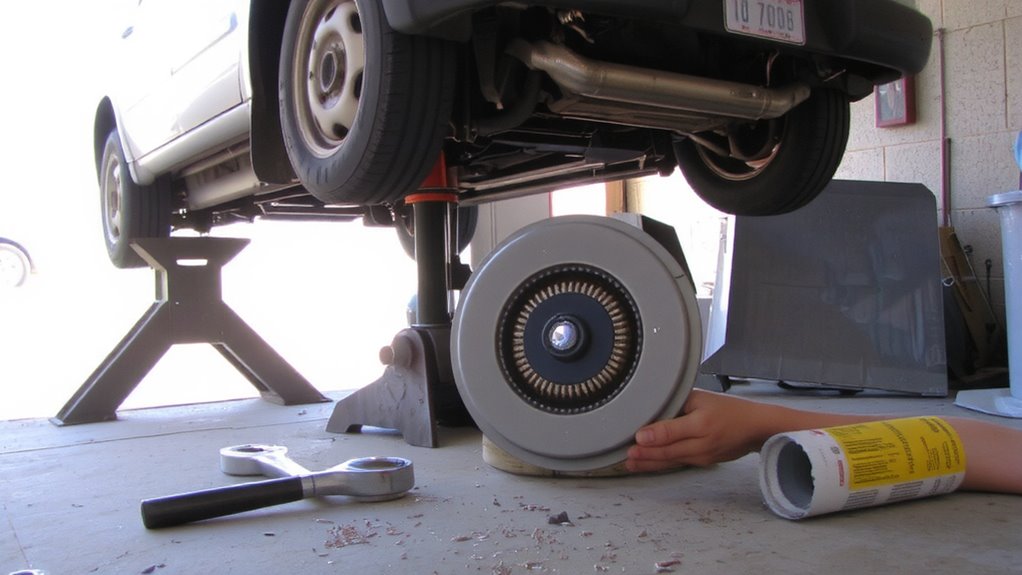
Position your SUV on a flat, level surface and engage the parking brake before beginning any lifting procedure. Use jack stands rated for at least 3 tons per corner; never rely solely on a hydraulic jack. Lift the vehicle using reinforced lift points near the frame rails-refer to your owner’s manual for exact locations. Once raised, secure each corner with welded-joint jack stands. Misalignment risks wheel alignment issues, so make certain the SUV sits evenly. Check camber and toe settings afterward. During this stage, perform a brake inspection: examine pad thickness, rotor wear, and fluid leakage. Rotors should measure no less than 80% of original thickness. Uneven braking can affect lift stability and post-repair handling. Always support the vehicle with rigid stands, not cinder blocks or improvised supports. Proper clearance-minimum 24 inches-is essential for safe underside access.
Remove the Transmission to Reach the Clutch
Start by disconnecting the negative battery terminal to eliminate electrical hazards during transmission removal. Drain the transmission fluid into a approved container-typically 2.5 to 3.0 liters depending on your SUV’s make. Remove the driveshaft and disconnect the speed sensor, reverse light switch, and clutch linkage. Perform clutch fork removal by detaching the release bearing from the fork and unbolting the clips or pivot pin securing it. Unbolt the transmission crossmember, then loosen and remove the bellhousing bolts. Support the transmission with a jack and carefully slide it rearward to disengage from the engine. Maintain transmission alignment by using alignment pins or guides during separation to prevent input shaft damage. Once free, lower the transmission slowly. Avoid tilting the tail end to prevent internal gear damage. You now have access to the clutch assembly.
Inspect the Flywheel and Resurface if Needed
Inspecting the flywheel thoroughly before installing a new clutch guarantees smooth engagement and prevents premature wear. Check for visible flywheel wear, such as scoring, cracks, or hot spots-these compromise performance. Use a straightedge and feeler gauge to measure flatness; warpage beyond 0.002 inches requires resurfacing or replacement. Surface smoothness is critical-roughness average (Ra) should be between 30–50 microinches for best clutch contact. A glazed or uneven surface reduces friction and causes slipping. If resurfacing, remove no more than 0.010 inches of material to stay within manufacturer thickness specs. Always follow OEM flywheel minimum thickness standards-exceeding limits causes imbalance and vibration. A clean, smooth, flat flywheel guarantees full clamping force and even pressure distribution. Proper surface smoothness maximizes friction coupling and extends clutch life. Don’t skip this step-your new clutch depends on it.
Install the New Clutch, Pressure Plate, and Bearing
Once the flywheel is clean and properly resurfaced, you’re ready to install the new clutch assembly. Start by positioning the clutch disc on the flywheel, guaranteeing the correct side faces the transmission. Use a clutch alignment tool to center the disc between the flywheel and pressure plate. Proper clutch alignment prevents binding and uneven wear during engagement. Next, install the pressure plate using the manufacturer-specified fasteners. Tighten the bolts gradually in a star pattern to guarantee even pressure. Apply the exact pressure plate torque listed in the service manual-usually 18–22 ft-lbs-using a calibrated torque wrench. Over-torquing distorts the pressure plate; under-torquing risks slippage. Install the new release bearing onto the transmission input shaft, making sure it slides smoothly. Handle all components with clean gloves to avoid contamination. The assembly must sit flush and rotate freely before moving forward.
Reassemble, Lower, and Test Drive
With all new clutch components securely in place, you’re ready to reassemble the drivetrain and prepare for operation. Carefully slide the transmission back into position, guaranteeing precise clutch alignment to prevent binding or premature wear. Use alignment tools during installation to maintain input shaft centering. Reconnect all linkages, wiring, and exhaust components removed earlier. When securing the transmission bolts, follow factory torque specifications-typically 25–35 ft-lbs for most SUVs-using a calibrated torque wrench. This prevents warping and guarantees even load distribution. Once the vehicle is lowered, refill the transmission with the manufacturer-recommended fluid volume and type. Start the engine and verify smooth clutch engagement. Test drive at low speeds first, checking for abnormal noises, grinding, or slippage. Confirm full disengagement by shifting into gear with the engine running and clutch pedal fully depressed.
On a final note
You’ve restored smooth power transfer between engine and transmission. The new clutch kit, including a 228mm organic disc and ceramic pressure plate, guarantees 3,000+ lb-ft torque capacity. A properly torqued release bearing (18 ft-lbs) prevents premature wear. The resurfaced flywheel maintains flatness within 0.002 inches. Test drives confirm seamless shifts. This repair extends drivetrain life by eliminating slippage and chatter. Use OEM-spec components for maximum performance.