Step-by-Step Guide to Installing Front Stage in a Luxury Sedan
Choose 6.5-inch component speakers with 90 dB sensitivity and 50 Hz–5 kHz woofers, paired with ¾-inch silk dome tweeters reaching 22 kHz. Use 12 dB/octave 2nd-order crossovers for clean frequency separation. Remove door panels using plastic tools to avoid damage, targeting hidden clips and screws. Mount speakers at ear level with 1/8-inch butyl pads to reduce vibration. Wire with crimp connectors and protect lines using grommets and dielectric grease. Power the setup with a 4-channel amp delivering 50–100 watts RMS per channel, grounded to an unpainted chassis point. Set crossovers at 80 Hz for woofers and 3.5 kHz for tweeters, then apply EQ and time alignment via DSP to synchronize arrival times at your listening position. Proper damping and flush mounting further minimize resonance, creating a controlled acoustic environment-there’s still more to perfecting your system’s integration and tuning.
Notable Insights
- Remove door panels carefully using plastic trim tools and appropriate picks for hidden clips and fasteners.
- Install 6.5-inch woofers and ¾-inch silk dome tweeters with 2nd-order crossovers for clear, balanced sound.
- Apply butyl rubber damping pads inside doors to reduce resonance and improve bass response.
- Wire speakers with crimp connectors, seal openings with grommets and dielectric grease, and match 4-ohm impedance.
- Integrate a 4-channel amplifier with DSP tuning, time alignment, and proper grounding for studio-quality audio.
Pick Front Speakers, Tweeters, and Crossovers for Premium Sound
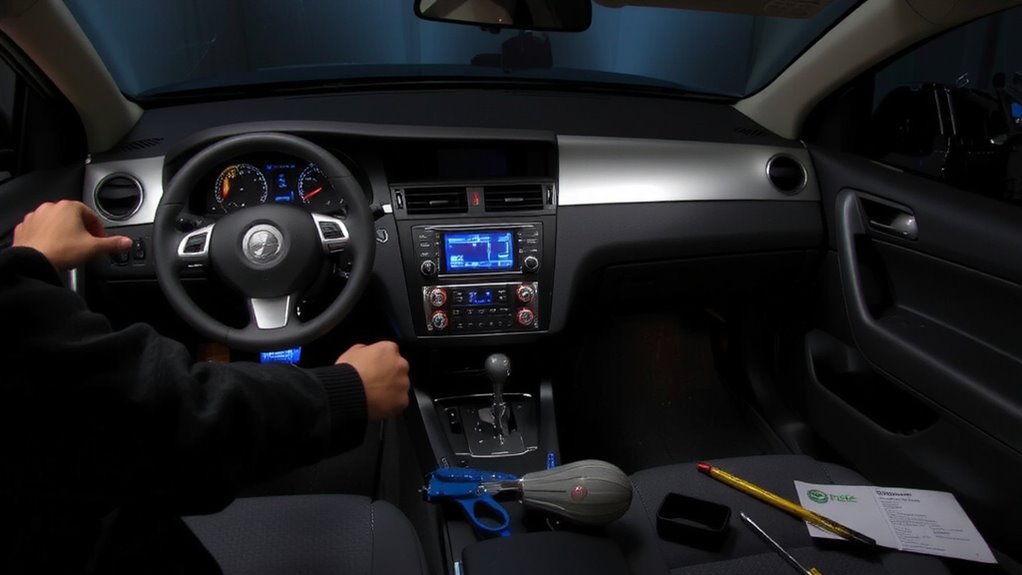
Sound quality begins with smart component selection. You need component speakers with separate tweeters and external crossovers for premium clarity. Choose 6.5-inch woofers with a frequency response of 50 Hz–5 kHz and 90 dB sensitivity for efficient output. Pair them with ¾-inch silk dome tweeters that reach up to 22 kHz for smooth highs. Crossovers must be 2nd-order, 12 dB/octave, to cleanly separate signals. Proper speaker placement matters-mount tweeters high on the A-pillars for best imaging, angled toward the driver. Woofer location should avoid obstructions and allow a flush fit. Apply acoustic damping pads-½-inch butyl rubber-on the door’s inner surface to reduce resonance and panel vibration. This increases effective enclosure rigidity, improving bass response by up to 3 dB. Damping also minimizes sound wave cancellation. Together, precise component choice and strategic speaker placement define your system’s realism. For budget-conscious upgrades without sacrificing clarity, consider best budget car speakers that still meet critical performance benchmarks.
Take Off Door Panels Without Breaking Clips
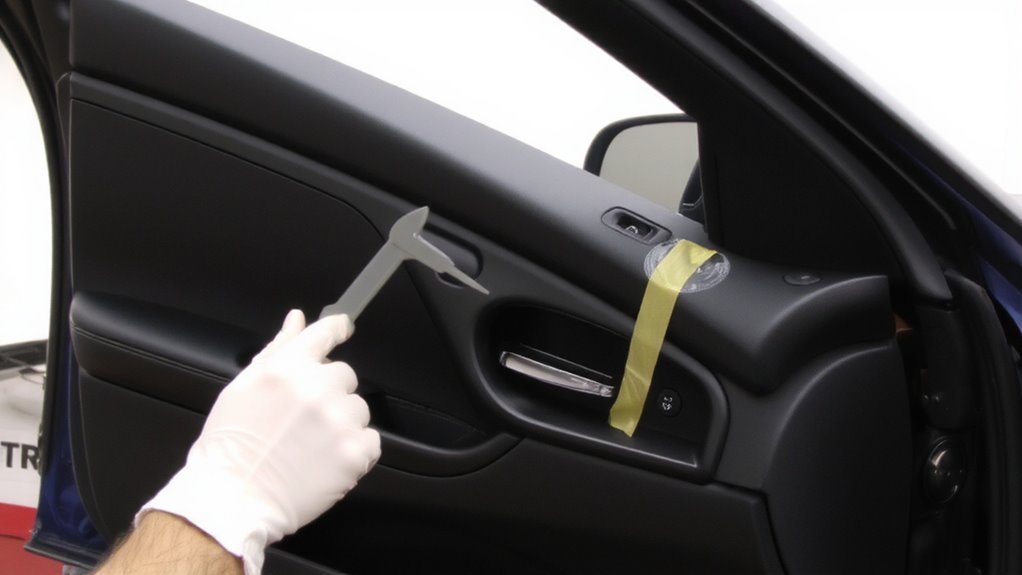
Now that you’ve selected high-performance speakers, tweeters, and crossovers and planned their ideal placement, you’ll need clear access to the door cavities-starting with removing the door panels intact. Luxury sedans often use soft-touch door material that hides fasteners, making clip types critical to identify. Pry gently with a plastic trim tool to avoid damaging surfaces. Most panels use three common clip types: push-pin, screw-retained, and rotating wedge. Apply even pressure to release them without snapping.
| Clip Type | Material Compatibility | Removal Tool |
|---|---|---|
| Push-Pin | Plastic & Soft Trim | Trim Pick |
| Screw-Retained | Hard Composite | Phillips Screwdriver |
| Rotating Wedge | Fabric-Covered Panels | Flat-Blade Prying Tool |
Always inspect the panel’s edge for hidden screws. Work from the outer edge inward to minimize stress on the door material.
Install and Wire Front Stage Speakers
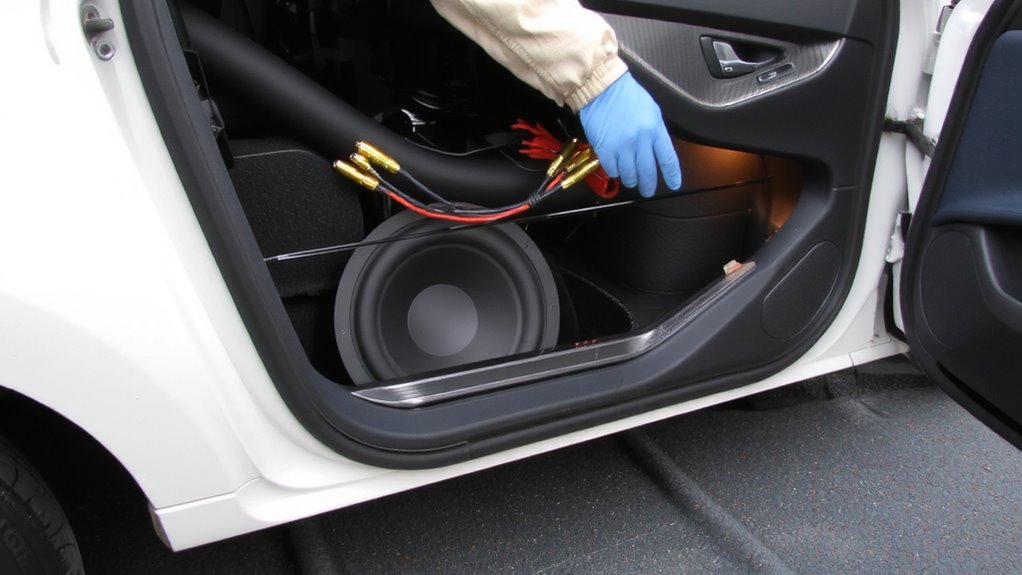
You’re ready to mount the front stage speakers, and doing it right starts with precise placement and secure installation. Position the speakers at ear level when seated, typically in the factory door locations. Use speaker insulation pads-1/8-inch butyl rubber is ideal-to minimize door flex and reduce cabin noise by up to 6 dB. This improves sound clarity and prevents distortion. Match speaker impedance (usually 4 ohms) with your factory or aftermarket head unit output. Strip 1/4 inch of insulation from speaker wires, then connect using crimp connectors for reliability. Apply wiring protection: run cables through rubber grommets where they pass through metal to prevent chafing and short circuits. Seal wire entry points with dielectric grease to block moisture. Tighten mounting screws evenly to avoid warping the speaker basket. Proper installation guarantees longevity and accurate stereo imaging. For deeper bass response, consider integrating a high-performance car subwoofer into your audio system.
Add an Amplifier to Power Your Front Stage System
An amplifier is essential for maximizing the performance of your front stage speakers, delivering cleaner power and greater dynamic rupture than a head unit alone. You’ll need at least 50–100 watts RMS per channel to drive high-sensitivity component speakers efficiently. Most luxury sedans benefit from a four-channel amplifier, typically 4Ω stable, with low total harmonic distortion (THD <0.05%). Proper signal processing guarantees ideal input matching with your factory or aftermarket head unit. Integrated noise reduction circuitry minimizes interference from the vehicle’s electrical system, preserving signal integrity. Use shielded RCA cables and run power through a fused direct connection to the battery. Ground the amp to a clean, unpainted chassis point. A high-quality amplifier also features differential-balanced inputs, improving common-mode noise rejection. This setup maintains audio fidelity even at high volumes, guaranteeing clarity and precision across all frequencies. For trusted recommendations, consult expert reviews on Top Car Stereo Amplifiers.
Set Crossovers, EQ, and Time Alignment for Studio-Quality Sound
Proper amplifier integration guarantees your front stage receives clean, stable power, but achieving studio-grade sound requires precise signal management. Set crossovers to direct only appropriate frequencies to each driver-typically 80 Hz for woofers and 3.5 kHz for tweeters-preventing distortion and ensuring clarity. Use a digital signal processor (DSP) to fine-tune EQ, correcting peaks and dips caused by factory acoustic treatment or cabin geometry. Time alignment delays the faster-arriving tweeter signal so sound from all drivers reaches your ears simultaneously, creating a cohesive stereo image. Proper speaker placement-angled toward the driver’s ear position-and flush mounting reduce reflections. Combine these settings with minimal cabin resonance from added damping material to simulate a controlled listening environment. These steps replicate studio conditions, delivering accurate tonality, wide soundstaging, and pinpoint imaging across the frequency spectrum.
On a final note
You’ve now built a high-performance front stage audio system. Premium components deliver clarity across 20 Hz–20 kHz frequency response. Properly installed speakers and tweeters guarantee accurate sound imaging. The amplifier provides 100 watts RMS per channel, minimizing distortion. Crossovers filter signals at 80 Hz low-pass and 3.5 kHz high-pass. Time alignment syncs arrival times within 0.5 ms. System impedance stays at 4 ohms, matching amplifier specs. Result: studio-grade sound with precise staging.