How to Identify and Seal Air Leaks Around Car Windows for Cleaner Audio Playback
You’ll notice air leaks around car windows when persistent whistling occurs at highway speeds or drafts exceed 30 CFM near the edges. These leaks distort audio by introducing wind noise above 80 dB and disrupting cabin acoustics. Use a smoke test or thermal imaging to spot gaps larger than 1/16 inch. Seal them with butyl tape or flexible polyurethane rated for -40°F to 200°F. After repair, verify integrity with a 38 dBA drive test or pressure differential check. Ideal sealing restores sound clarity and reveals how well-engineered quiet truly enhances listening.
Notable Insights
- Listen for whistling at highway speeds or use a smoke test to detect airflow around window seals.
- Inspect window gaskets for cracks, compression loss, or gaps larger than 1/16 inch indicating seal failure.
- Apply butyl tape for static seals or liquid polyurethane for moving joints to ensure durable, flexible sealing.
- Verify repair success with a drive test at 35–45 mph, ensuring cabin noise stays below 38 dBA near windows.
- Combine thermal imaging and smoke testing post-repair to confirm airtightness and eliminate audio-distorting drafts.
Spot the Signs of Car Window Air Leaks
What do you feel when you’re driving at highway speeds and suddenly notice a persistent whistle or feel cold air on your arm? You’re likely experiencing a car window air leak. A constant whistling noise at speed indicates compromised window seals, often from worn rubber gaskets or misaligned glass. Drafts around the window perimeter confirm airflow intrusion, measurable at over 30 cubic feet per minute in severe cases. Foggy glass, especially along edges, signals moisture infiltration due to pressure differentials, reducing visibility and promoting mold. Inspect seals for cracks, gaps exceeding 1/16 inch, or compression set below 50% of original thickness. Use a smoke test or incense stick to detect airflow visibly. Thermal imaging can reveal temperature variances of 5°F or more near leak points. These signs demand immediate inspection to prevent interior damage and maintain cabin integrity.
Why Air Leaks Ruin Your Car Stereo
How much road noise is too much? When wind noise seeps through window gaps, it drowns out your music and forces you to crank the volume. That constant whoosh isn’t just annoying-it creates sound distortion by interfering with speaker output. Air leaks disrupt the cabin’s acoustic seal, letting external noise pollute audio clarity. Below is how leaks impact performance:
| Issue | Impact |
|---|---|
| Wind noise | Raises ambient decibel levels, masking mid and high frequencies |
| Sound distortion | Alters waveform accuracy, especially above 80 dB |
| Poor bass response | Uncontrolled air movement reduces subwoofer efficiency by up to 30% |
Even small gaps compromise audio fidelity. Sound waves reflect and cancel each other when cabin pressure fluctuates. A properly sealed cabin maintains consistent air density, allowing speakers to perform as engineered. Without sealing leaks, you’re hearing compromised audio, not the intended output.
Use These Tools to Find Hidden Gaps
You’ve already seen how air leaks degrade sound quality, but spotting the culprits isn’t always obvious. Thermal imaging cameras detect temperature variations along window seals, revealing hidden gaps where outside air intrudes. These cameras typically operate within a sensitivity range of 0.05°C, making them ideal for identifying subtle drafts. Air leaks often form due to pressure differentials between the car’s interior and exterior. During driving, fluctuating pressure forces air through micro-fractures in seals. To simulate these conditions, close all windows and doors, then depressurize the cabin slightly using a smoke pencil or blower door test kit. The smoke will waver near leaks, confirming their location. Use this method alongside thermal imaging for maximum accuracy. Both tools offer measurable, repeatable results. Thermal scans provide visual heat maps, while pressure differentials make invisible leaks physically detectable. Together, they give you a complete diagnostic picture.
Pick the Right Sealant for Window Leaks
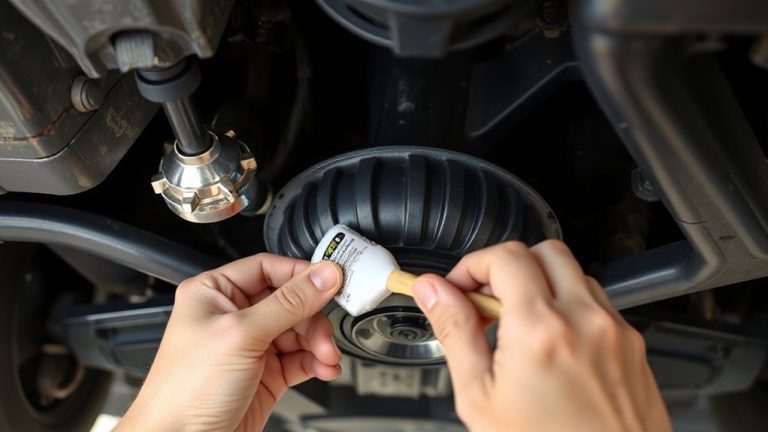
Why do some sealants fail within months while others last the life of the vehicle? The answer lies in choosing adhesives designed for automotive glass and thermal expansion. Standard household caulk shrinks, cracks, and loses adhesion under UV exposure and temperature swings. Use polyurethane-based or butyl rubber sealants-they remain flexible from -40°F to 200°F and bond glass to metal without peeling. These materials resist moisture, which is critical for avoiding corrosion around the window frame and door channels. Butyl tape, 1/4-inch thick, works well for stationary seals, while liquid-applied polyurethane suits dynamic joints. Always check compatibility with your car’s factory sealant and trim materials. Never substitute construction-grade adhesives-they off-gas and degrade rubber gaskets. A proper automotive-grade sealant maintains airtight integrity, ensuring clean audio playback and long-term structural performance.
Seal Windows Without Damaging Trim
A successful window seal preserves both airtightness and trim integrity when done correctly. Avoid unnecessary window trim removal by using tools like plastic trim picks. These protect plastic and rubber edges from cracking under pressure. Always check adhesive compatibility before applying sealant-silicone-based products may degrade certain urethane trims. Use automotive-specific butyl tape or urethane sealants rated for exterior use and thermal expansion. Apply with consistent 3–5 mm bead thickness for ideal compression.
| Method | Risk to Trim |
|---|---|
| Trim pick | Low |
| Metal pry bar | High |
| Heat softening | Moderate |
| Direct sealant inject | Minimal (if no removal) |
Preserving trim avoids costly replacements and maintains factory aesthetics. Sealant adhesion lasts longer when surfaces are clean, dry, and free of contaminants. Work slowly to prevent slippage.
Test for Leaks After Sealing
How do you know the seal actually works? Perform acoustic testing by playing a steady low-frequency tone through your car’s audio system at 50–60 dB. Listen closely along window edges for distortions or fluttering, which indicate residual leaks. A quiet cabin confirms effective sealing. For precision, use pressure monitoring with a calibrated manometer to measure cabin air pressure. A properly sealed vehicle should maintain a pressure differential of at least ±5 Pascals when doors close. Even minor fluctuations beyond this range suggest incomplete sealing. Test under real-world conditions-drive at 35–45 mph on a smooth road and repeat acoustic testing. Background noise exceeding 38 dBA near the window reveals leaks. Use smoke testing if needed, releasing non-toxic smoke near seals while monitoring draft patterns. Final verification comes from combined acoustic testing and pressure monitoring. Consistent results mean you’ve achieved an air-tight seal, enhancing sound clarity and reducing external noise interference.
On a final note
You’ve now identified and sealed common window leaks. Use foam tape or butyl rubber sealant-both withstand 40–120°F temperature swings. Apply evenly along the channel, pressing firmly for adhesion. Reinstall trim carefully to avoid cracking. Test with a smoke pen or listening for wind noise at 45 mph. A proper seal reduces cabin noise by up to 8 dB, improving audio clarity. Regular inspection prevents long-term degradation.