Alternator Drive Belt: Inspect, Replace & Tension Guide
You rely on your alternator drive belt to power the charging system, and a worn belt can fail without warning. Inspect for cracks, frayed edges, or glazed surfaces-signs of slipping or misalignment. Use a 1/2-inch deflection under 10 lbs pressure to check tension, and match the new serpentine belt to the OEM specs for rib count and length. Remove the old belt by loosening the tensioner, route the new one following the diagram, and verify pulley alignment. Test system voltage at idle: 13.8–14.4 volts confirms proper function. More details on precision tools and step-by-step checks follow.
Notable Insights
- Inspect the belt for cracks, fraying, or glazing, as these indicate wear and potential failure.
- Check pulley alignment and listen for squealing noises, which suggest slipping or misalignment.
- Use a tension gauge to verify proper tension, typically 20–30 lbs with 1/2 inch deflection.
- Match the replacement belt to the OEM specifications for length, rib count, and part number.
- Follow the serpentine routing diagram and confirm charging system voltage between 13.8–14.4 V after installation.
Know Your Alternator Drive Belt and Its Role
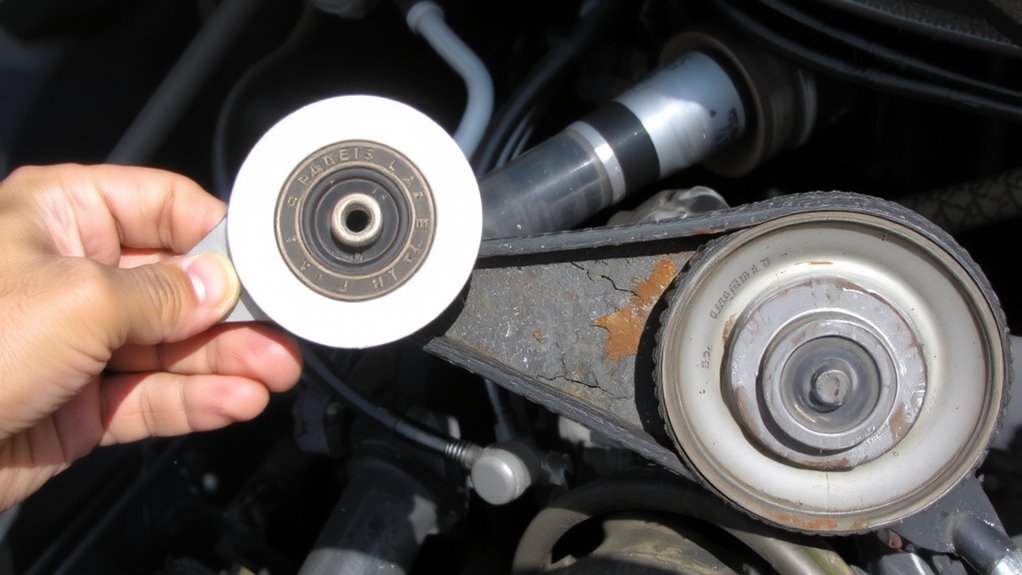
Power flows through your engine’s accessory systems thanks to a few key belts, and none play a more critical role than the alternator drive belt. This belt connects the crankshaft pulley to the alternator, converting mechanical energy into electrical power. Belt material is typically reinforced rubber, often ethylene propylene diene monomer (EPDM), chosen for heat resistance and durability. Older belts used neoprene, which degrades faster. A properly engineered belt withstands temperatures up to 120°C and operates efficiently under high load. Correct tension measurement is essential: too loose causes slippage and noise; too tight accelerates bearing wear. Most manufacturers specify a deflection of 1/2 inch under 10 pounds of pressure. Use a belt tension gauge for precision-your alternator depends on consistent alignment and force transfer. Failure here disrupts charging, risking battery drain and breakdown.
Spot the Warning Signs of Belt Failure
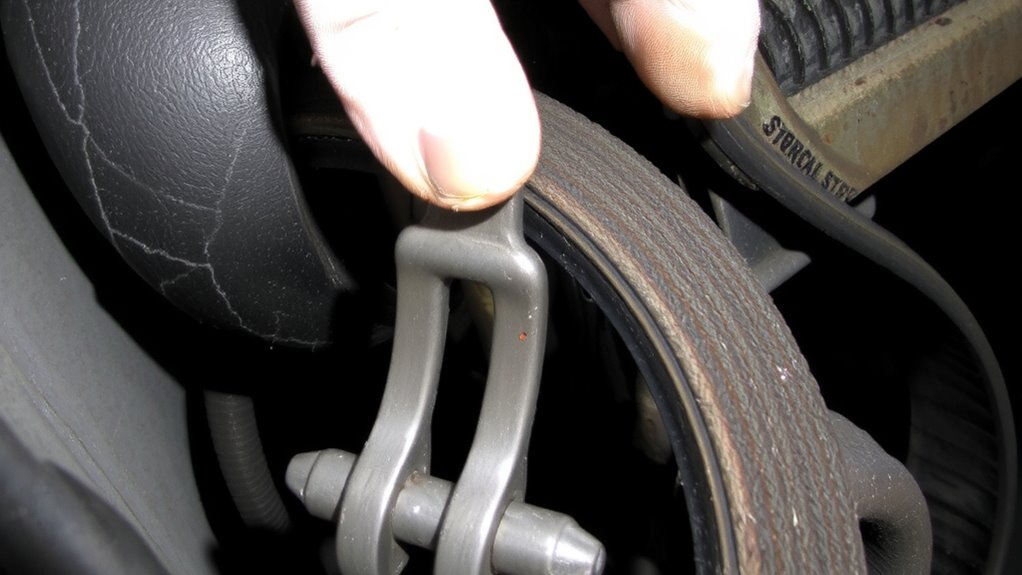
You can’t afford to ignore the signals your alternator drive belt sends-it’s your first line of defense against unexpected electrical failure. A cracked belt loses tensile strength, reducing its ability to maintain proper tension and power accessory components. Inspect for visible fissures along the belt’s ribs, especially near pulleys. Frayed edges indicate misalignment or worn pulley bearings, compromising belt tracking and longevity. You’ll often see rubber debris under the hood. A glazed or shiny surface means slipping, which reduces charging efficiency. Listen for squealing on startup-this commonly precedes failure. Most belts last 60,000 to 100,000 miles, but heat and oil exposure accelerate wear. Check alignment; even 1 degree of misalignment shortens belt life by up to 50%. Address a cracked belt or frayed edges immediately-preventative replacement avoids costly damage.
Gather the Right Tools and Replacement Belt
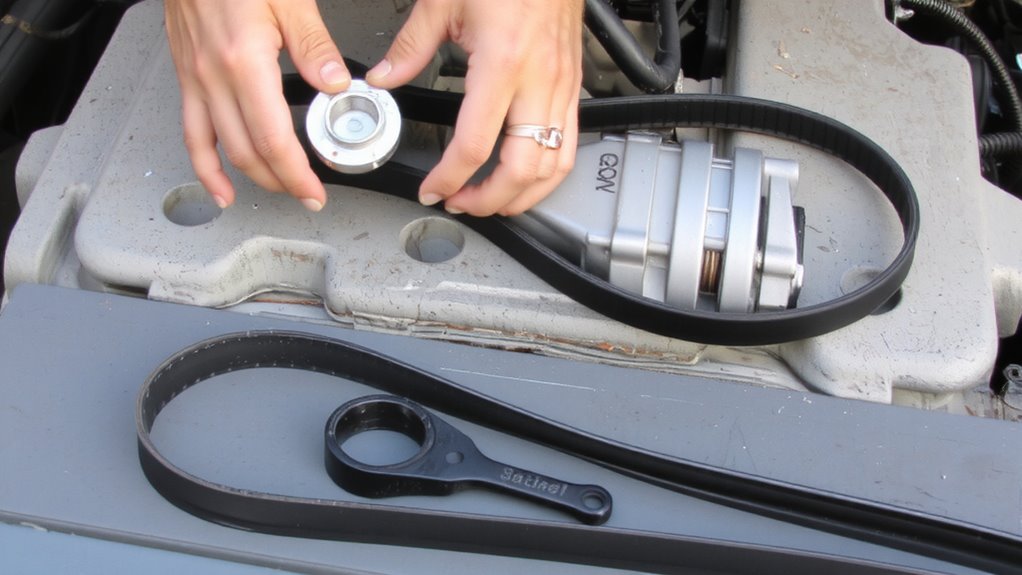
A well-prepared toolkit makes all the difference when replacing an alternator drive belt. You’ll need the right tools and a quality replacement belt to guarantee correct belt tension and pulley alignment. Using improper tools can damage components and reduce belt life. Always match the new belt’s specs to the original for reliable performance.
| Tool/Belt Item | Purpose | Example Specs |
|---|---|---|
| Wrench or socket set | Adjust belt tension | 8mm–19mm sizes |
| Belt tension gauge | Measure proper tension | 20–30 lbs deflection |
| Replacement serpentine belt | Guarantee correct fit and grip | Match OEM part number |
| Torque wrench | Secure bolts without over-tightening | ±5% accuracy required |
| Alignment tool | Check pulley alignment | Laser-guided or straight edge |
Match rib count and length precisely. Pulley alignment prevents premature wear. Maintain factory-recommended belt tension.
Find the Alternator Drive Belt in the Engine
Start by locating the serpentine belt route using the engine compartment diagram-often found on a sticker under the hood or in the service manual. This diagram shows the correct belt routing, which is essential for proper accessory alignment. The alternator drive belt typically runs from the crankshaft pulley to the alternator pulley, often powering other components like the power steering pump or A/C compressor. Follow the belt path visually, confirming each pulley’s position. You’ll notice a tensioner pulley-this device maintains proper tension adjustment and usually has a spring-loaded arm. Correct tension is essential: too loose causes slippage; too tight overloads bearings. Tension specs vary by vehicle, commonly requiring 18 to 28 foot-pounds. Use the diagram and physical inspection together to verify routing accuracy before proceeding. Misalignment leads to premature wear.
Remove the Old Drive Belt Safely
With the engine off and the keys removed, begin by relieving tension on the serpentine belt using the tensioner pulley. Rotate the tensioner with a breaker bar or wrench to reduce belt tension, then carefully slide the belt off one pulley. Maintain proper pulley alignment during removal to prevent damage to adjacent components. Use the correct tool size-most tensioners require a 3/8-inch drive wrench. Once loose, fully remove the belt from all pulleys.
| Step | Action |
|---|---|
| 1 | Relieve belt tension with tensioner tool |
| 2 | Check pulley alignment before removal |
| 3 | Slide belt off idler pulley first |
| 4 | Remove belt from alternator pulley |
| 5 | Inspect pulleys for wear and damage |
Avoid prying or using excessive force. Improper handling can misalign pulleys or damage the tensioner spring mechanism.
Install the New Alternator Drive Belt
Now it’s time to install the new alternator drive belt, guaranteeing ideal performance and longevity. Position the belt onto the pulleys, following the correct serpentine routing pattern specified in your vehicle’s service manual. Use a wrench to rotate the tensioner and slide the belt into place. Once seated, release the tensioner slowly to apply proper belt tension. Most modern systems use automatic tensioners, which maintain appropriate tension without manual adjustment. For older models with manual tensioners, use a tension gauge-typically 90–110 pounds of force for a ½-inch deflection. After installation, perform an alignment check. Misalignment, even as little as 1 degree, can cause premature wear. Visually inspect that all pulleys sit in the same plane. Guarantee the belt runs centered on each pulley. Proper belt tension and alignment check prevent noise, slippage, and reduce strain on the alternator and other accessories.
Test the Charging System After Replacement
How do you know the new alternator drive belt is doing its job? You test the charging system. Start the engine and let it run at idle with the headlights on. Use a digital multimeter to check for proper voltage regulation and charging efficiency. A healthy system reads between 13.8 and 14.4 volts. Significant deviations indicate issues. For accurate results, consider using a Fluke multimeter known for its reliability in automotive diagnostics.
| Condition | Voltage Reading | System Status |
|---|---|---|
| Engine Off | 12.2–12.6 V | Battery charged |
| Engine Idle | 13.8–14.4 V | Normal regulation |
| Engine @ 2,000 RPM | 13.5–14.7 V | Good charging output |
| Lights & AC On | 13.2–14.4 V | Stable under load |
Consistent voltage regulation guarantees reliable charging efficiency. If readings fall outside these ranges, inspect connections, the alternator, or belt tension. Proper testing confirms the repair’s success.
On a final note
You’ve successfully replaced the alternator drive belt. Proper tension is critical-typically 1/2 inch deflection under 10 lbs of pressure. Use a belt tension gauge for accuracy. The new belt must match the OEM specs: correct width, rib count, and length, such as 5PK1125. Confirm pulley alignment to prevent premature wear. Start the engine and verify charging voltage: 13.8–14.4 volts confirms proper alternator function.