Step-by-Step Guide to Installing Component Speakers in SUVs
Choose 4-ohm component speakers with a frequency response of 60 Hz–20 kHz and at least 50 watts RMS handling to match your SUV’s electrical system. Disconnect the battery, remove door panels, and replace factory 6.5” speakers with new woofers. Install crossovers near speakers using 16-gauge OFC wire, and mount tweeters high on the A-pillar for best imaging. Confirm correct polarity and secure connections. Fine-tune crossover points and aim for balanced sound-more insights await.
Notable Insights
- Choose 4 ohm component speakers with 50+ watts RMS and 60 Hz–20 kHz frequency response for SUV compatibility.
- Gather tools, disconnect the battery, and measure speaker openings to ensure proper fit and safe installation.
- Remove factory door panels and speakers, then install new woofers securely with an airtight seal.
- Connect passive crossovers near the speakers and mount tweeters high on A-pillars for optimal sound staging.
- Test system with a full-range track, verify speaker phase, and fine-tune crossovers and gains for balanced audio.
Choose the Right Component Speakers for Your SUV
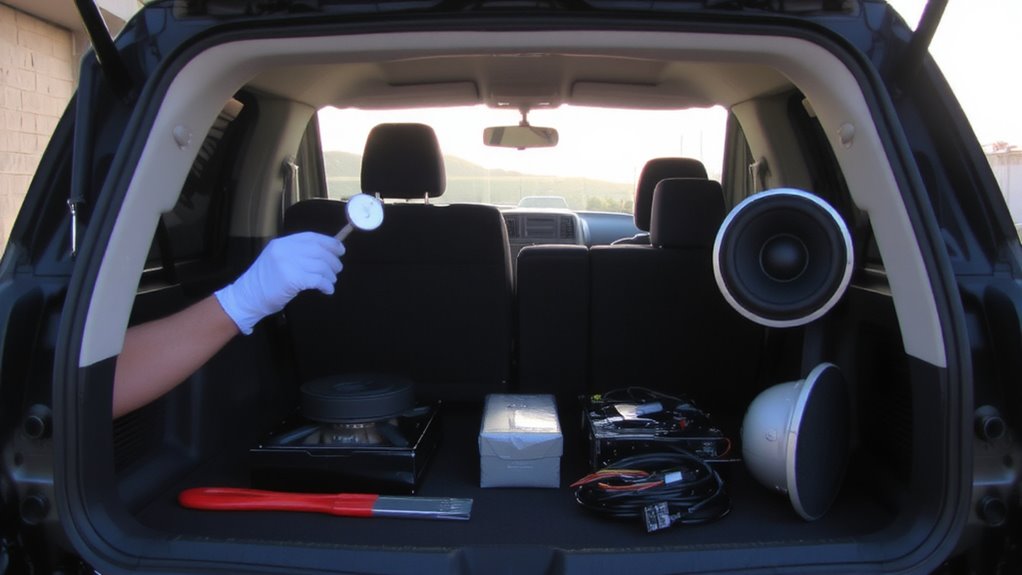
Your SUV’s audio performance hinges on selecting the right component speakers. Proper impedance matching guarantees your amplifier and speakers work efficiently; mismatched impedance causes power loss or equipment damage. Most aftermarket speakers have a nominal impedance of 4 ohms, compatible with standard SUV head units. Frequency response determines the range of sound a speaker reproduces. A range of 60 Hz to 20,000 Hz covers most music content. Component sets typically include separate woofers, tweeters, and crossovers for precise sound staging. Woofers handle mid to low frequencies, usually 3” to 6.5” in diameter. Tweeters reproduce highs above 2,000 Hz, often using silk domes for smooth output. Crossovers direct frequencies correctly, improving clarity. Select speakers rated for at least 50 watts RMS to handle power surges. Proper frequency response and impedance matching guarantee clarity, efficiency, and long-term reliability in your SUV’s unique acoustic environment.
Get Tools and Prep Your SUV
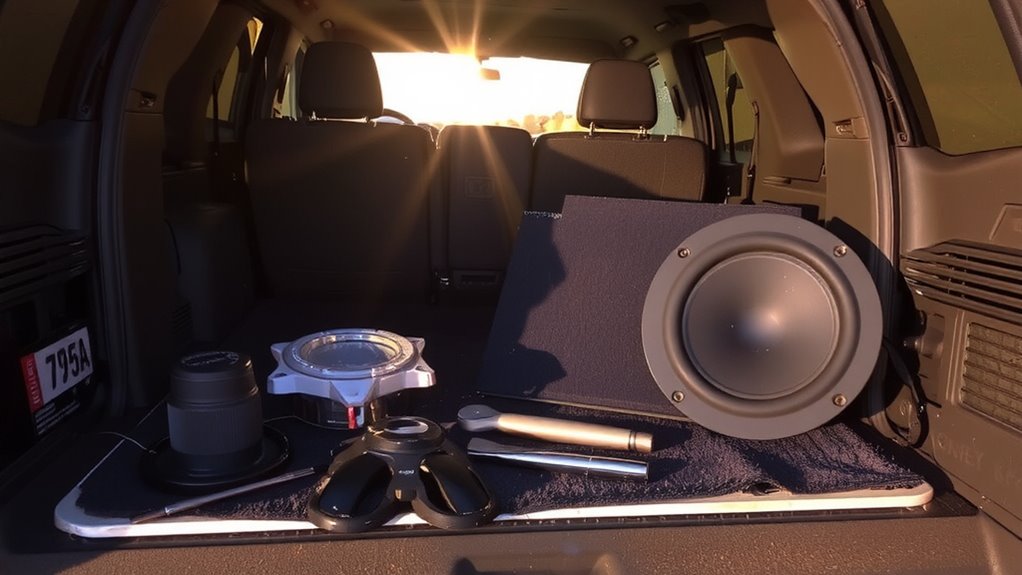
Before removing any panels, gather the necessary tools and prepare your SUV to guarantee a smooth installation. You’ll need a panel removal tool, wire strippers, crimpers, a Phillips screwdriver, socket set, measuring tape, and electrical connectors. Begin by disconnecting the negative battery terminal to prevent shorts. Clean work areas thoroughly and lay out tools within easy reach. Proper speaker placement affects sound staging and imaging-measure mounting depth and cutout diameter to confirm fit. Plan your wiring techniques in advance: run speaker wires through door grommets using a fish tape, and avoid sharing paths with power cables to reduce interference. Use 16-gauge OFC (oxygen-free copper) speaker wire for best signal transfer. Secure loose wires with zip ties to prevent abrasion. Label each wire to simplify connections later. Prepping thoroughly secures accurate installation and long-term reliability. A durable truck topper can protect gear used during mobile audio installations.
Remove Factory Speakers and Install Woofers
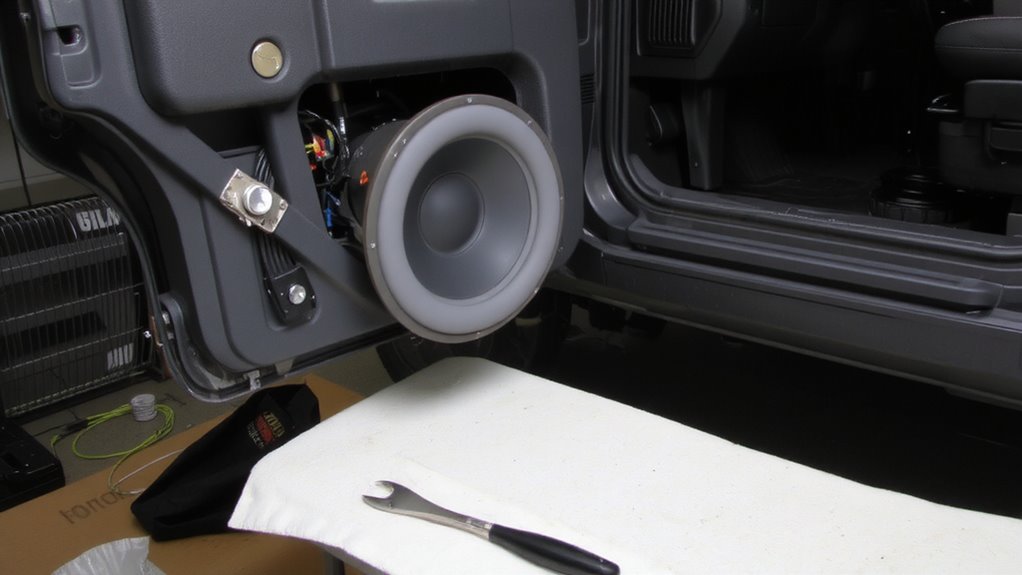
Once the factory door panels are unclipped and set aside, you’ll expose the speaker mounting area and wiring harness. Begin by removing the speaker grilles, which often snap out or are secured by screws-refer to your SUV’s manual for exact fastener locations. Detach the factory speaker wires by releasing the connector or cutting carefully if no plug exists. Unscrew the old speakers using a Phillips or Torx bit, depending on your model. Most factory units measure 6.5 inches and operate at 35–50 watts RMS. Replace them with component woofers of matching size and impedance, typically 4 ohms. Guarantee your new woofers include magnetic shielding to prevent interference with nearby electronics. Mount securely using included hardware, guaranteeing the seal against the door is airtight to preserve bass response. Proper installation prevents distortion and maximizes sound efficiency. Double-check polarity when connecting wires.
Wire Crossovers and Position Tweeters
After replacing the factory woofers, the next critical step is connecting the crossovers and mounting the tweeters to complete the component speaker system. Crossovers filter frequencies, sending highs to tweeters and lows to woofers. Connect them close to the speakers to minimize signal interference. Most passive crossovers handle 50–100 watts RMS and split signals around 3,000 Hz. Use shielded, 16-gauge wiring for clean signal transfer. Mount tweeters high on the A-pillar or door trim for ideal dispersion. Aim them toward ear level when seated. Improper placement causes phase alignment issues, creating weak or uneven highs. Adjust tweeter angle until sound appears centered. Secure crossover units with zip ties or double-sided tape to prevent vibration noise. Proper polarity guarantees phase alignment-match positive and negative leads from amp to crossover to speaker. This preserves timing between drivers.
Test Component Speakers and Fine-Tune Sound
How does your new component system truly sound? Start by playing a track with broad frequency range and clear vocals. Guarantee all speakers are in phase-check speaker polarity so cones move forward with positive input. Reverse wires if sound seems thin or disjointed. Use a multimeter to confirm polarity matches at each terminal. Next, engage audio calibration tools like a real-time analyzer or smartphone app to measure frequency response. Adjust crossover points-typically 3–4 kHz for tweeters-and tweak amplifier gains to prevent distortion. Time alignment features can synchronize arrival of sound, especially important in SUVs with offset seating. Balance levels between drivers until imaging is precise at ear height. Fine-tuning guarantees coaxial coherence across front and rear stages. Small adjustments greatly impact clarity, imaging, and bass response. Calibration isn’t optional-it’s essential for accuracy. Recheck after 20 hours of playback once components settle. For advanced control over these settings, consider integrating a digital signal processor.
On a final note
You’ve completed the installation correctly when all connections are secure and polarities match. Component speakers deliver superior imaging and frequency separation compared to coaxial types. Crossovers filter signals precisely-typically 3.5 kHz for tweeters-to protect drivers. Properly aimed tweeters create a focused soundstage at ear level. Verify wiring with a multimeter if distortion occurs. Final performance hinges on correct impedance matching, usually 4 ohms, ensuring amplifier stability and maximal power transfer.